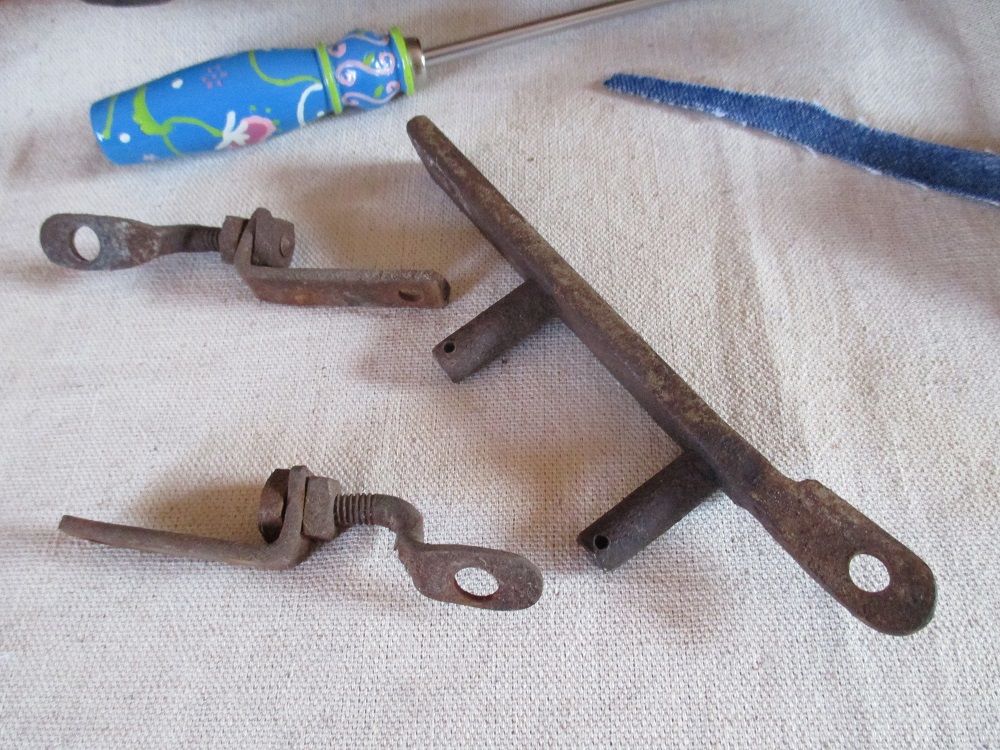
John is my better half, and kindly made me a couple of weaving aids, one from an old screwdriver and the larger one from a steel spike. They’re great and help a lot.


John is my better half, and kindly made me a couple of weaving aids, one from an old screwdriver and the larger one from a steel spike. They’re great and help a lot.
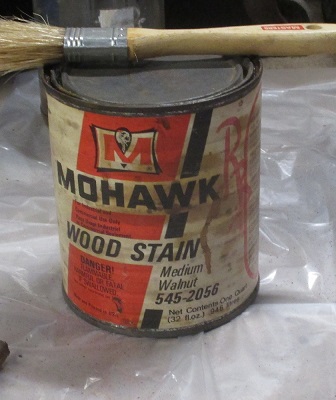
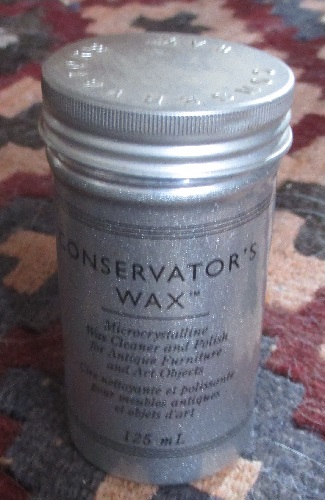
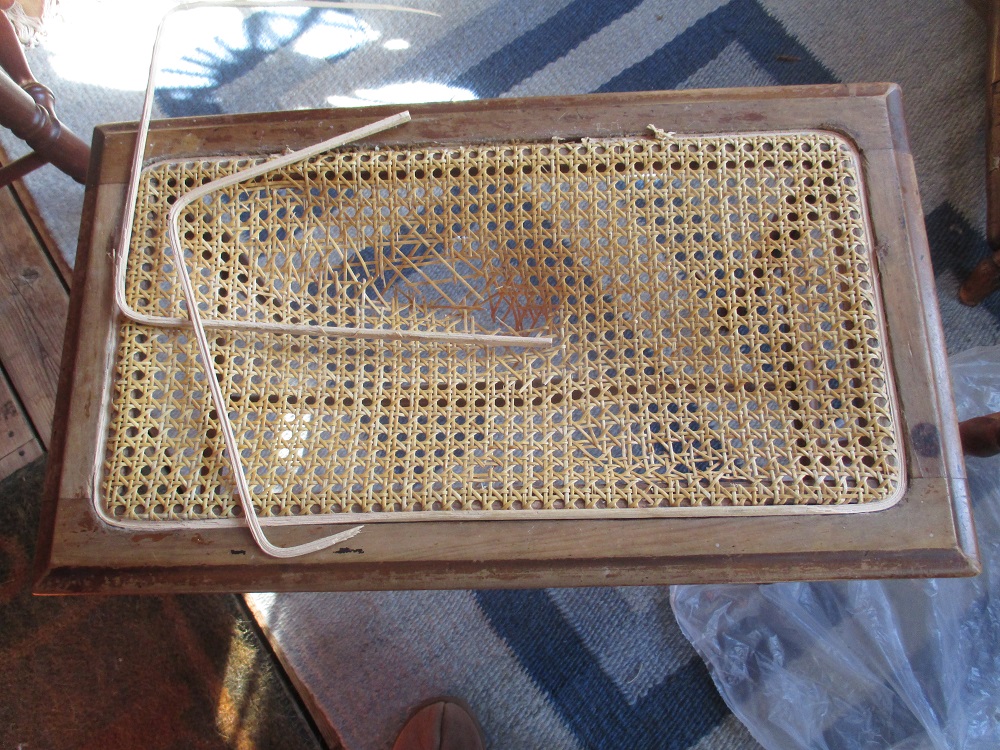
A nice, old oak chair came into the workshop last week. I began by removing the exploded cane seat and then gave the wood a good cleaning. The judicious application of some Mohawk Medium Walnut stain evened out some of the bright spots, followed by a coat of Conservator’s wax, brought out the patina of age.


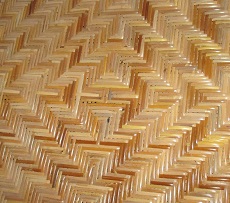
Pairs of vertical and horizontal canes are woven first. Pegs hold the tension on the damp cane. Then the diagonals give the distinctive “caned seat” pattern. It’s a time-consuming, intricate job but I love it.


Finally, the edges are bound off to make them neat and tidy. A wider piece of cane is laced on.


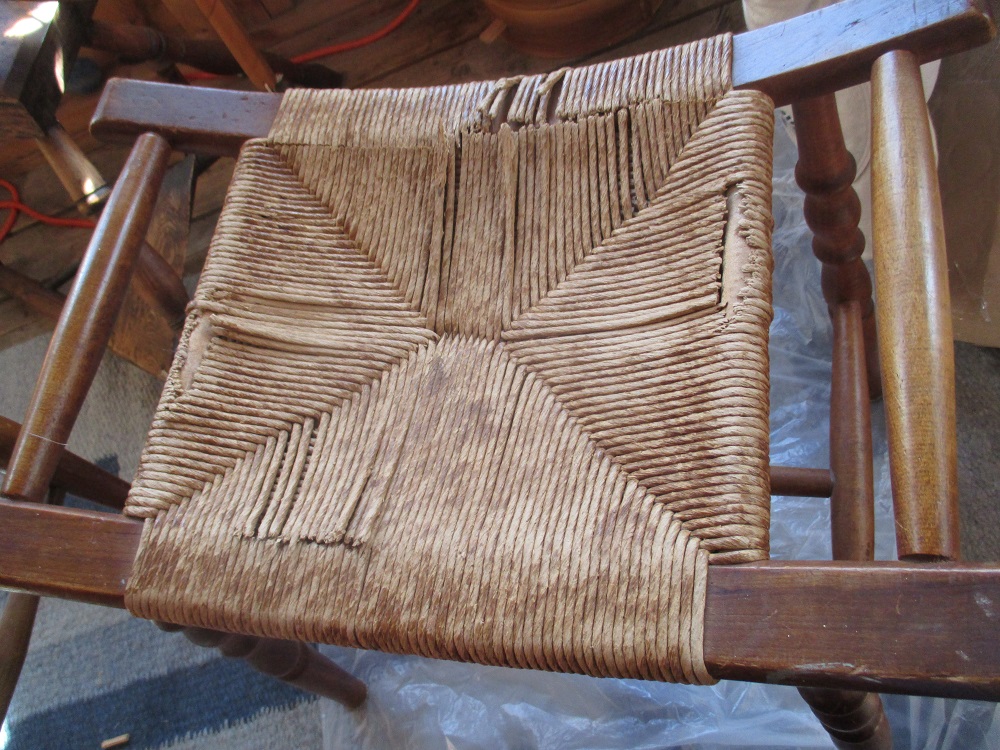
A recent arrival in need of some attention in order to survive the next ten or twenty years of love.
Out with the old and on with a coat of Mowhawk Medium Walnut stain

In with the new and a coat of Conservator’s wax. It’s looking pretty and useful again


Thanks for the visit.
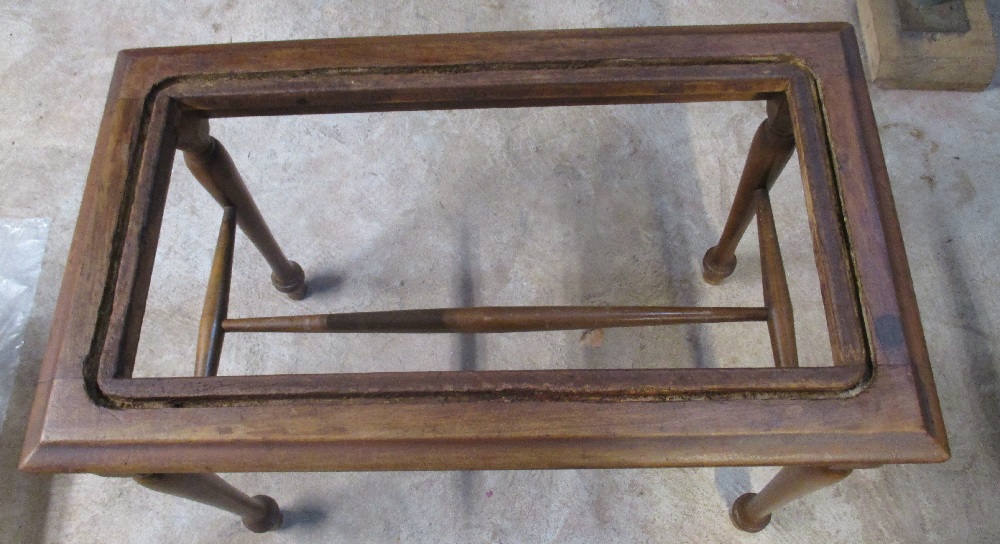
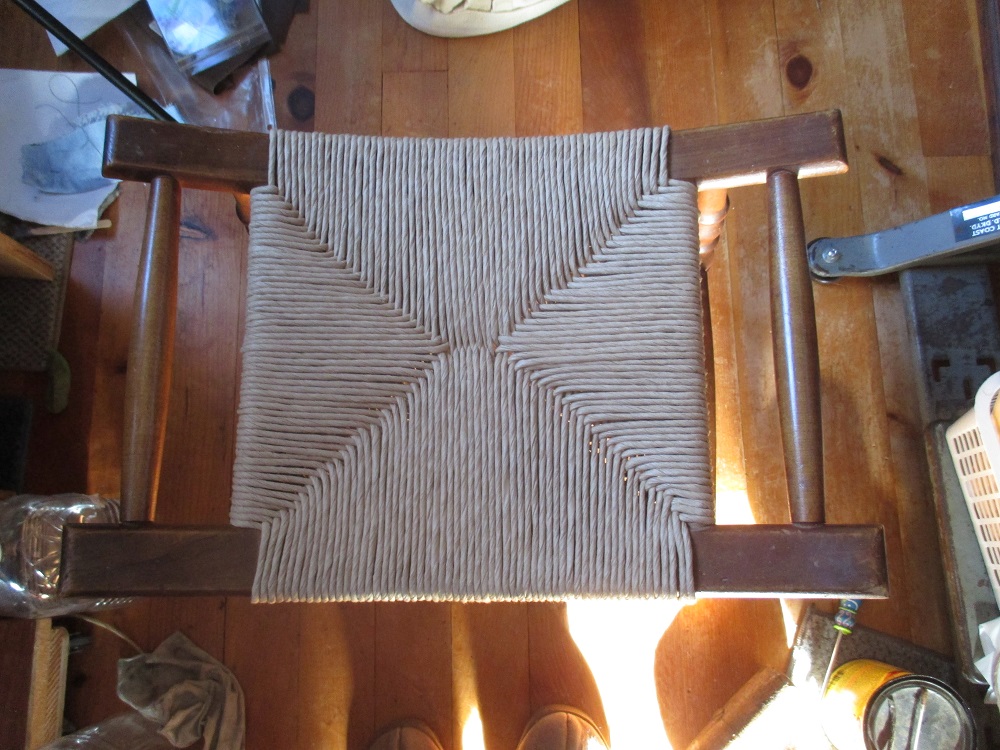
A lovely old maple? stool sorely in need of some TLC came into the shop last week.
The replacement begins.
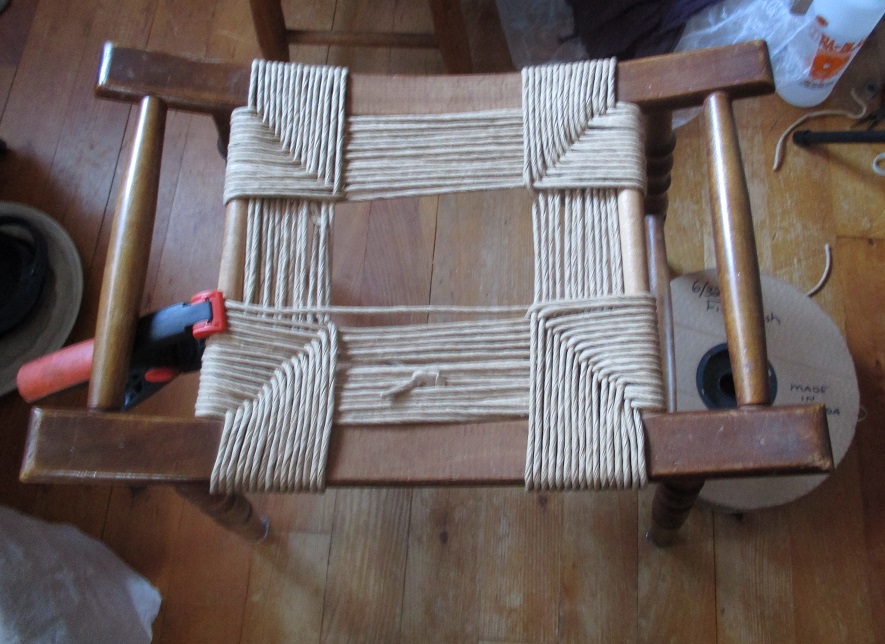
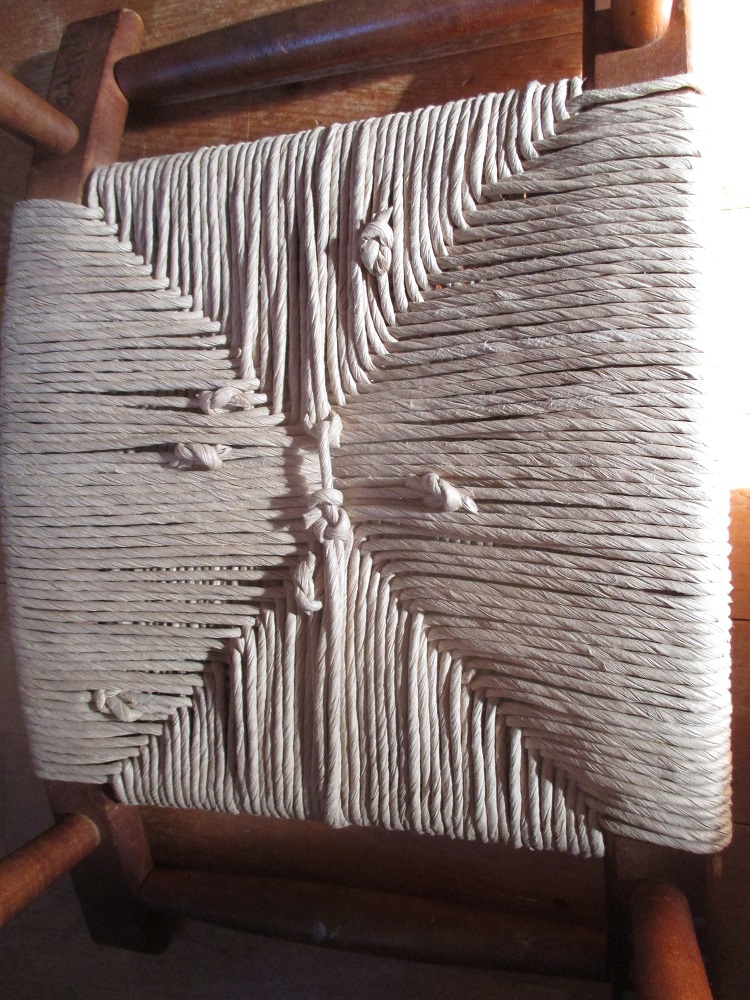
Adding the padding.
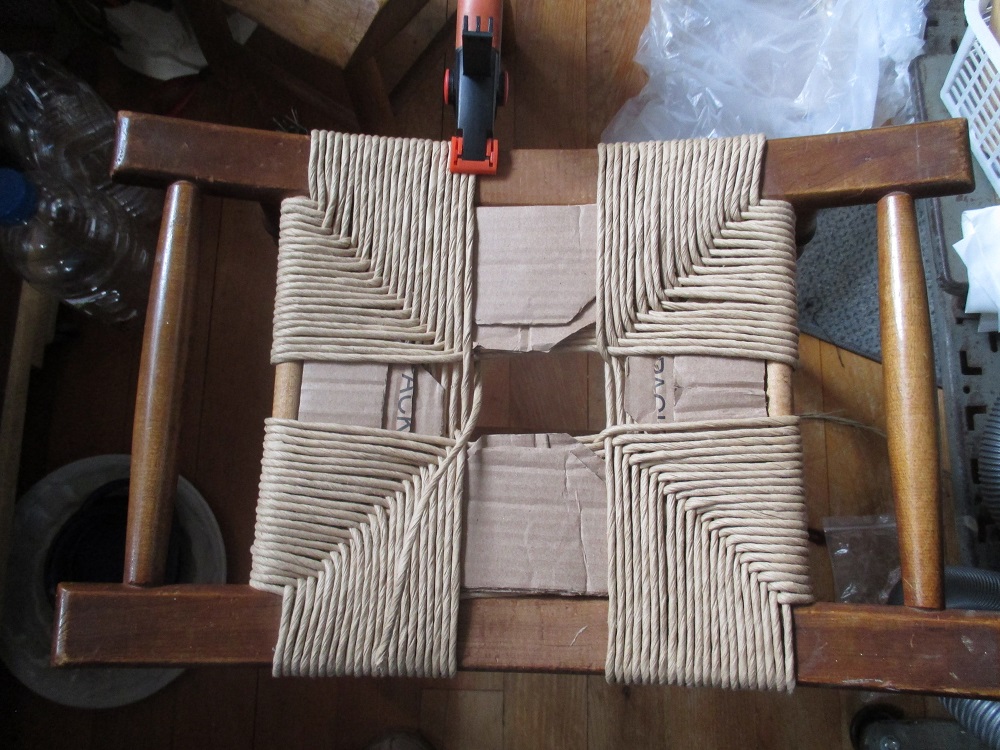
Finished the weaving.
Next comes the staining…
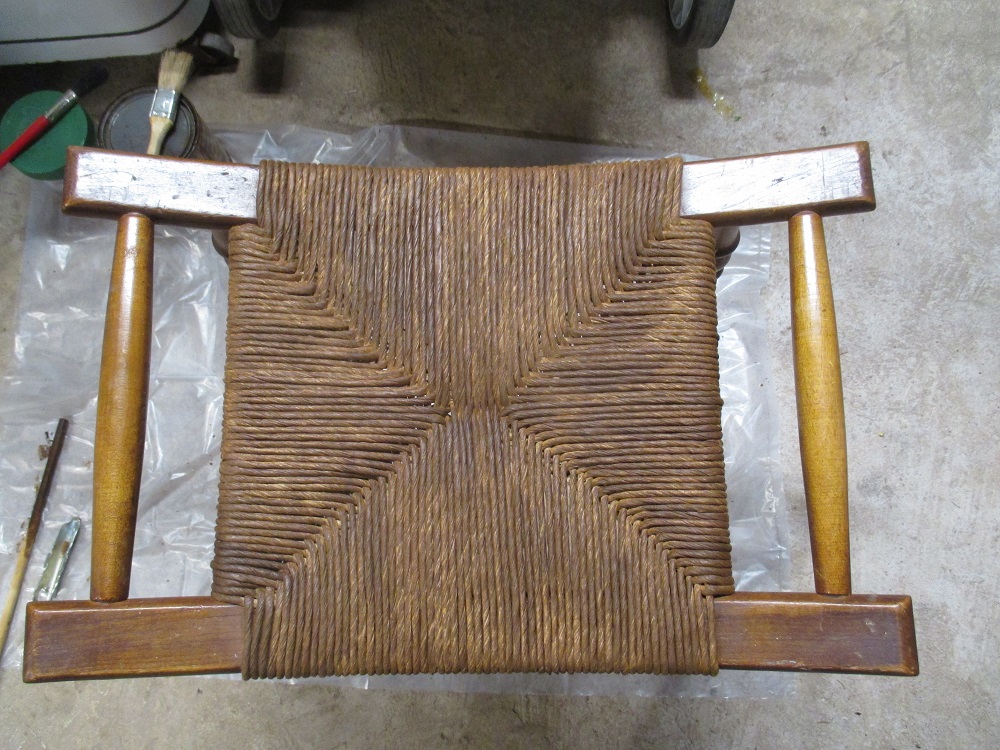
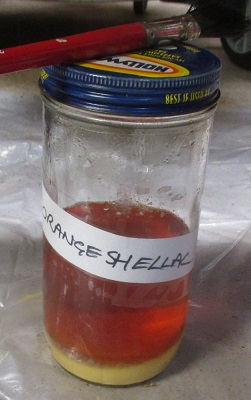
One coat of Mohawk Medium Walnut and one of Orange Shellac 2lb cut

And it’s ready to go home.
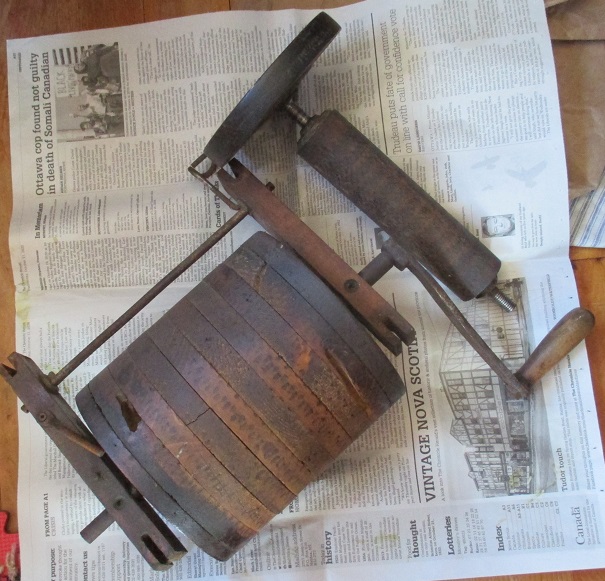
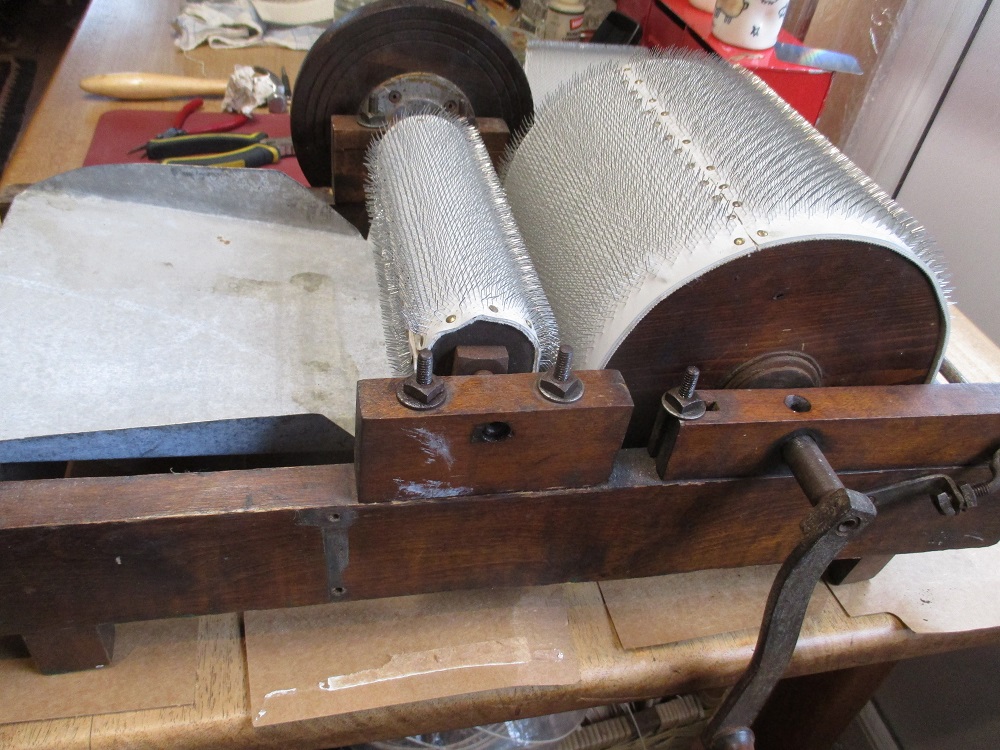
There have not been any chairs to work on recently, so I put my itchy fingers into fixing something else. For those who don’t know, a drum carder is used to card sheep, alpaca, etc. fleece in preparation for felting or spinning.
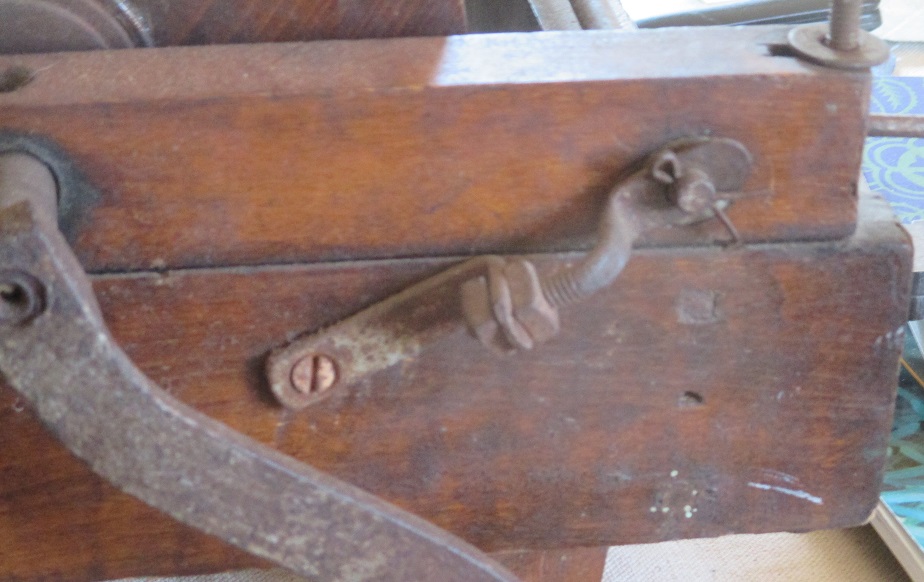
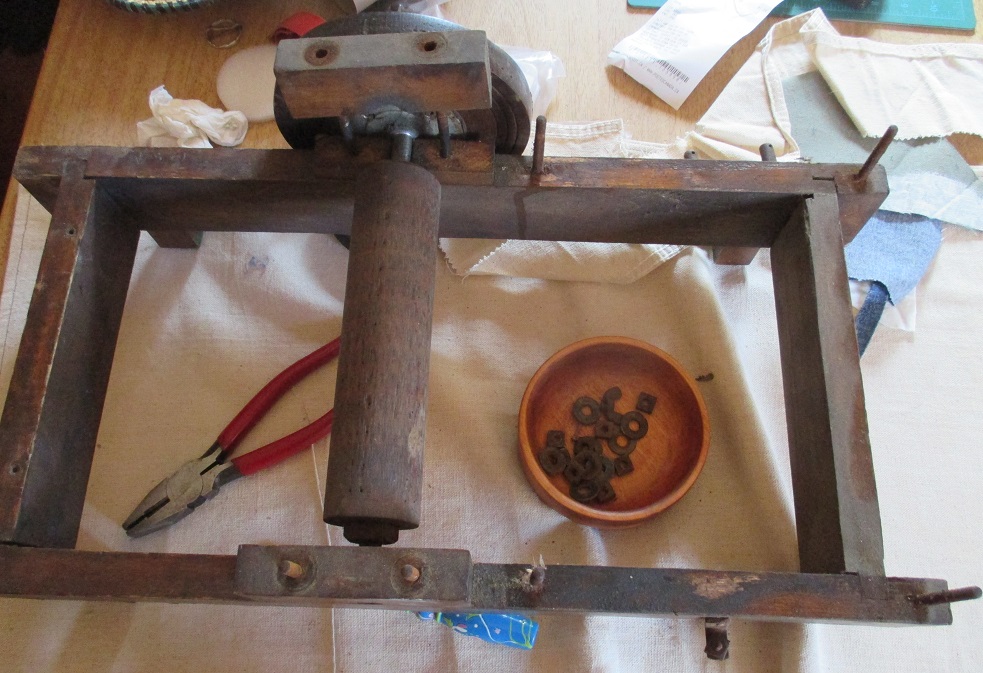
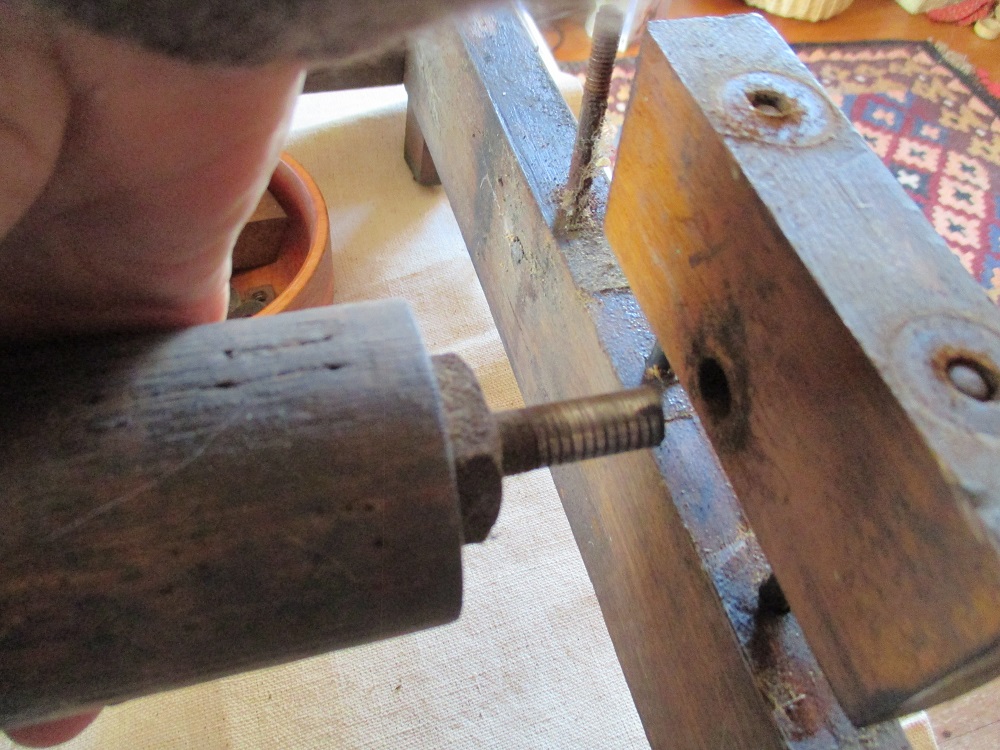
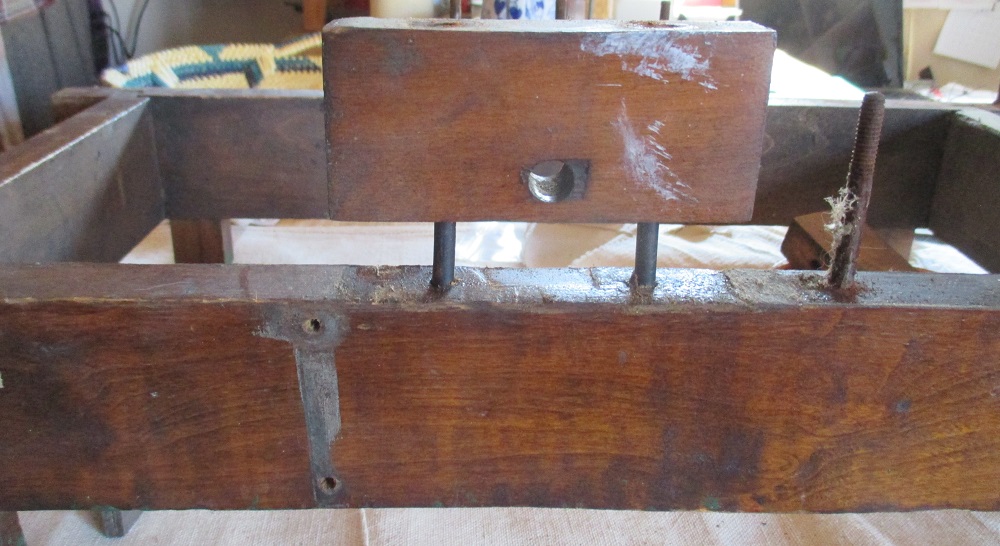
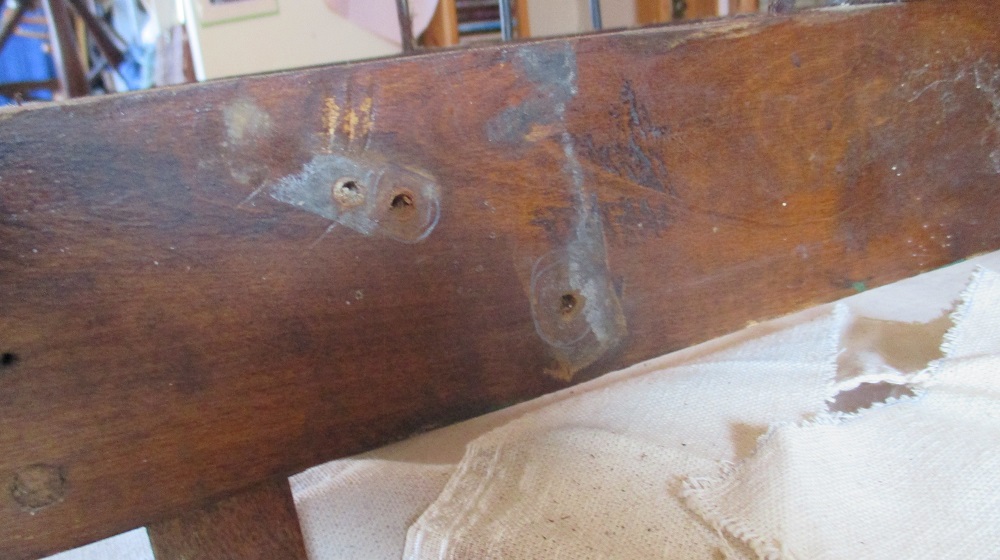
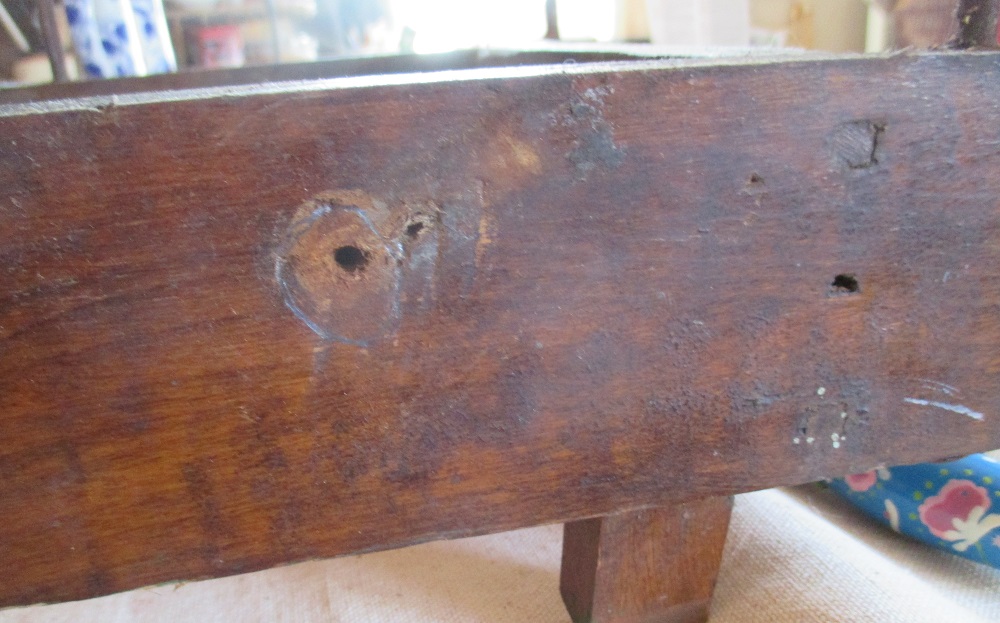
Fortunately for me, I was able to pick this old, rusted, drum carder body for less than $100. Howard Brush company supplied the new carder cloth. Now it is up to me to clean her up and rebuild her. The story is in the photos, but here is a brief description of the job so far. The nuts all threaded off with only a little bit of muscle, despite the rust. The cotter pin (and bent nail) pulled out easily to allow me to remove the Drum sled (for want of a better name). Removing the screws that held the braces on each side revealed a hidden hole, so, for ease of rebuilding, I circled the one the screws came out of. The nuts and washers on the feed roller assembly were removed and the blocks were carefully pried off. Now the frame is wide open and the cleaning can begin.


I dug out this old project between chair customers, determined to get it put back together. My first attempt at putting the carding cloth on I measured and cut the length to go around the feed roller and ARGH!!! got it wrong! What to do? What to do?
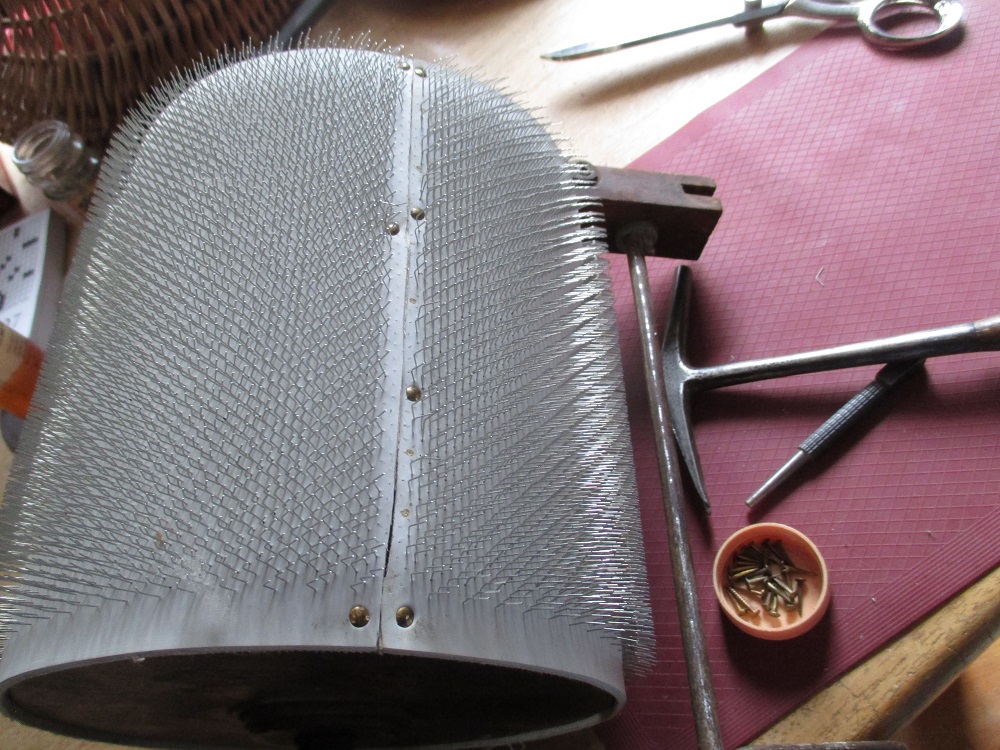
The obvious thing was to not make the same mistake twice, so for the main drum, I tacked one corner of the cloth to the edge opposite the handle and laid it around before marking the length. I added a little more, pulled a swath of teeth out using pliers, cut the cloth and began wrangling it into place. A few scratches and grazes later (it wasn’t possible to wear gloves) I got it in place with a slight overlap which I then trimmed with scissors. Much better.

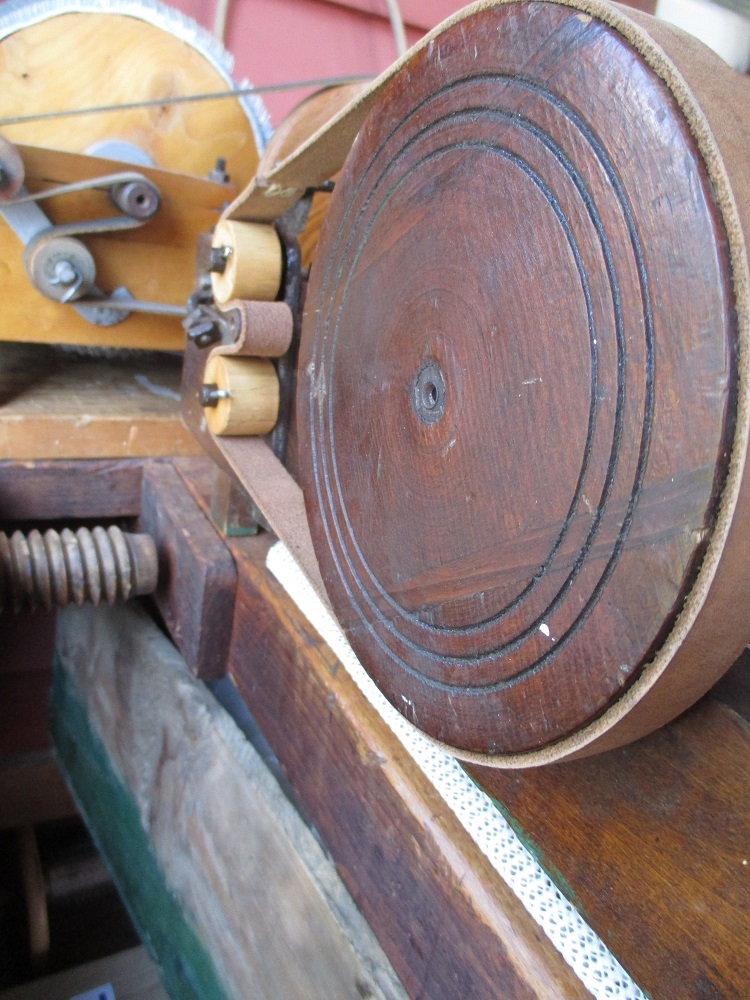
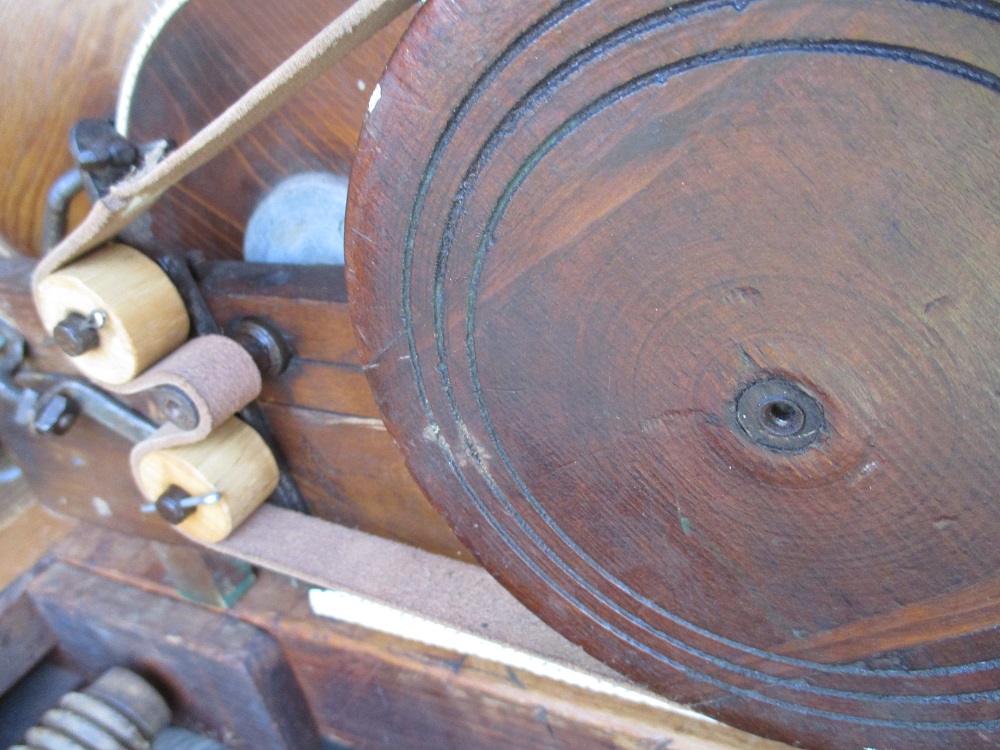
Rebuilding began with a piece of galvanized sheet metal, cut to shape then bent and hammered into place for the feed tray. After which I reattached all the hardware. It was a bit tricky getting the main drum to turn without pinging on the feed tray, but with a few tweaks here and there everything went together nicely.
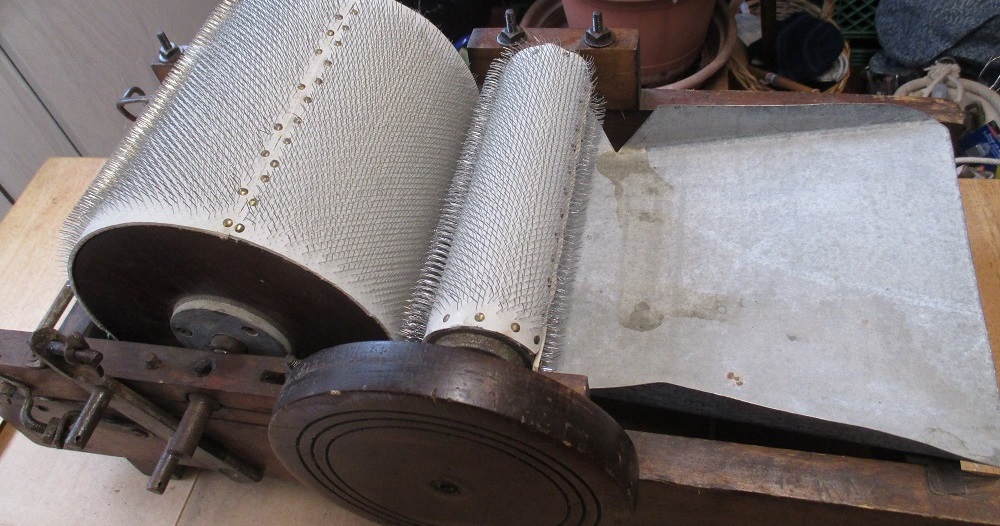
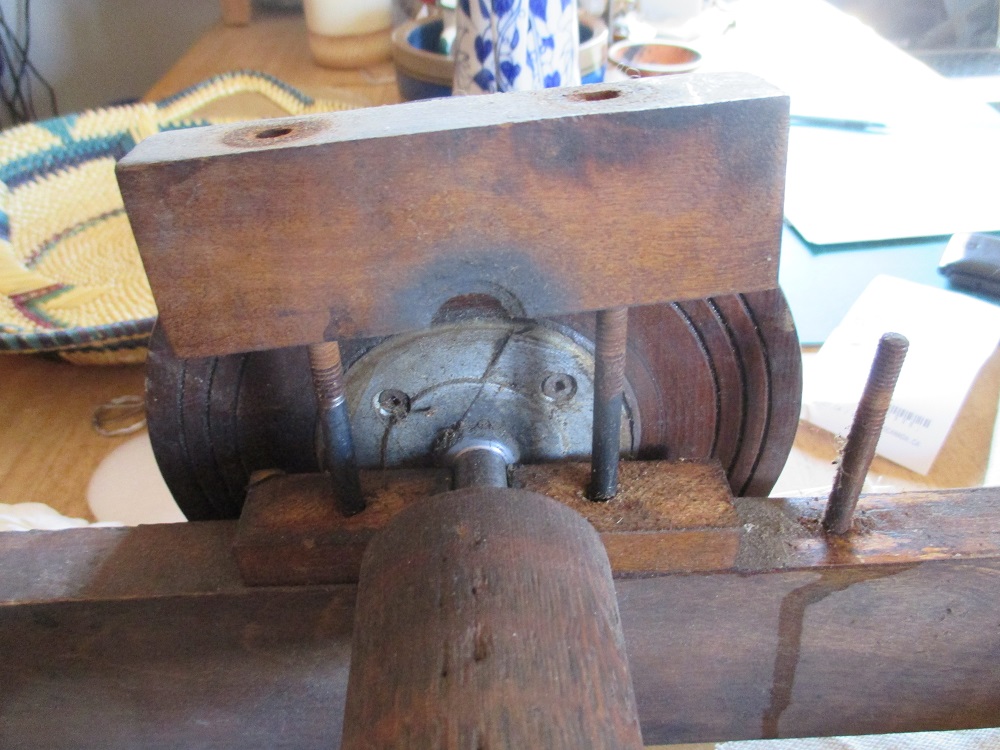
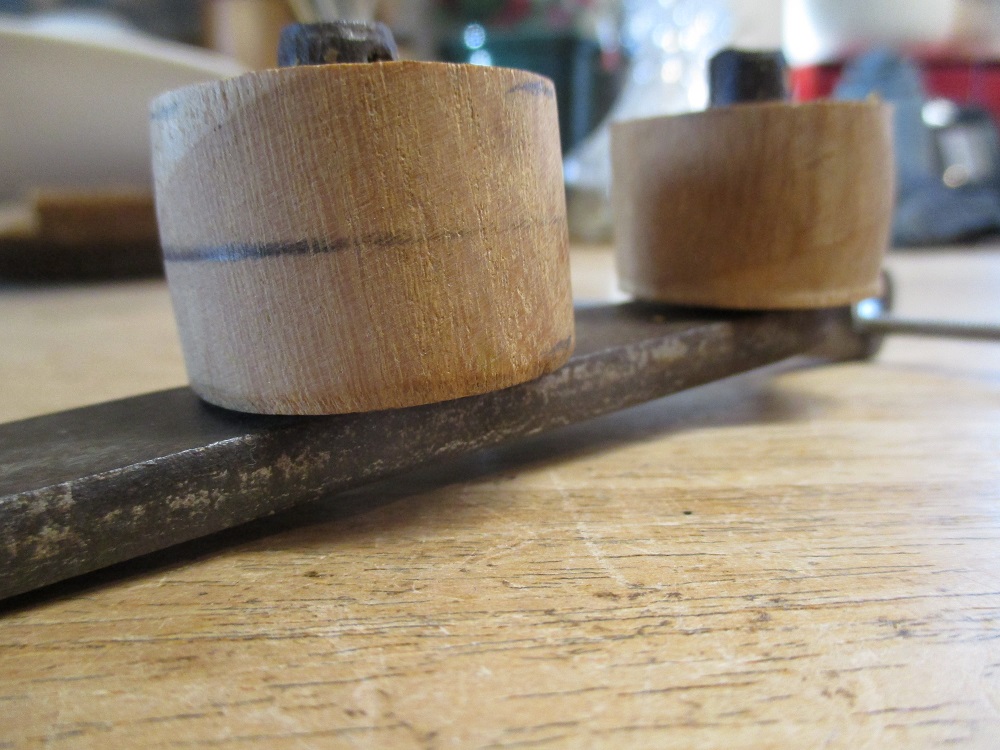
Fortunately, I have another drum carder which I have been able to use as a model, without which I would not have known that I needed two wooden bearings on the tension rod for the belt to drive the rollers. With the aid of a drill press and a piece of 1.5-inch dowel, these were produced and a leather drive belt was made.

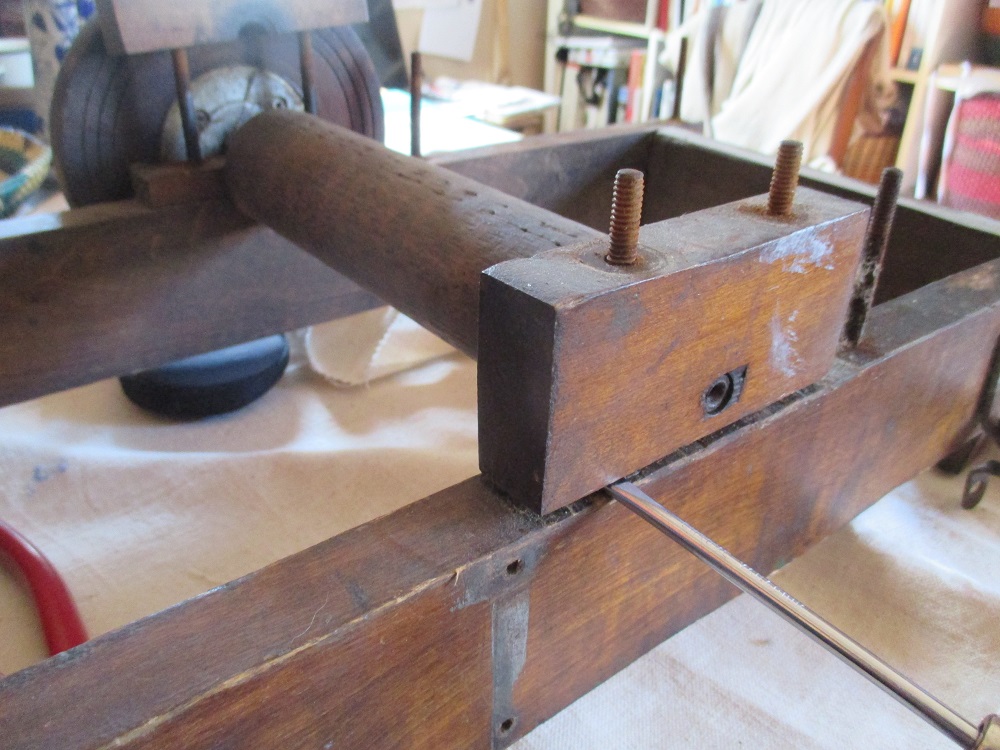
The tension arm took a bit of filing to make it pass smoothly over the screw threads when tightening with the wingnut. Then some final sanding of the bearings, oiling of all moving parts and putting on the belt.

This was a fun and challenging project.
