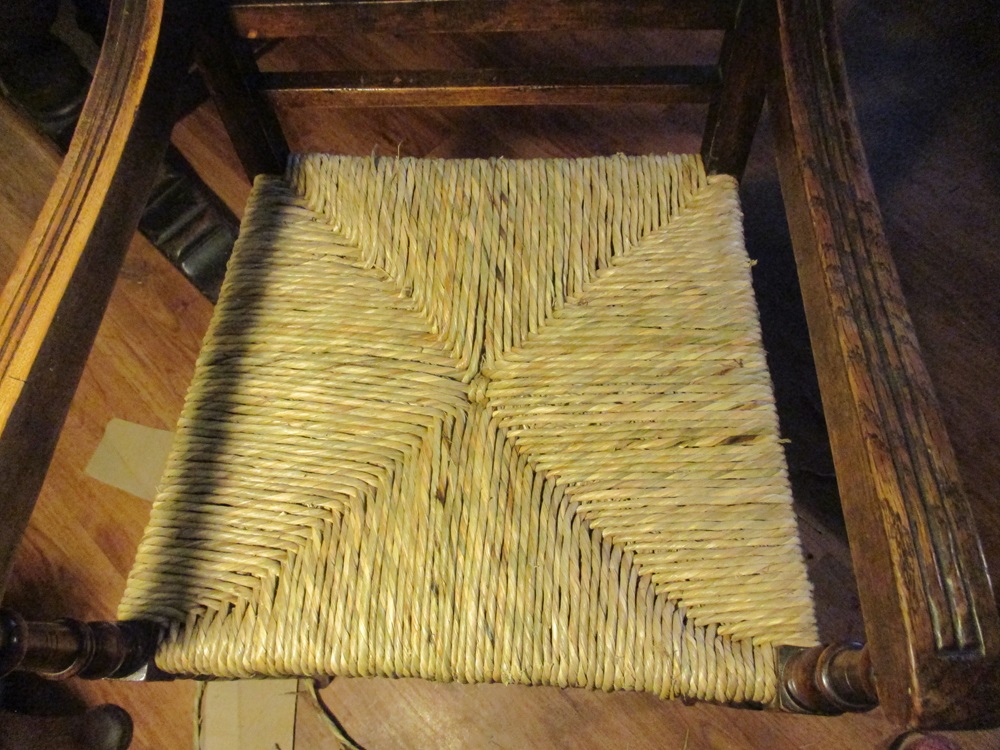
Sometimes chairs come in which need a good fixing before the seats can be replaced.

By the time this chair was competed it was ready for another fifty years of bottoms.
Sometimes chairs come in which need a good fixing before the seats can be replaced.
By the time this chair was competed it was ready for another fifty years of bottoms.
Fingers are flying, and chair seats are filling in. With help, of course.

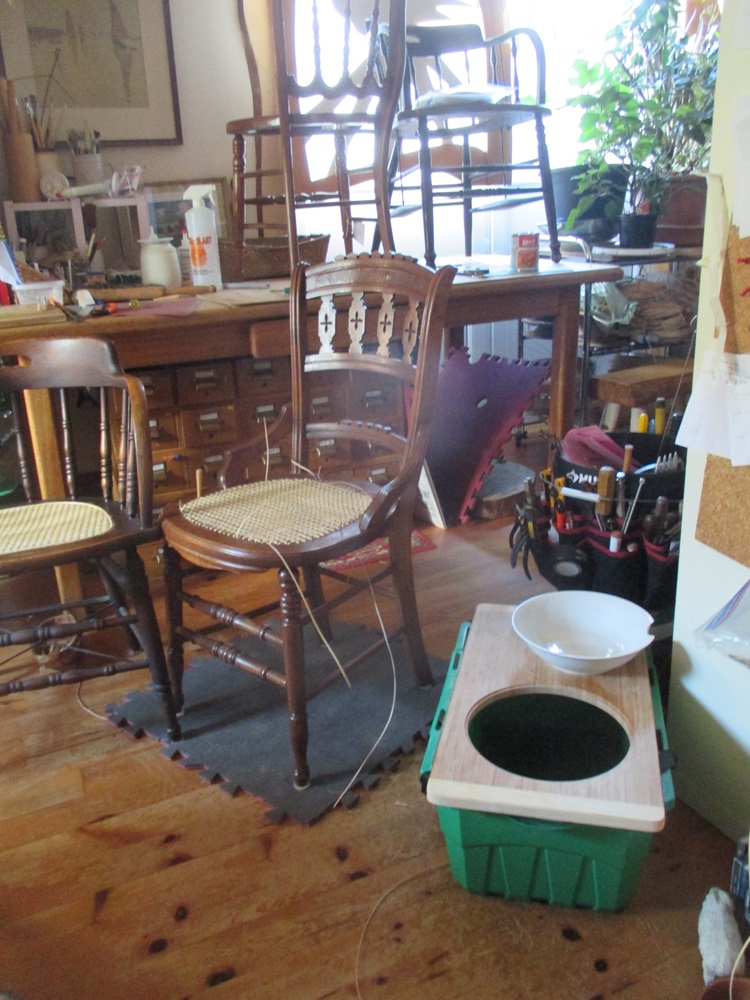

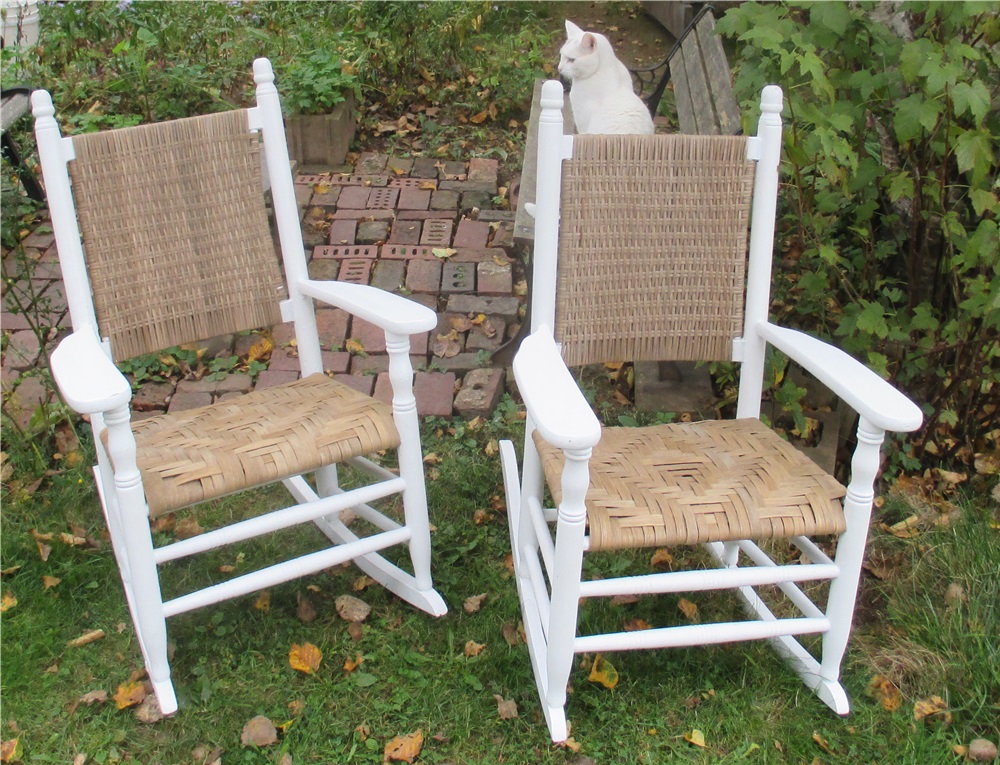
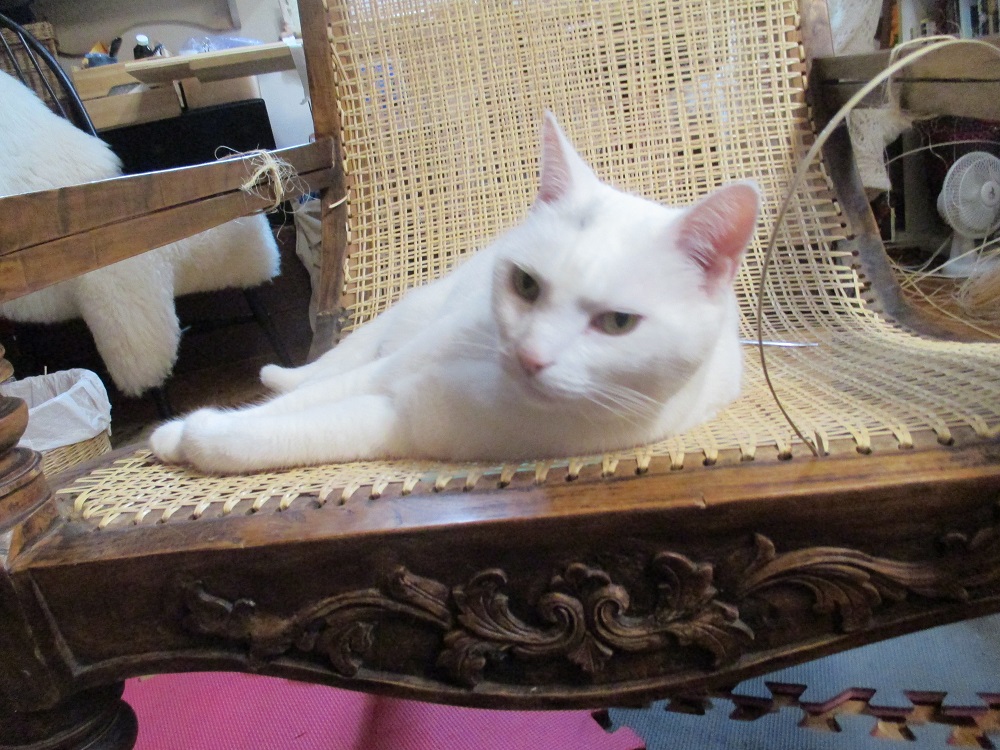
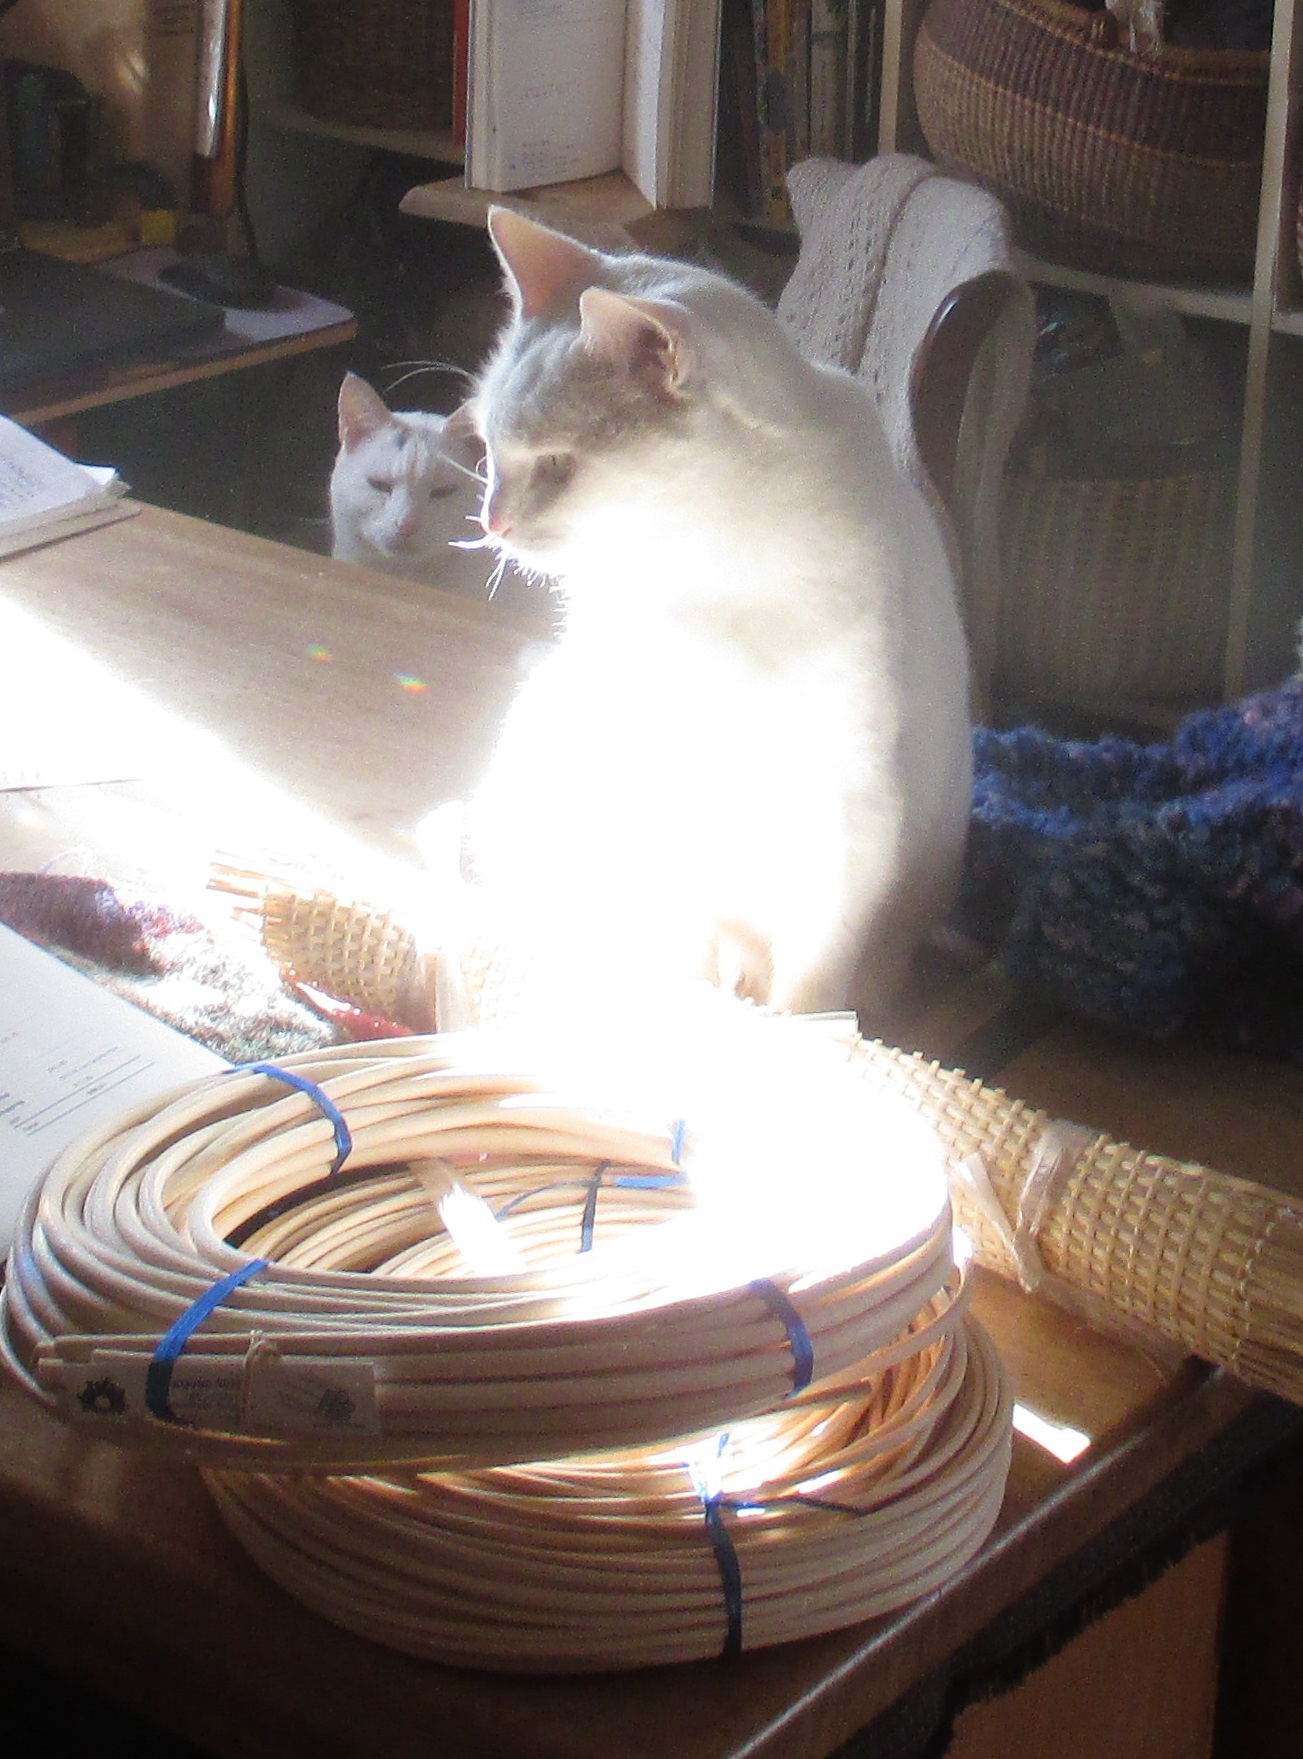
It has been a busy summer here at Woodside Workshop. Here are some of the projects I’ve completed. See if you can spot the cat.

Who knew there was such a thing?
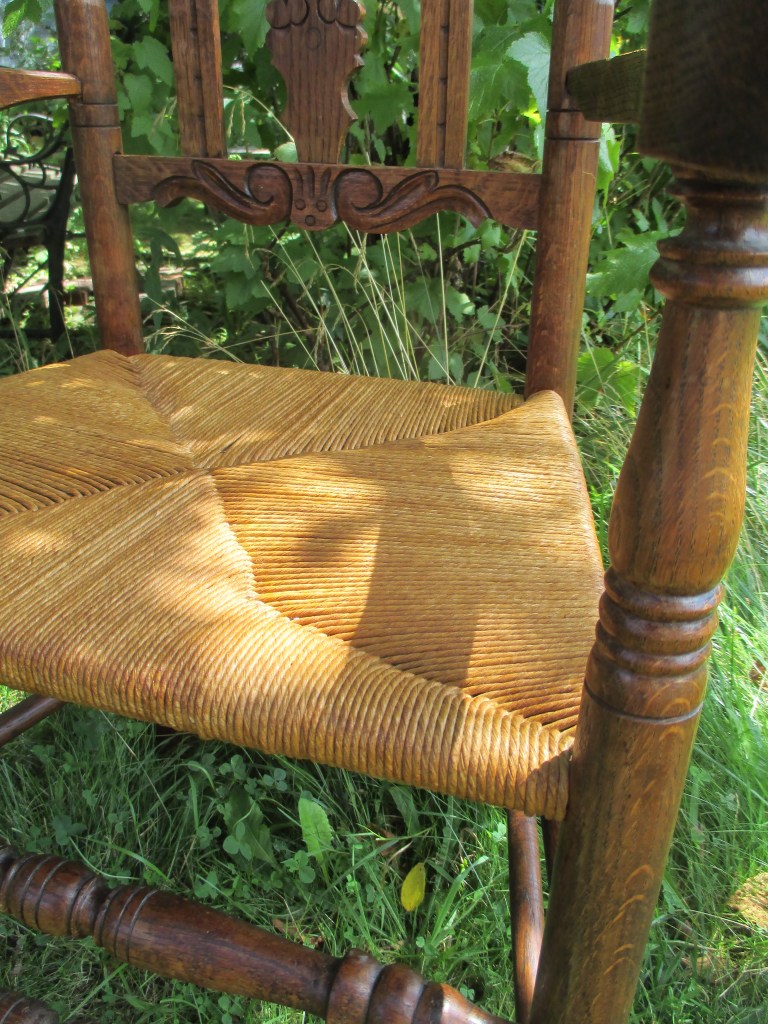
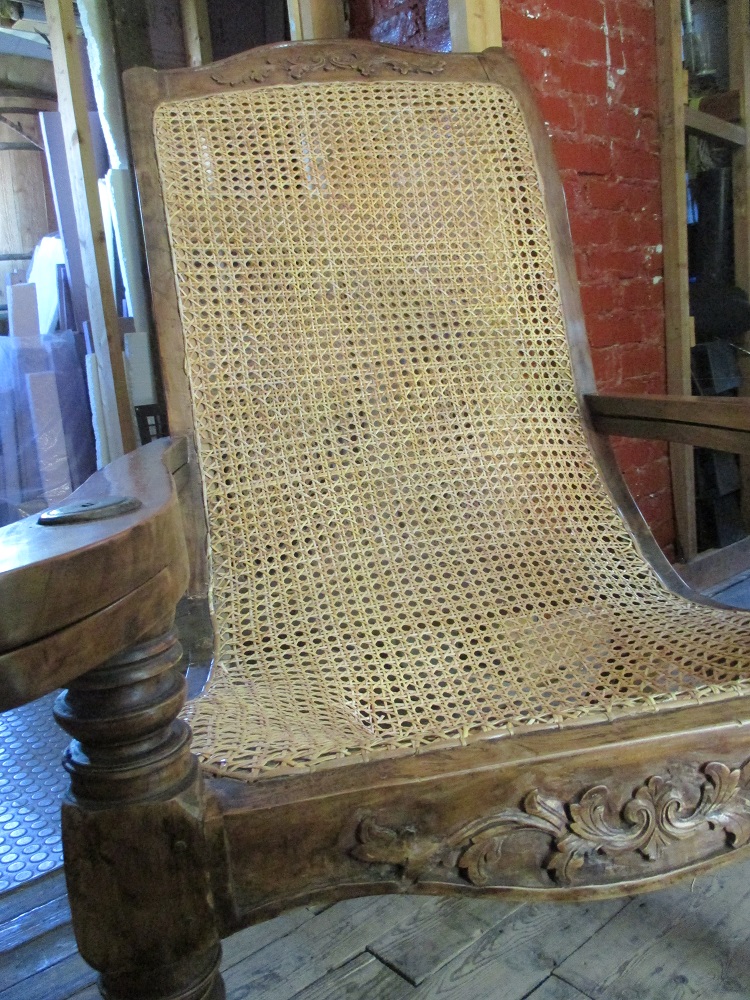
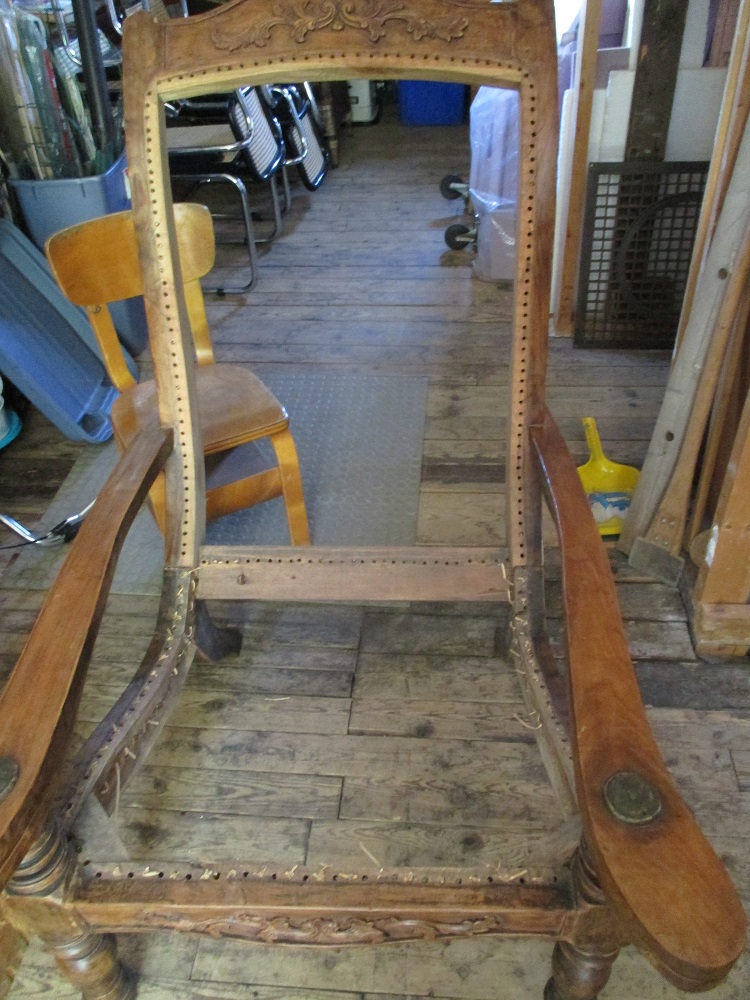
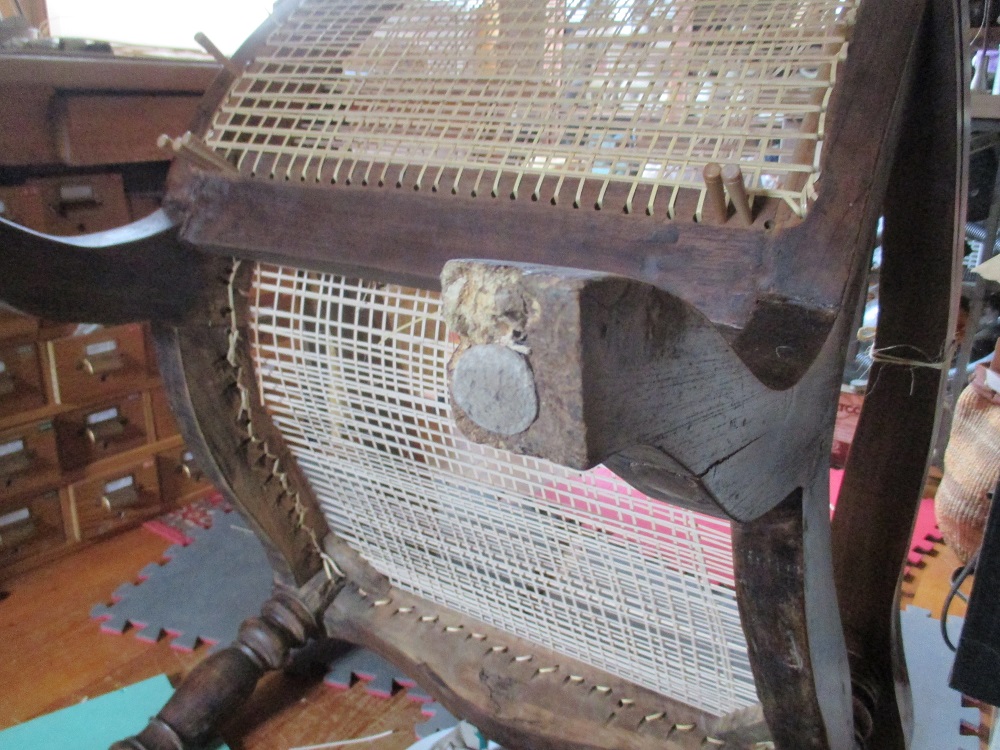
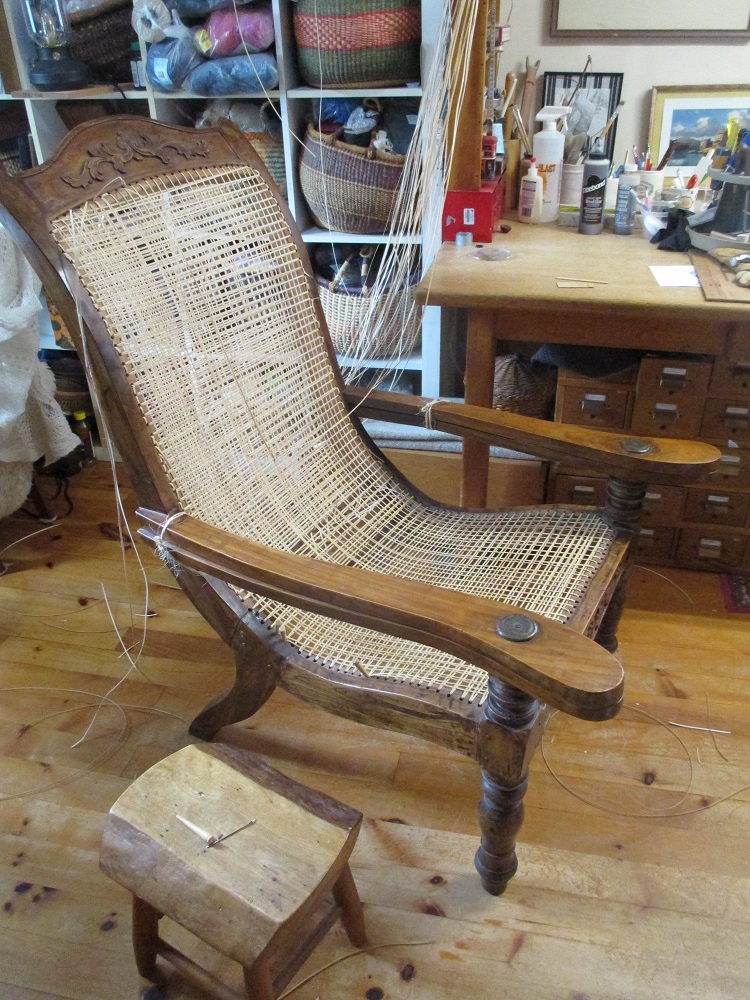
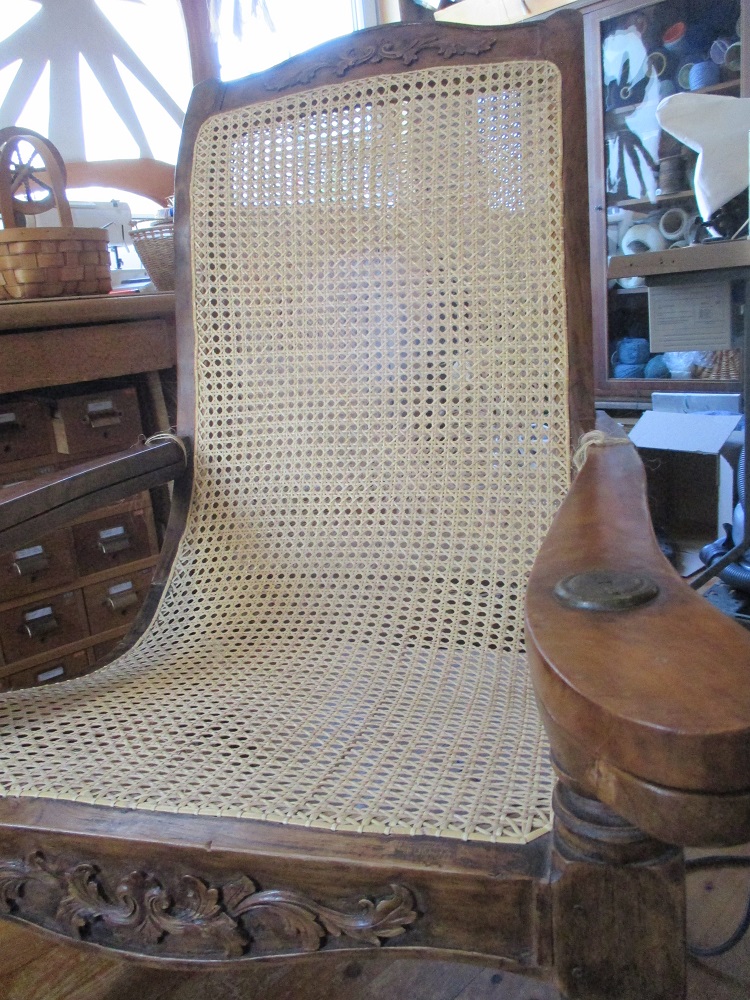
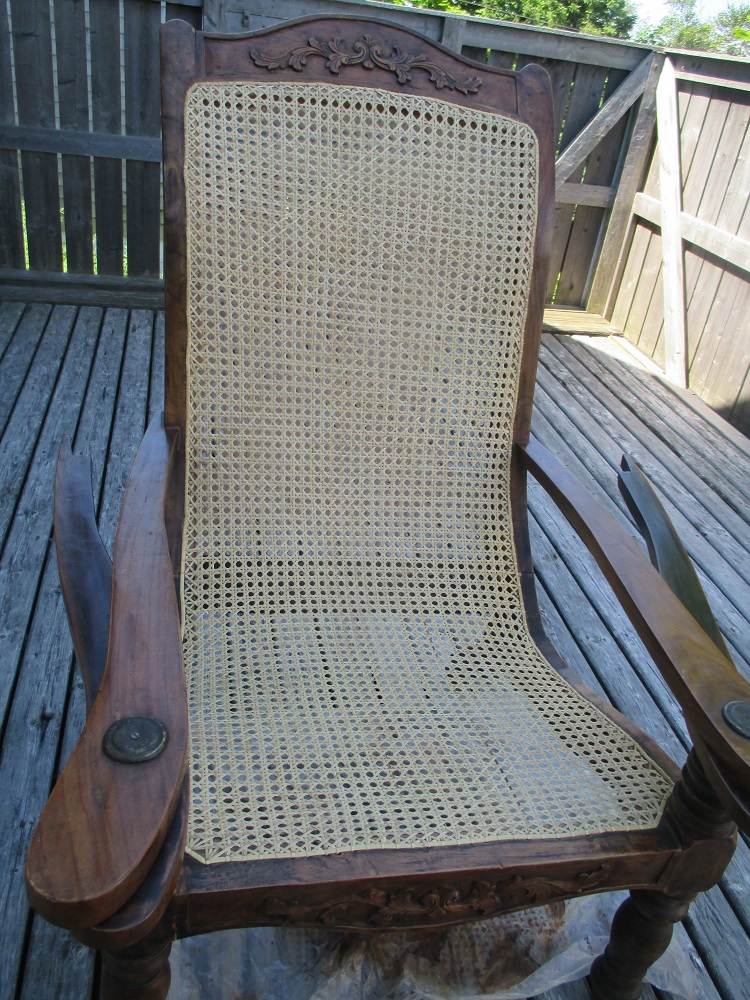
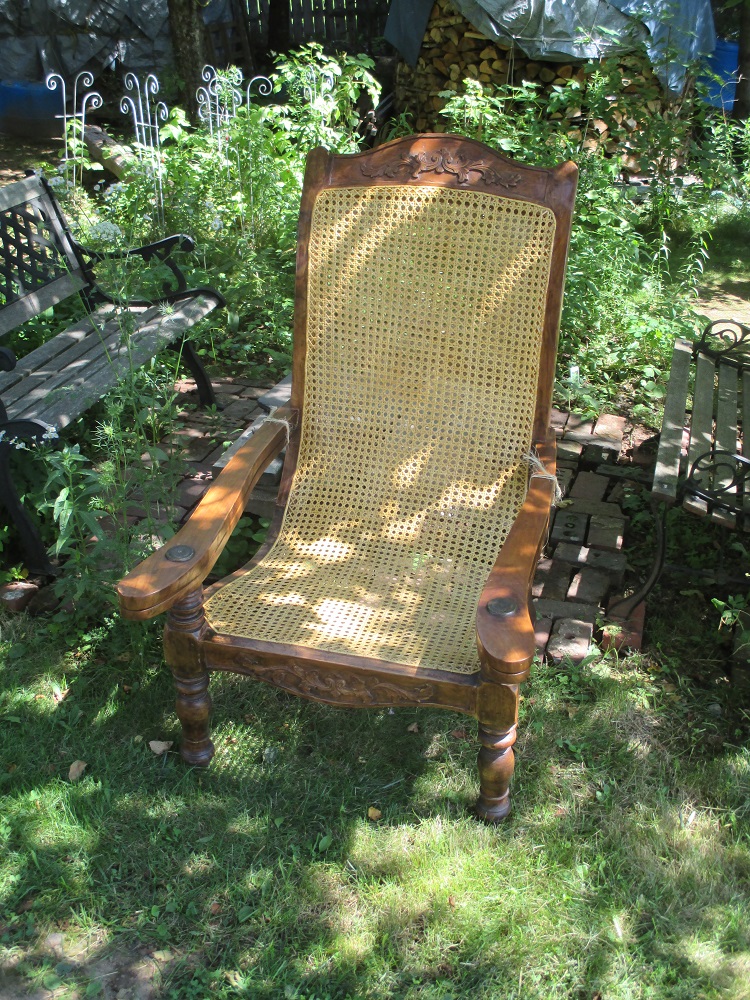
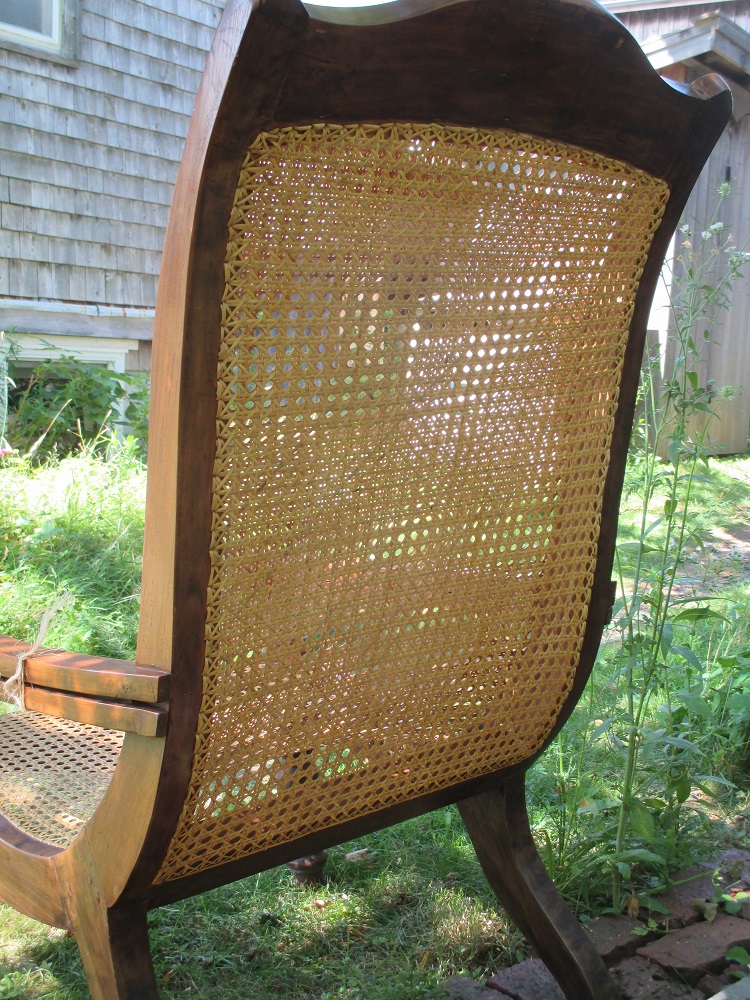
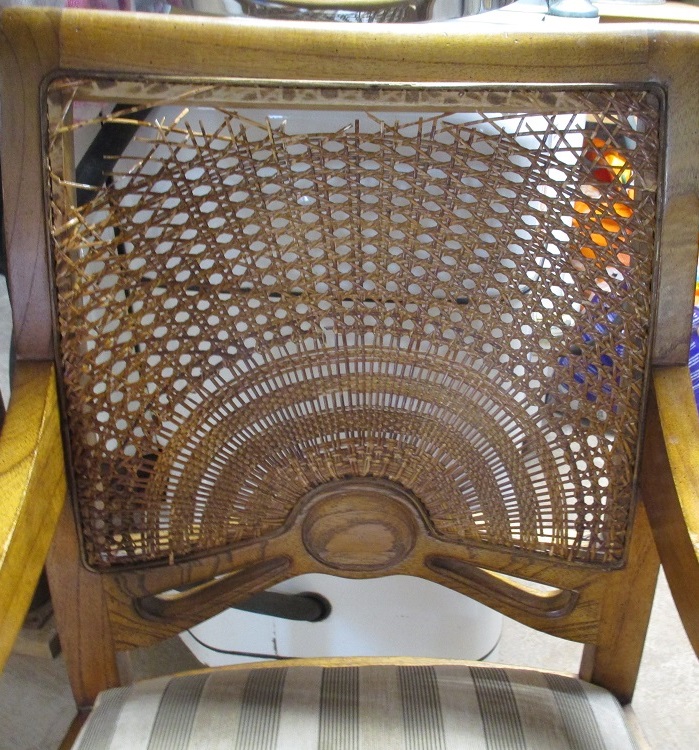
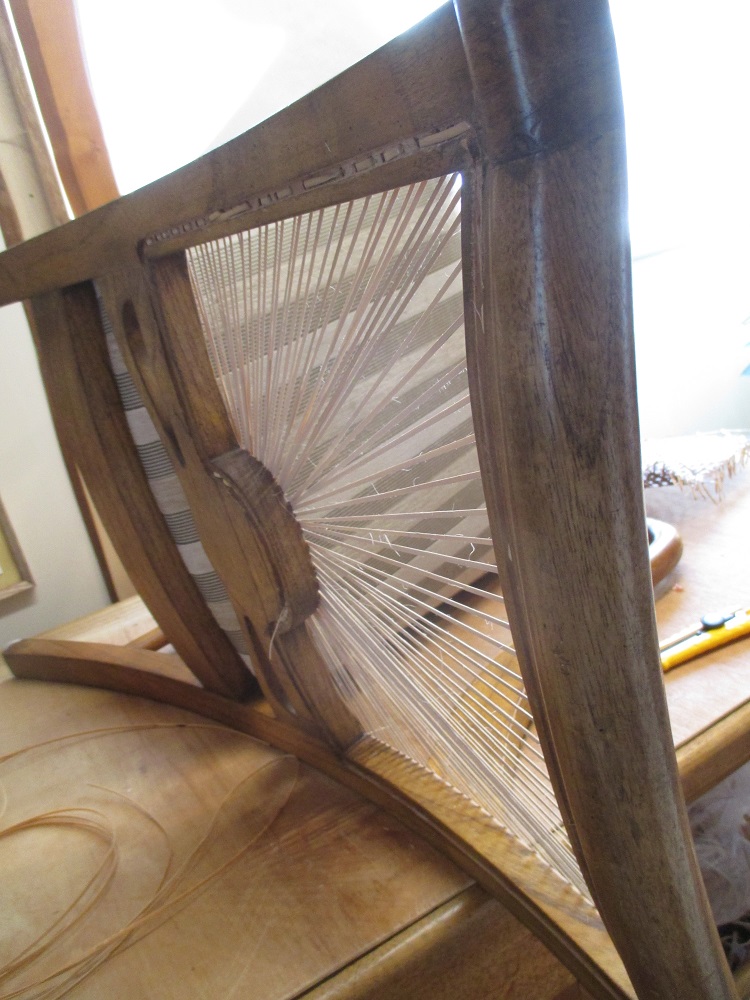
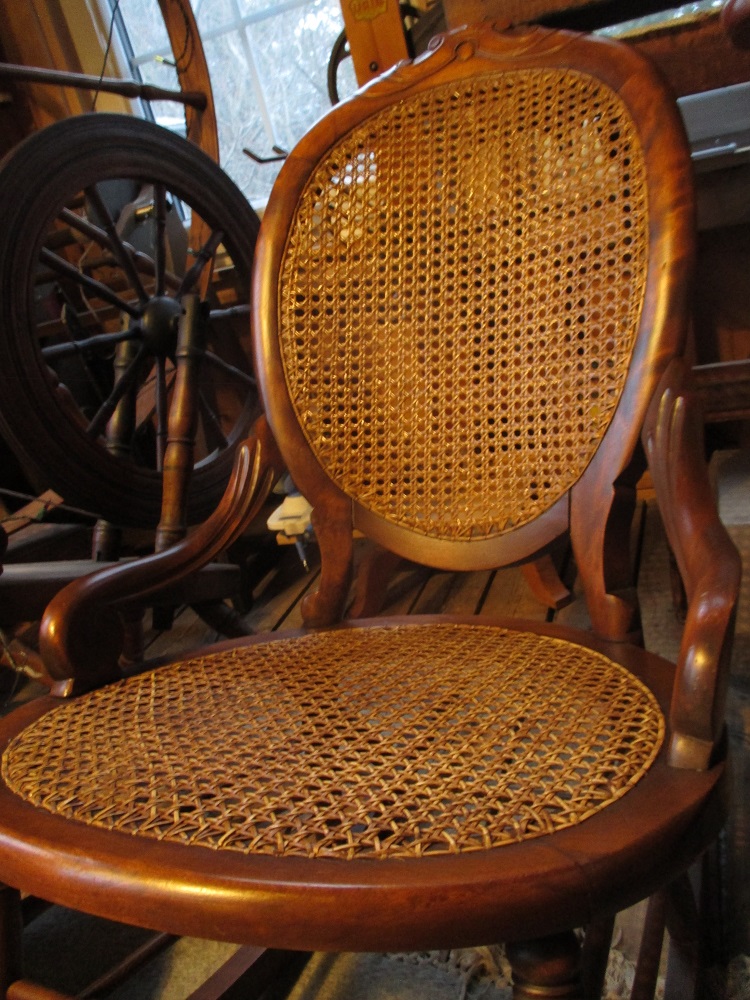
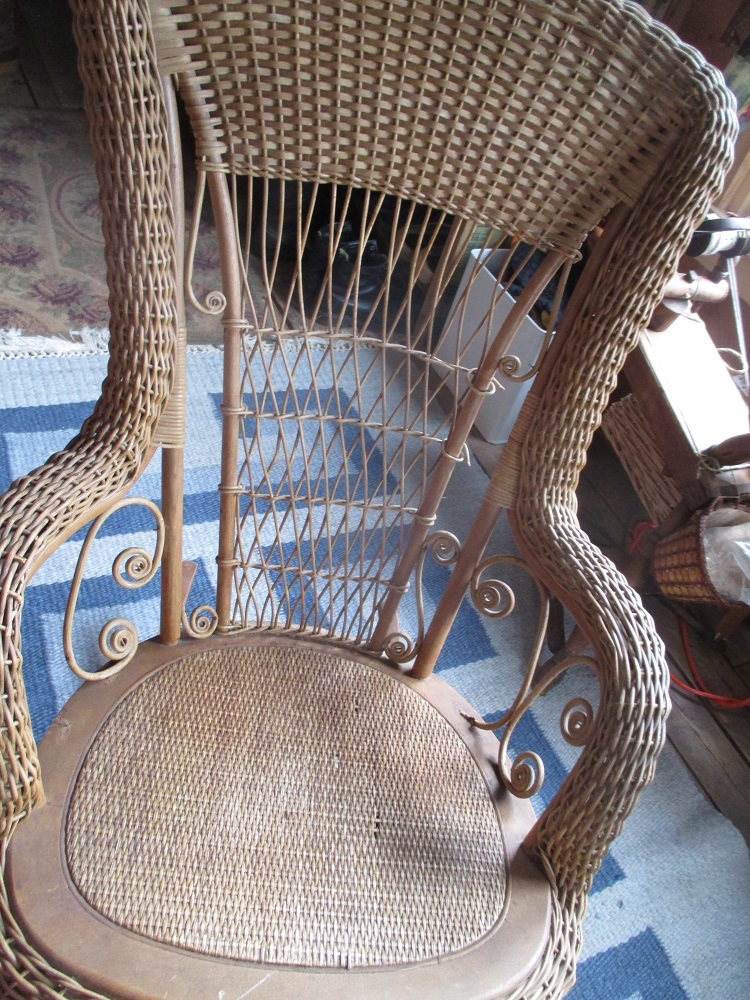
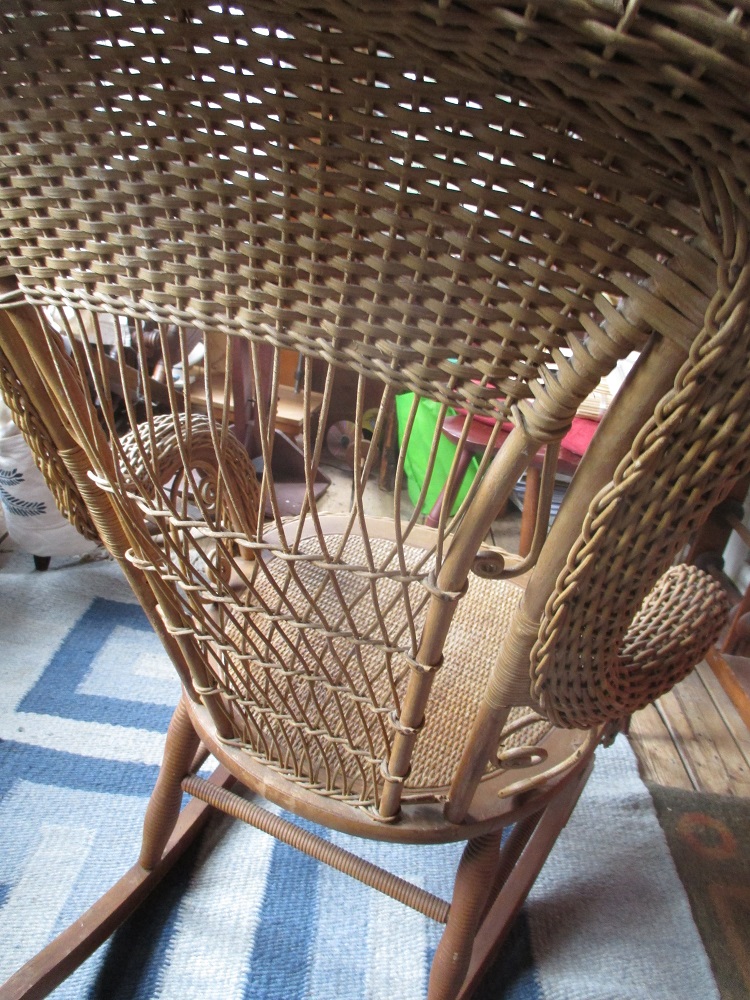
This beautiful, large chair dominated my workroom for a month as I patched, reglued, wove, stained and shellacked it back into stability. It is the first time I’ve had to incorporate the back into the weaving. I think the result is worth the extra effort. What do you think? Please leave a comment.


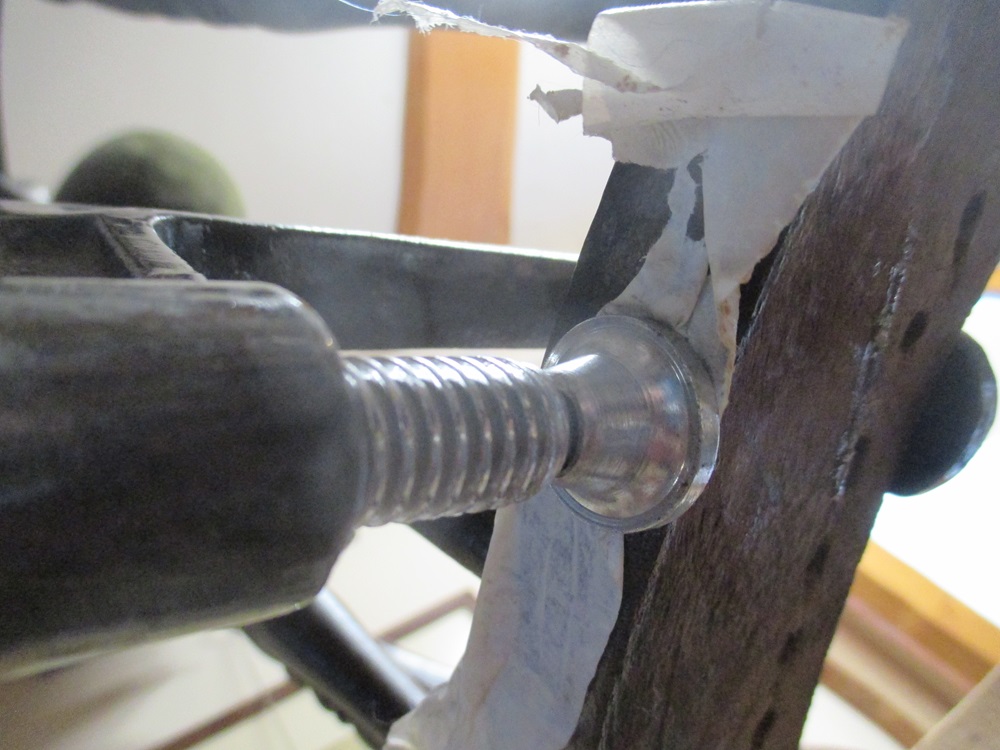
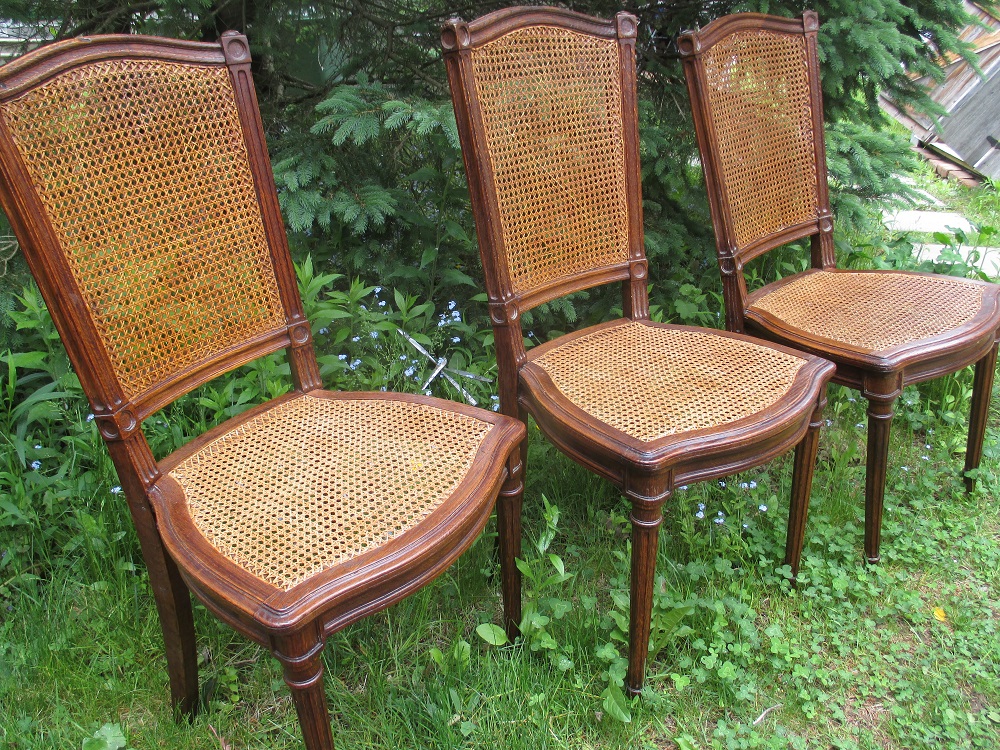
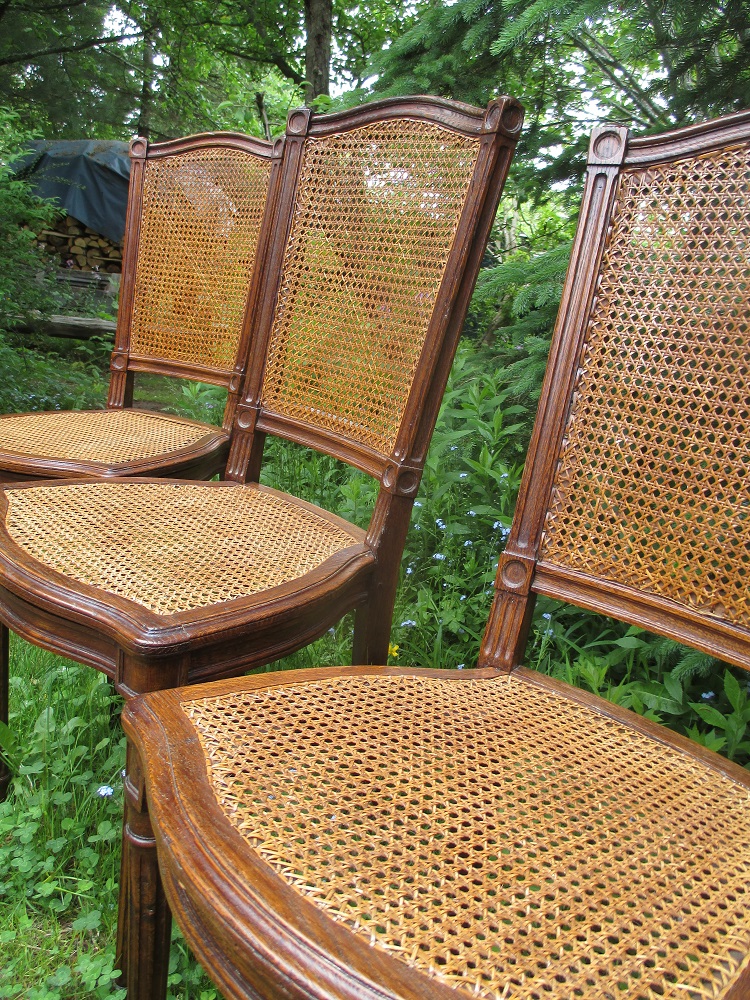
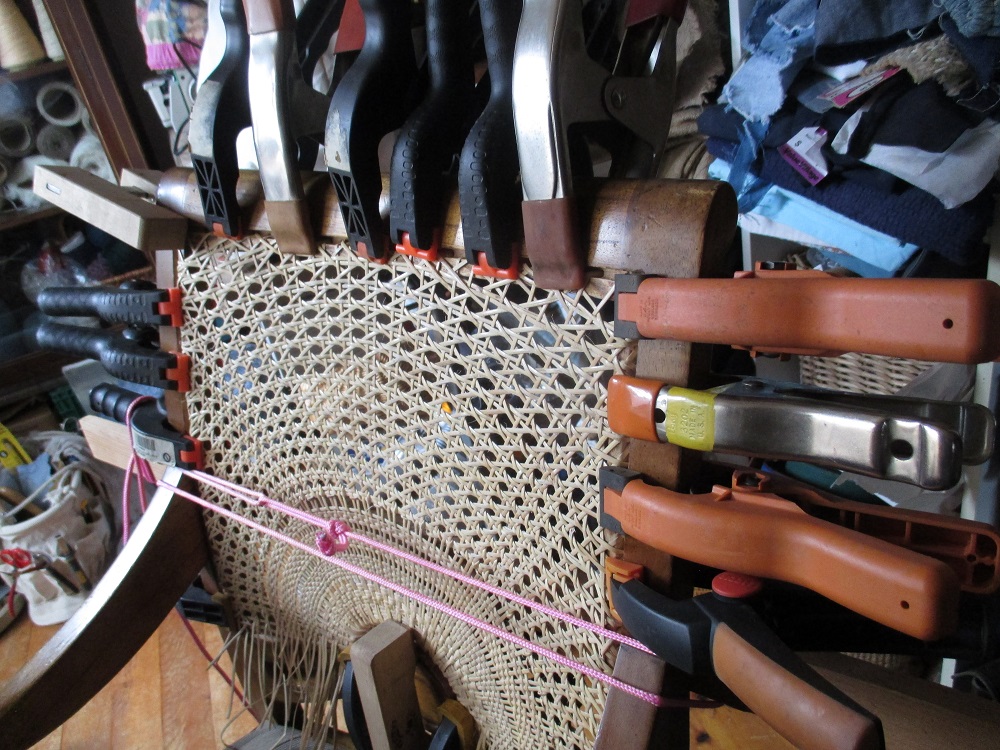
Three antique French chairs arrived by taxi and were handed into my care. Pretty and delicate, two of the frames and one of the seat frames needed some regluing to stabilize them before the caning could begin. I used our trusted Bessey clamps for the former and a strap clamp for the latter and standard carpenters glue.


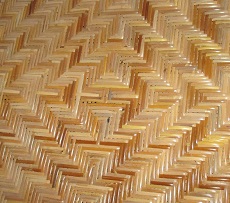
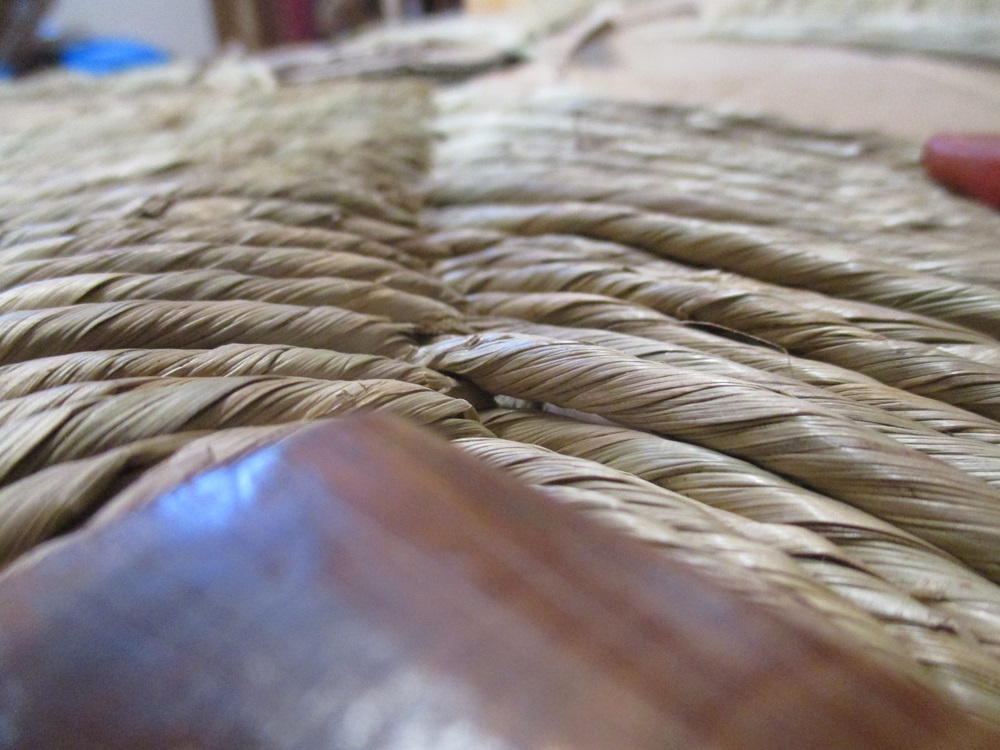
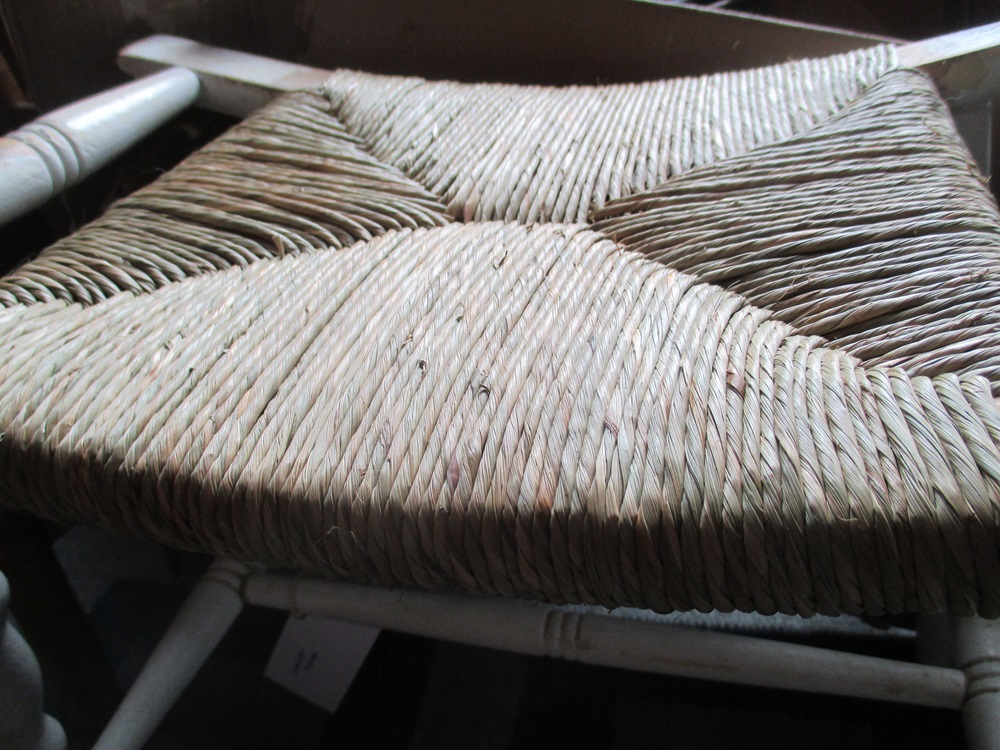
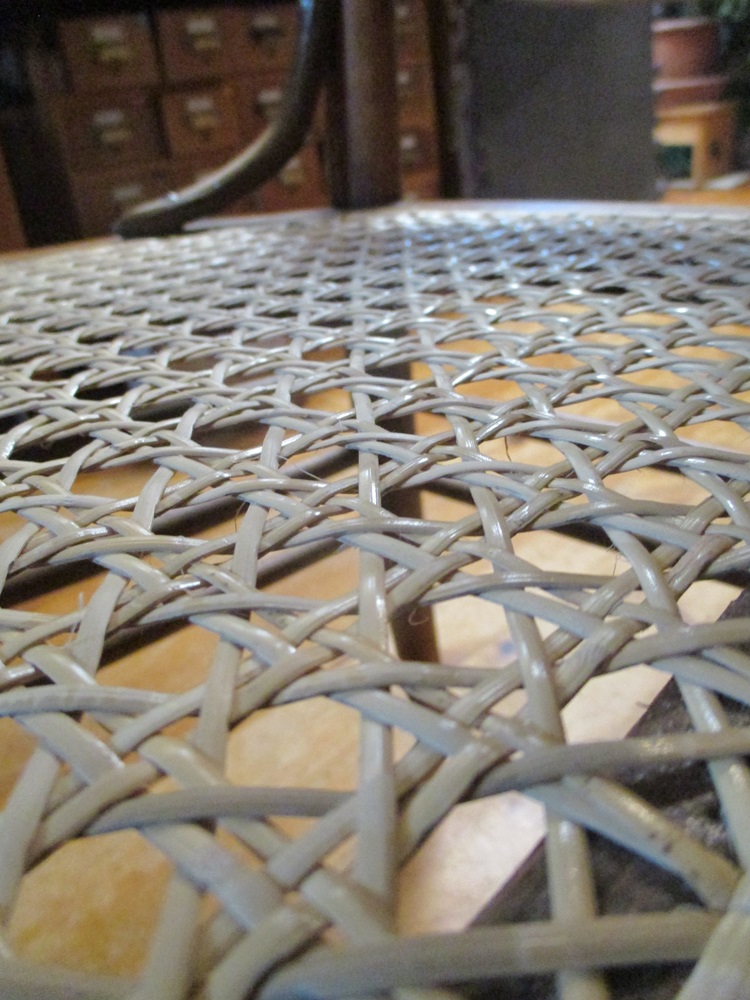
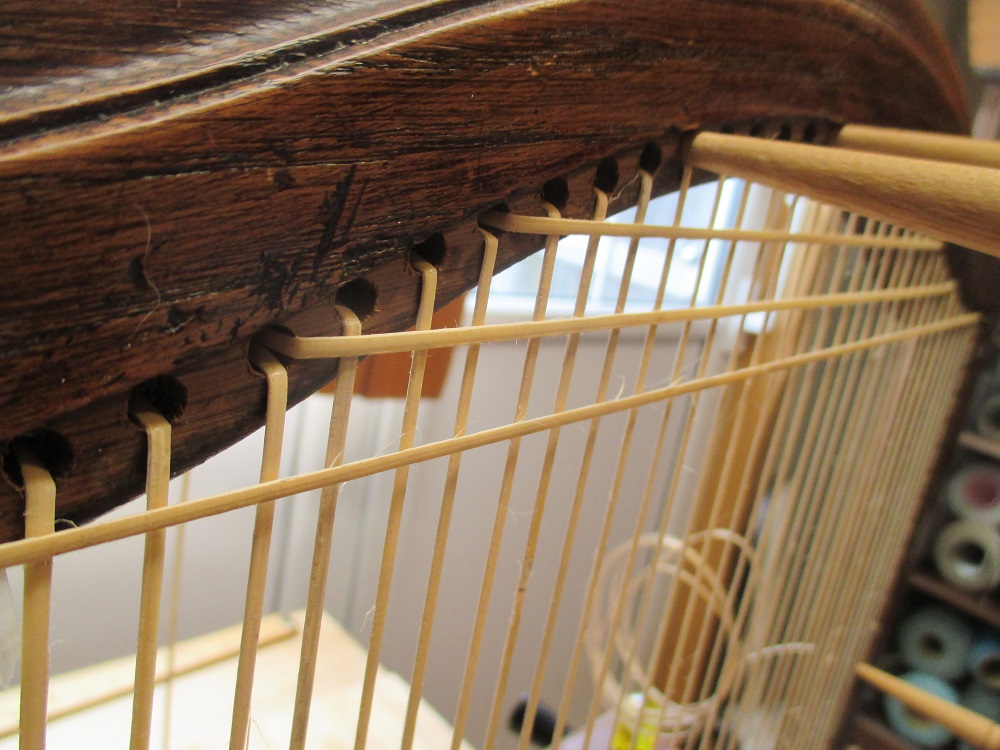
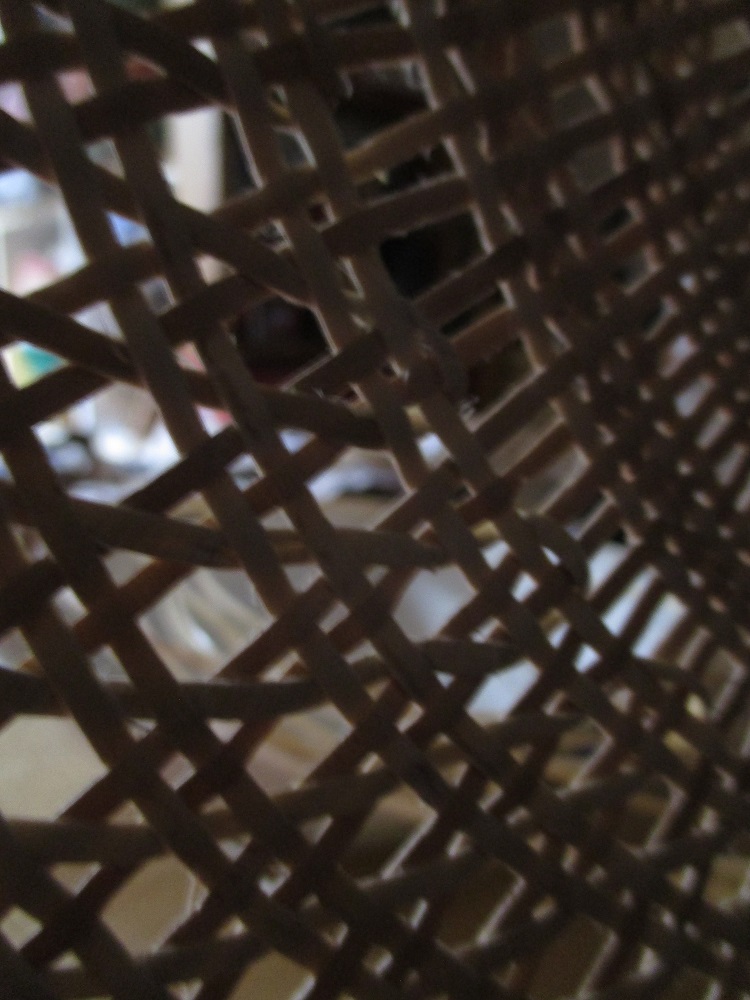
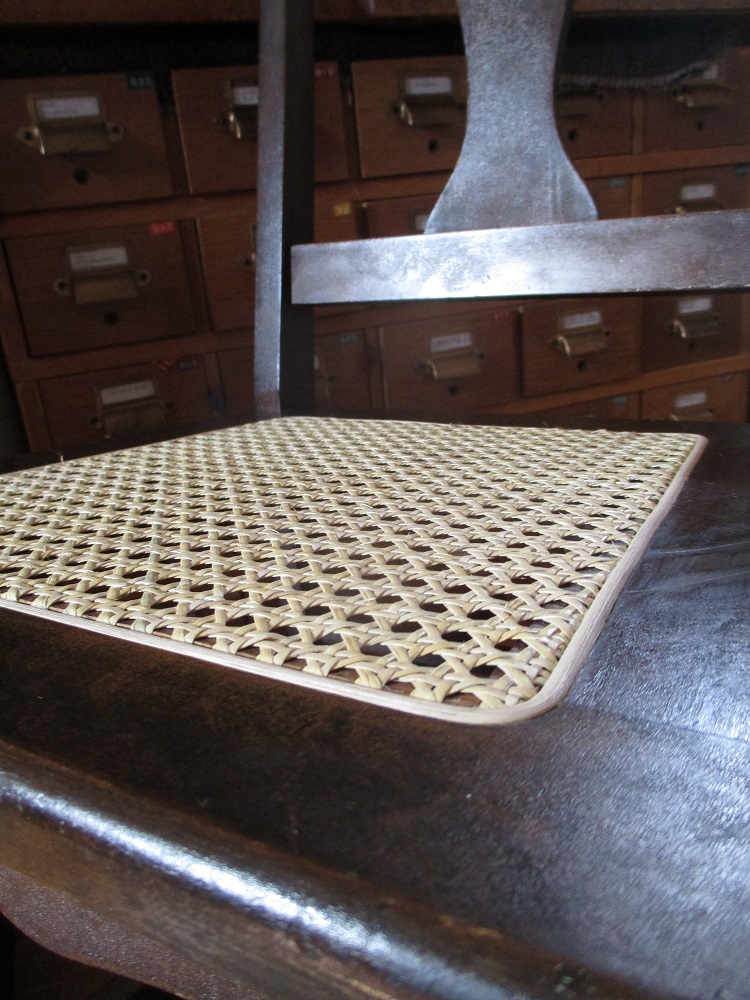
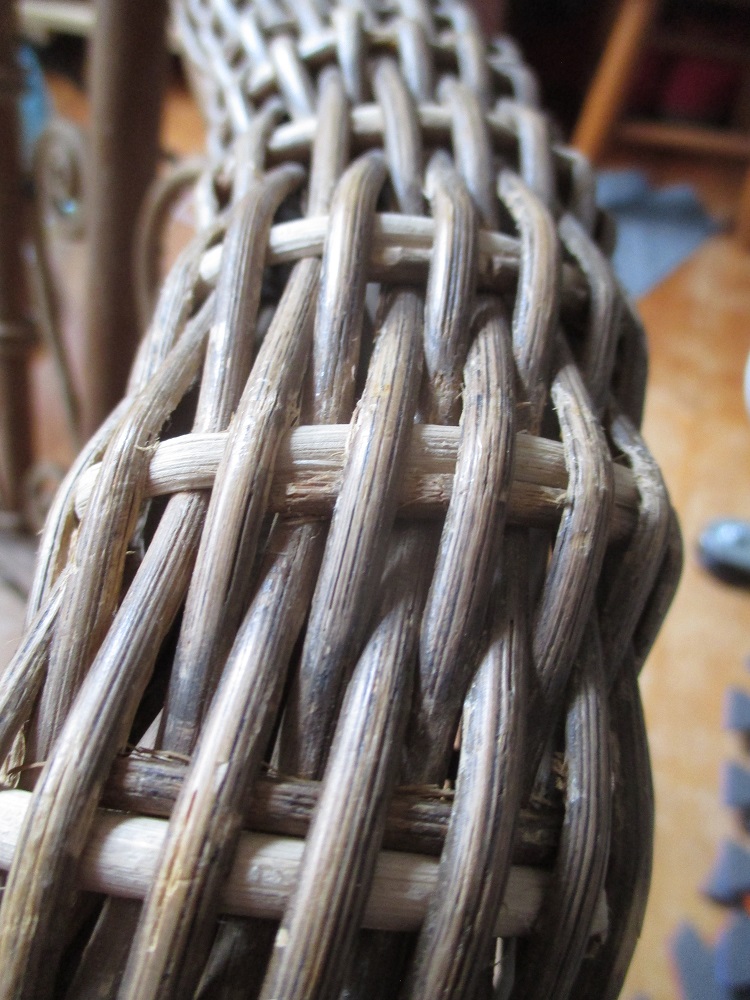
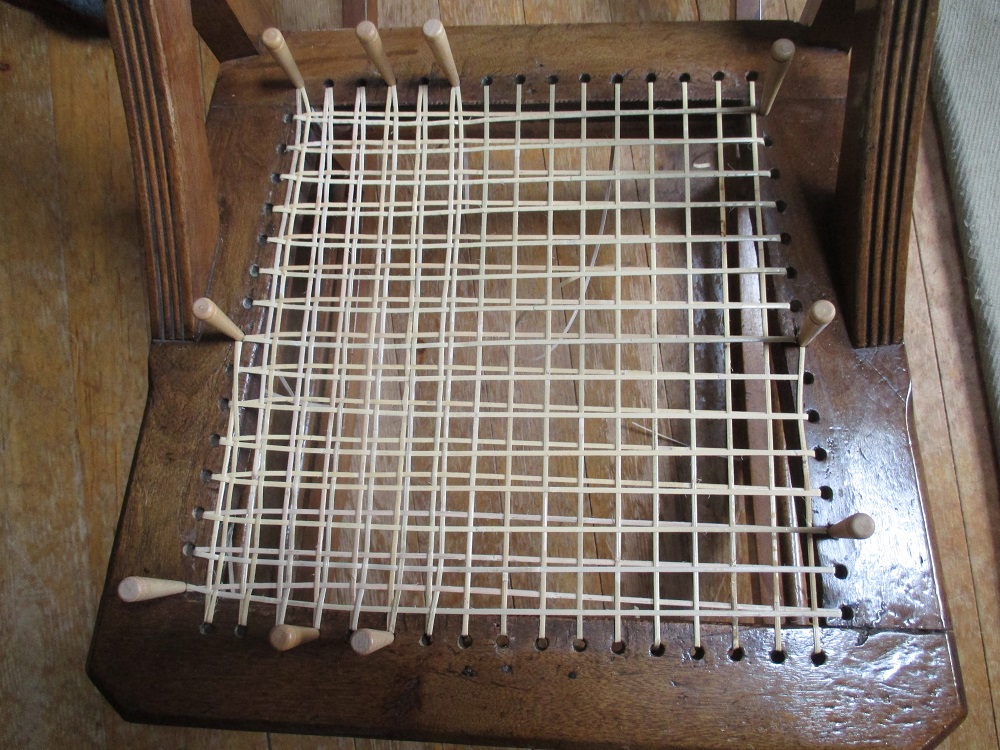
Weaving one hundred and twenty-two holes with 2mm cane is a time-consuming task as the cane is so fine it tends to snap if not treated with gentle hands. Multiplied by three seat frames and it’s a monumental job. I don’t dare count the hours it takes or I’d be too depressed.
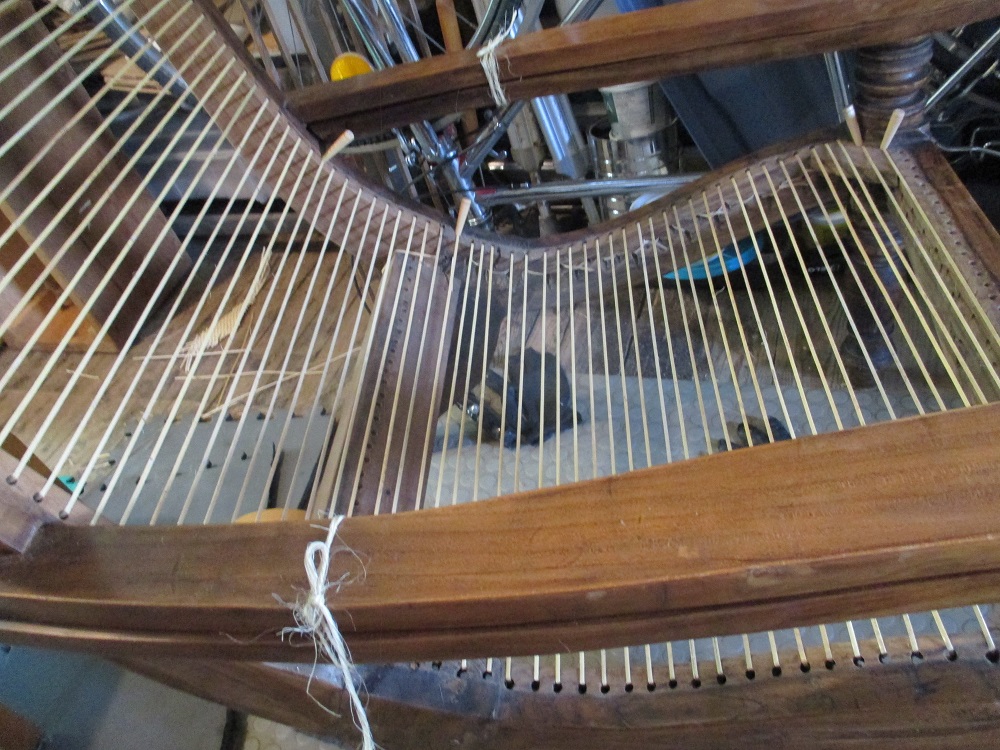
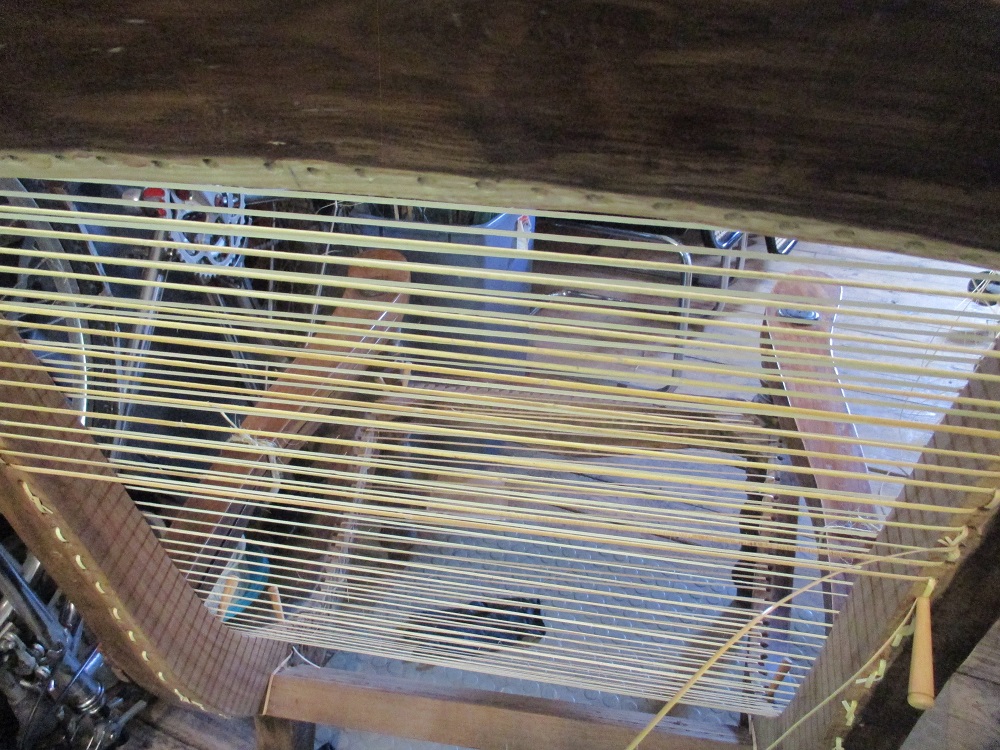
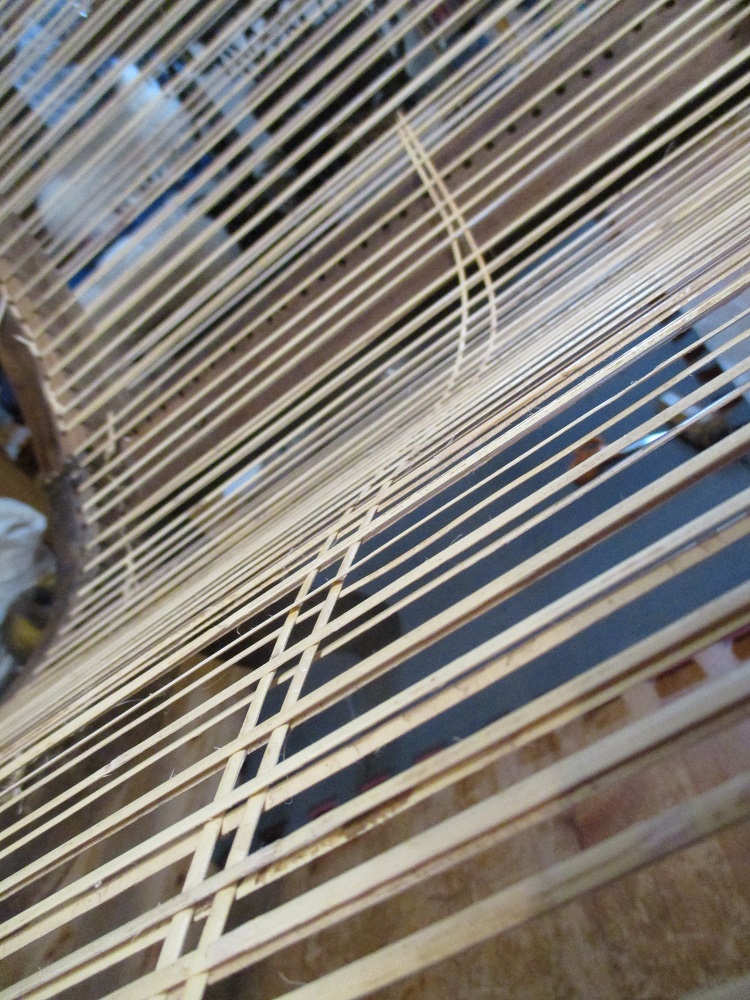
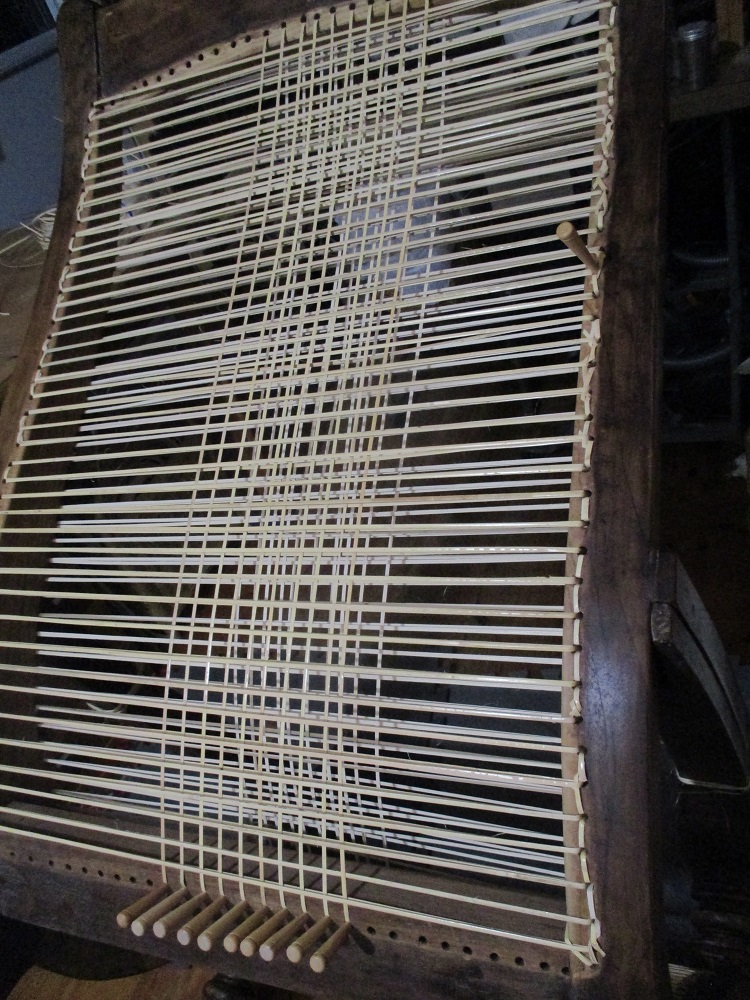
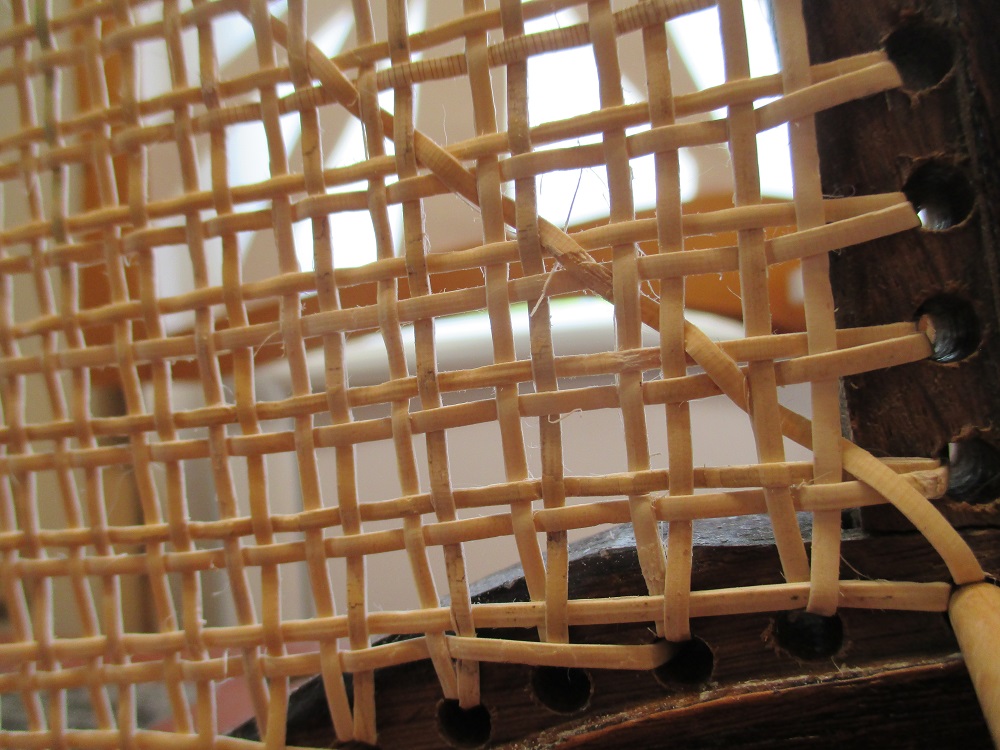
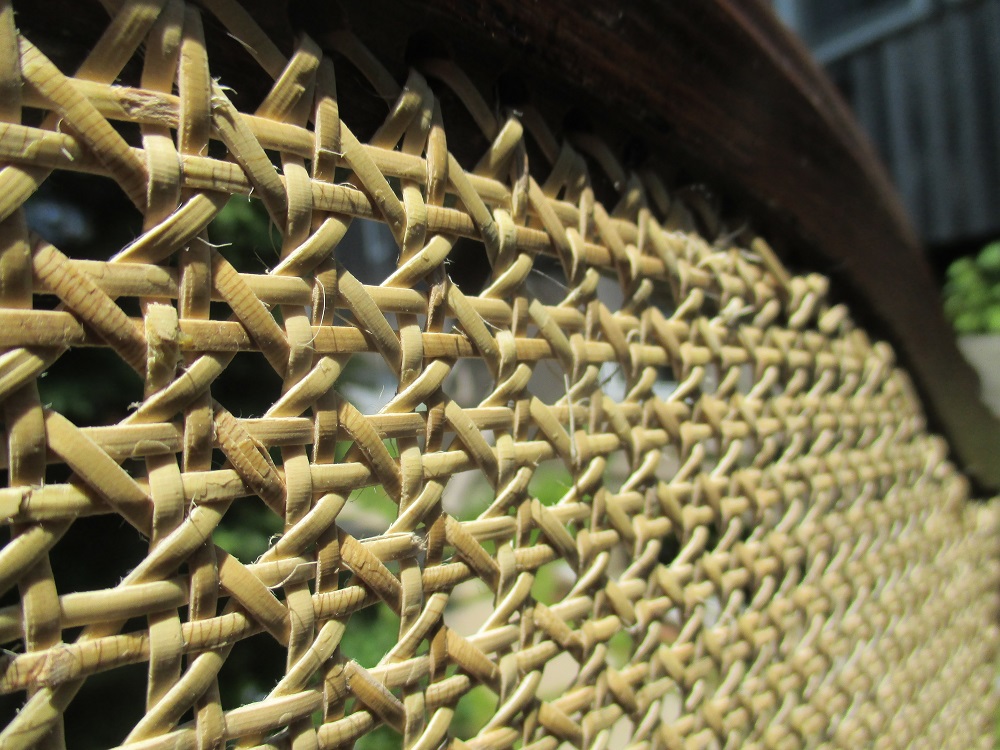
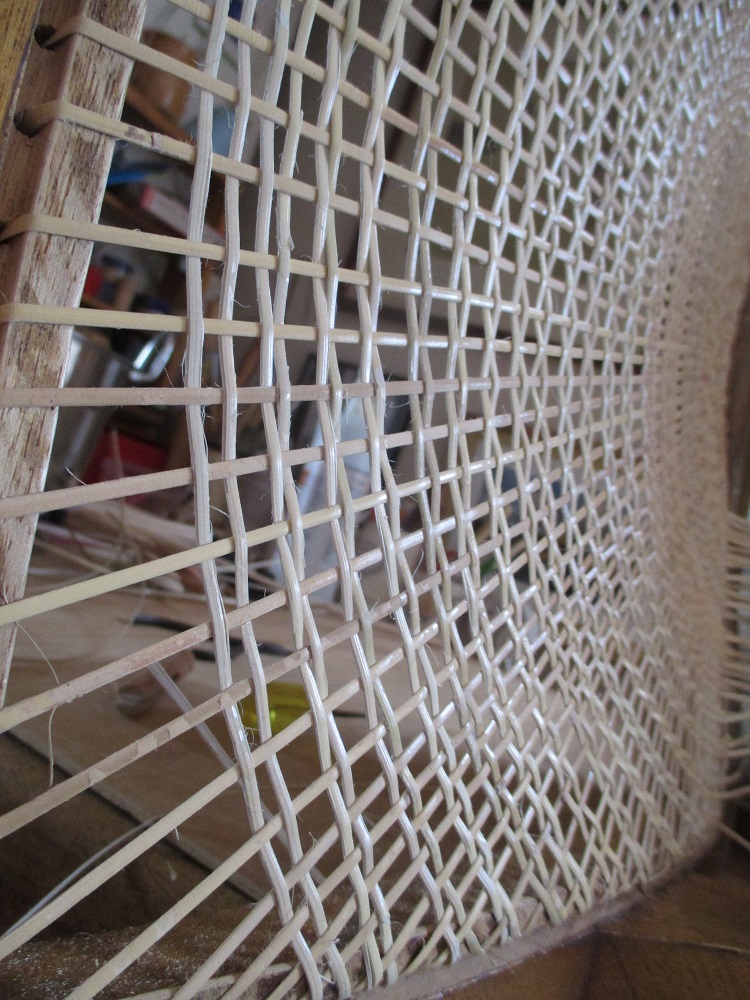
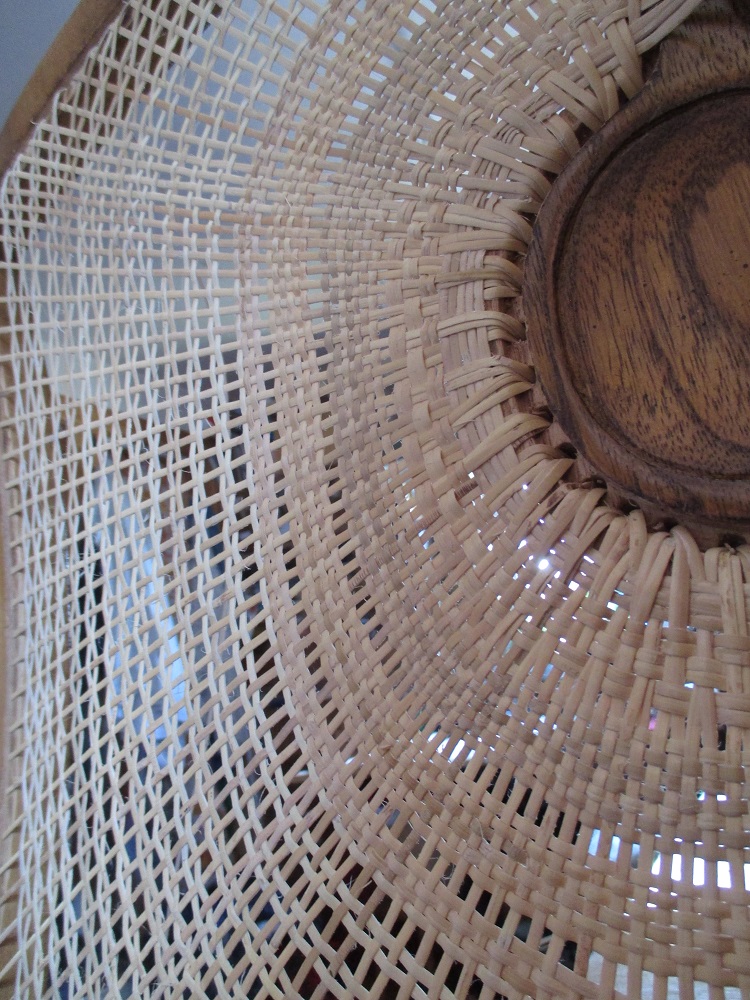
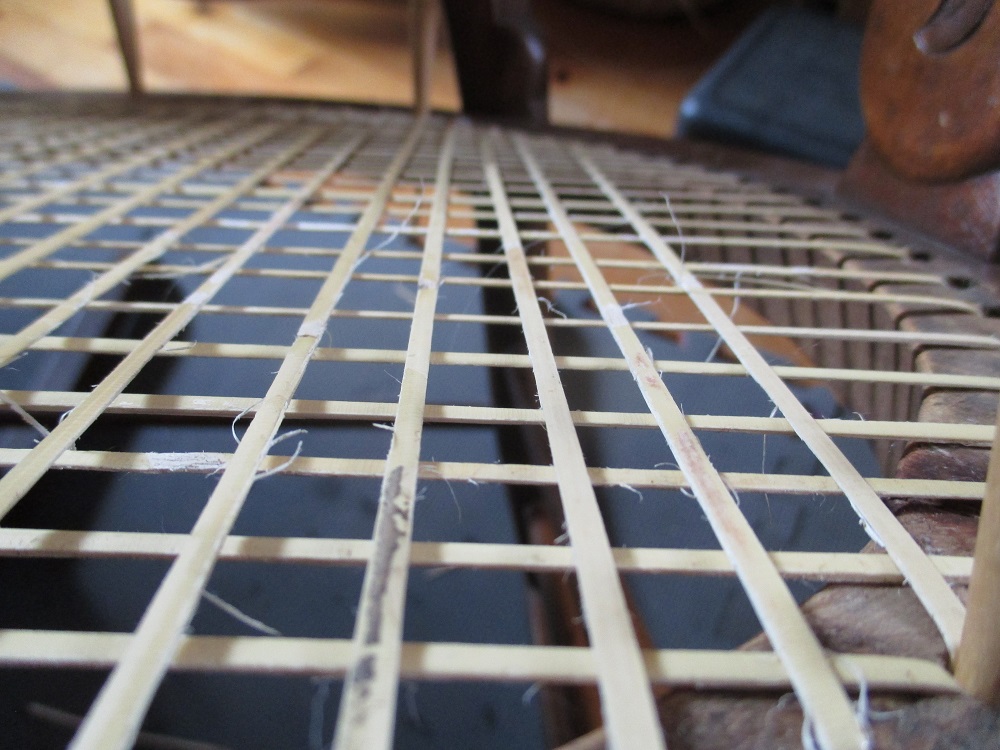
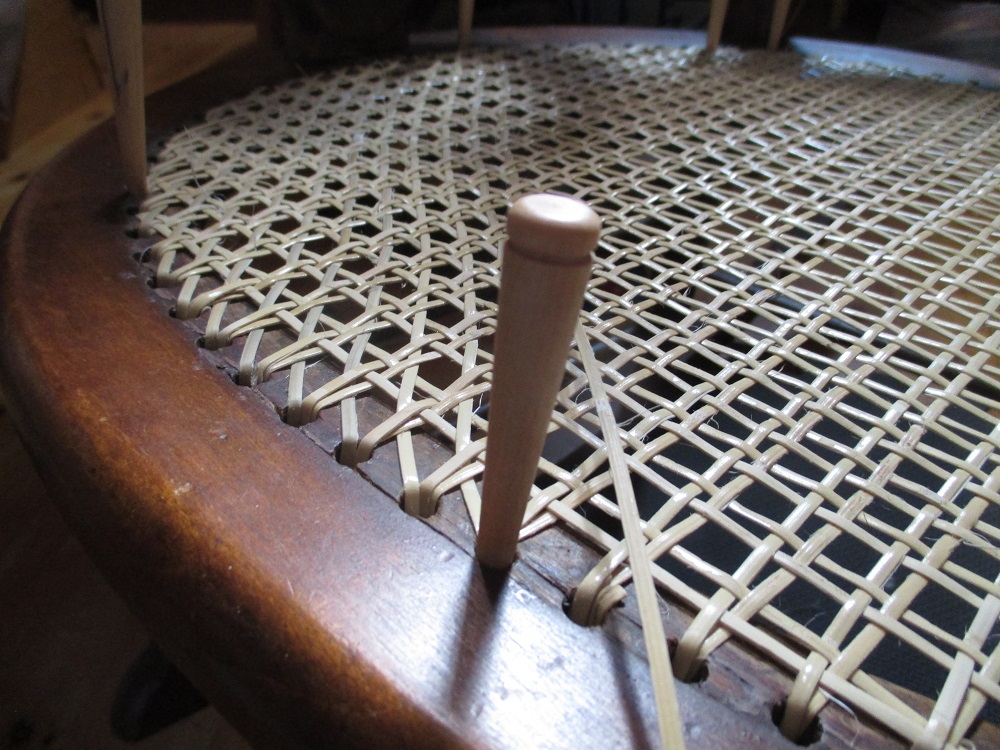
The weaving of this design of seat is a six-step process which you can see in the following photographs. The first three layers are alternated and then the weaving begins with the fourth.
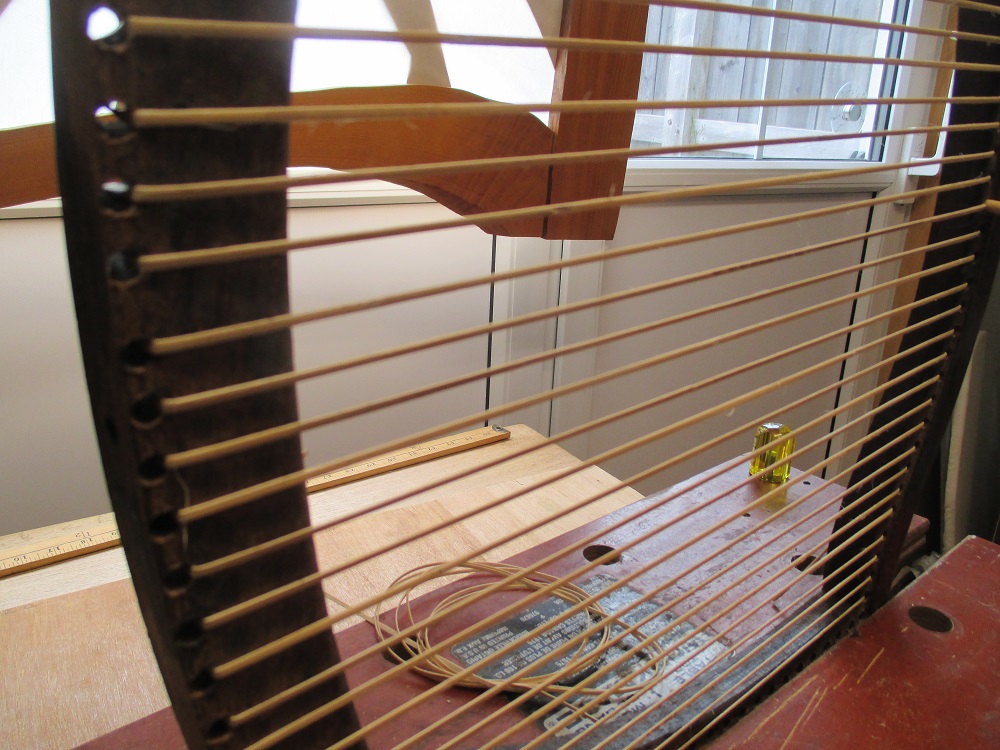
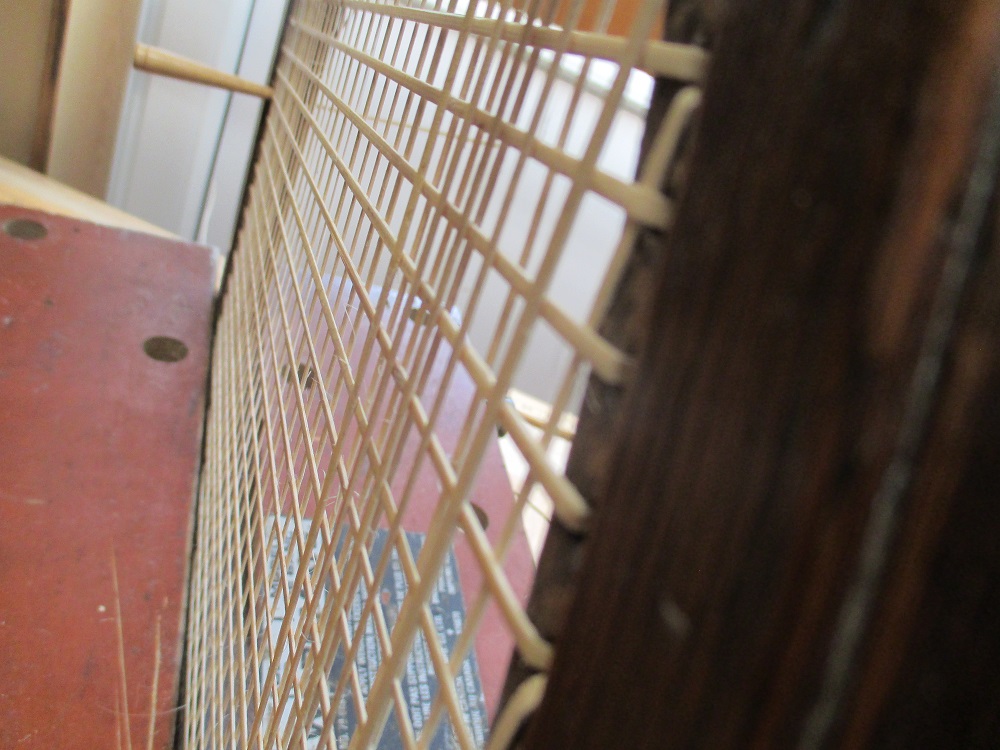

The fifth and sixth are woven diagonally locking the horizontal and vertical indices. There is a particular way they must be integrated so that they lay flat and smooth and the plan is to make X’s at each frame hole.
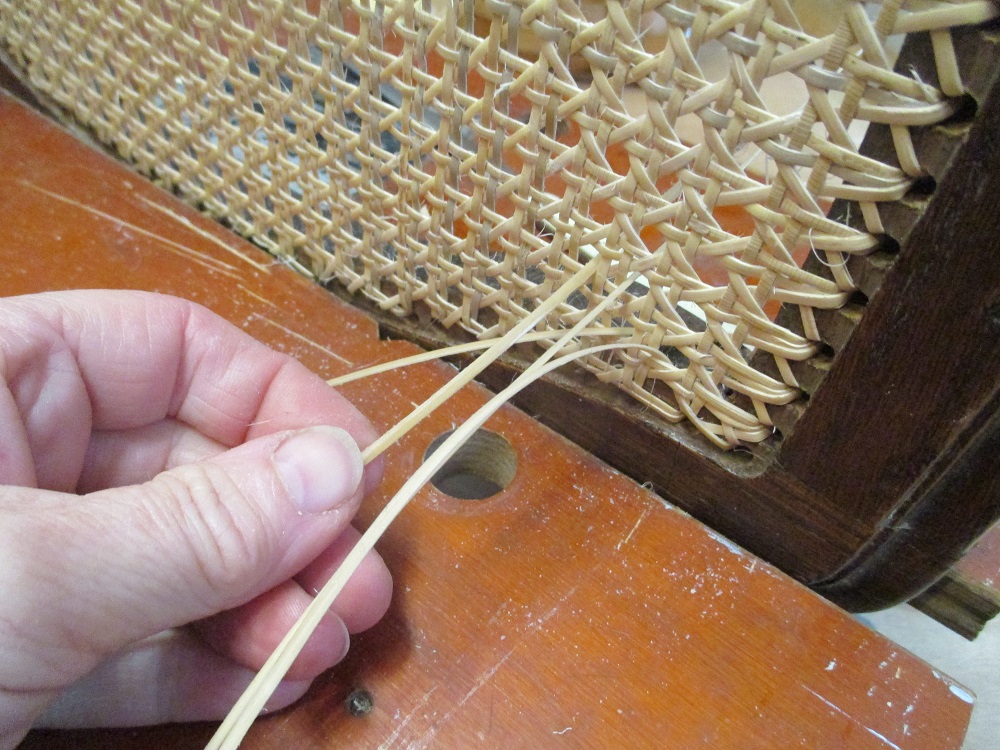
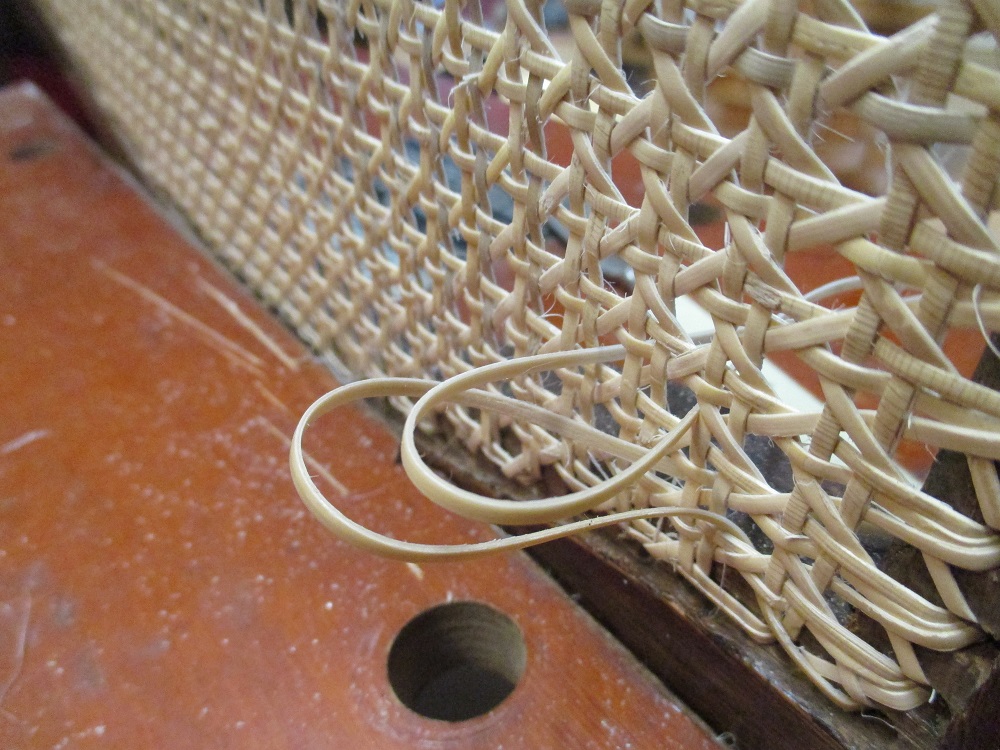
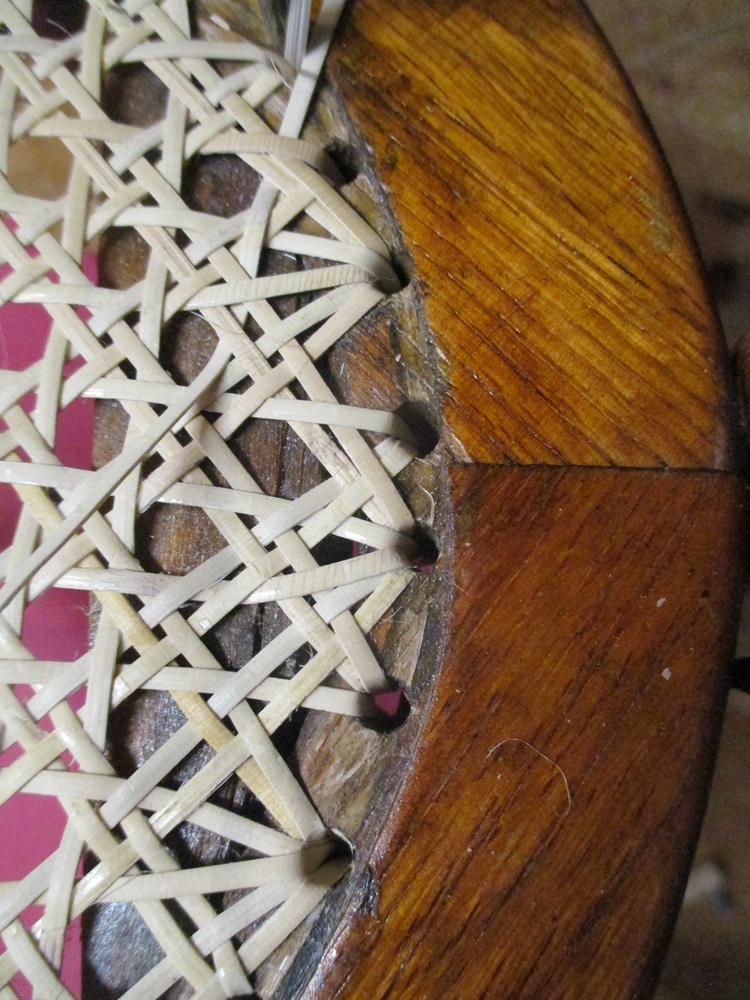
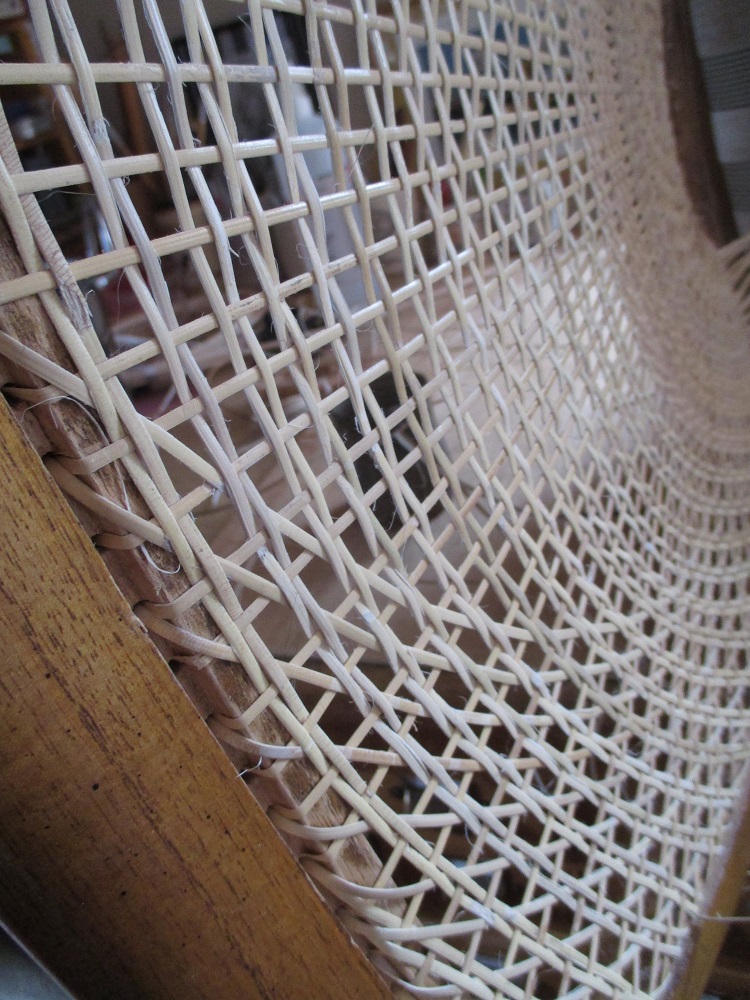
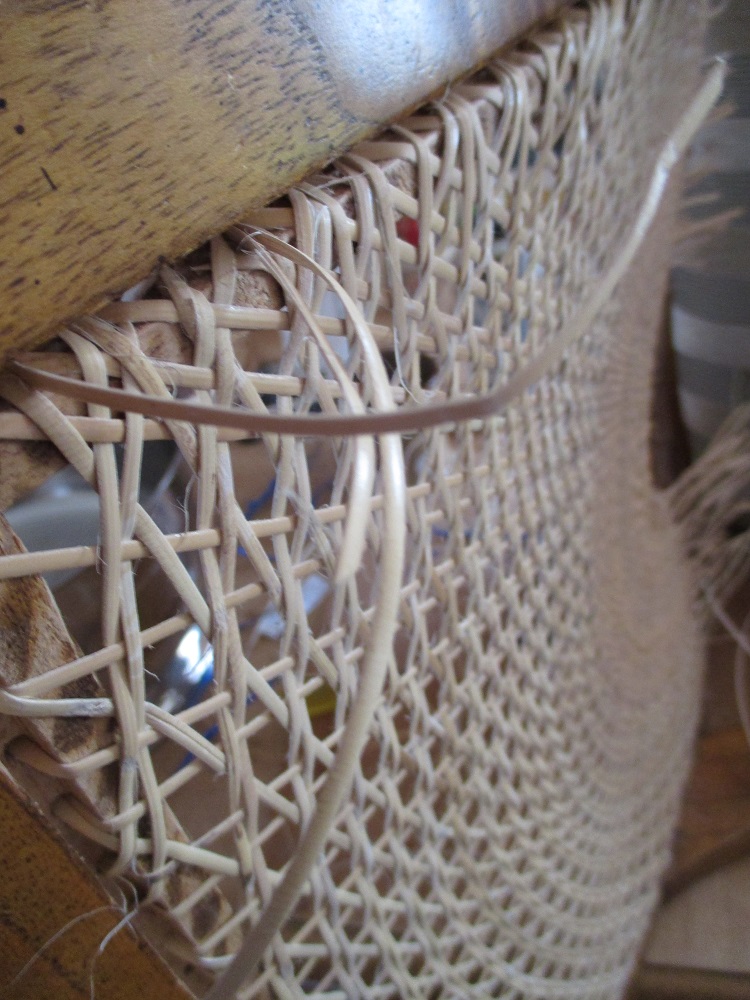
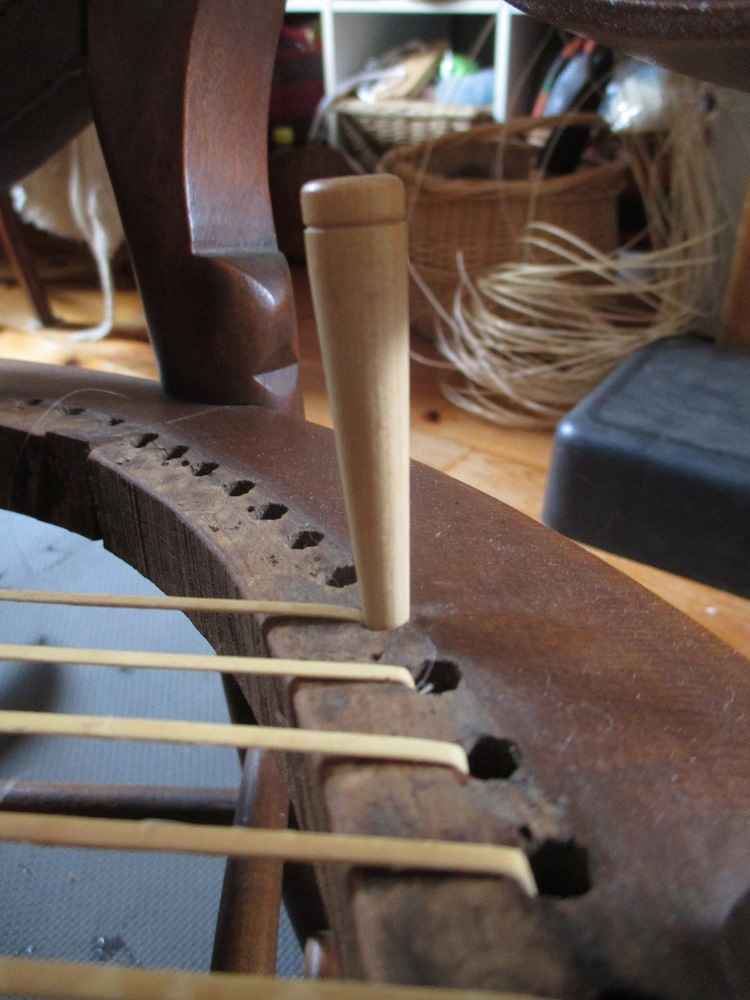
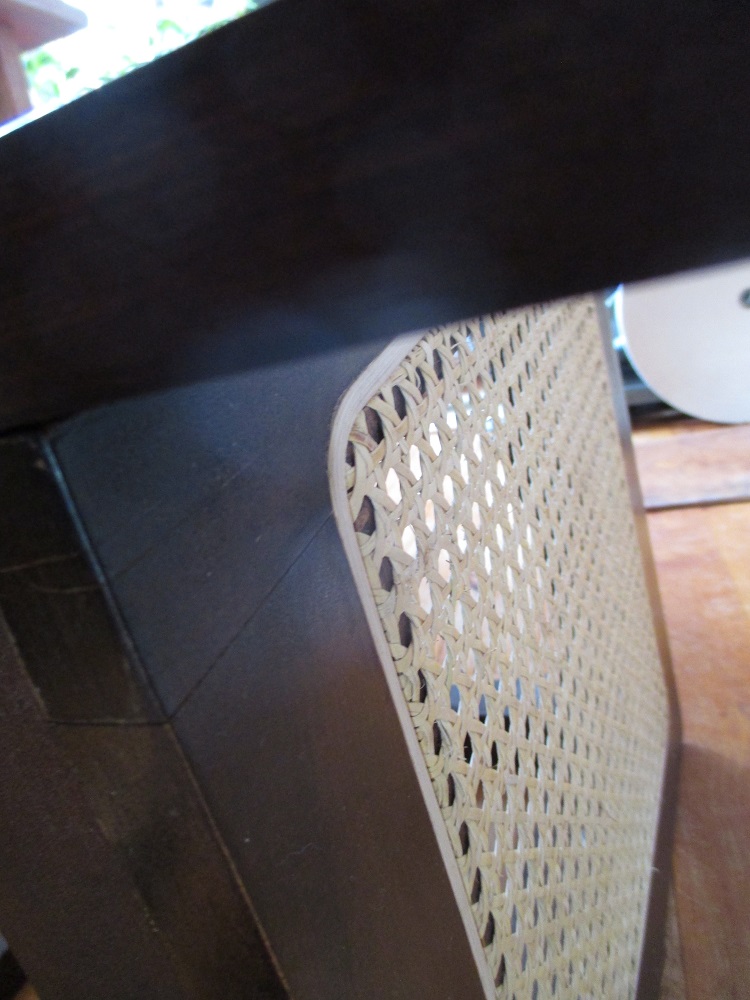
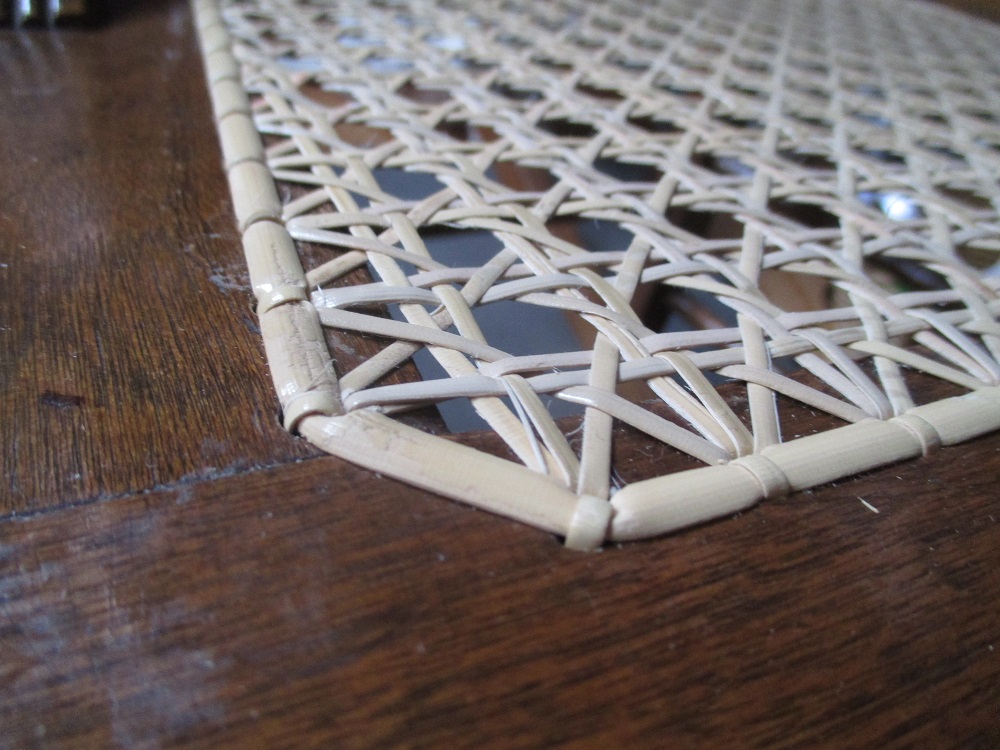
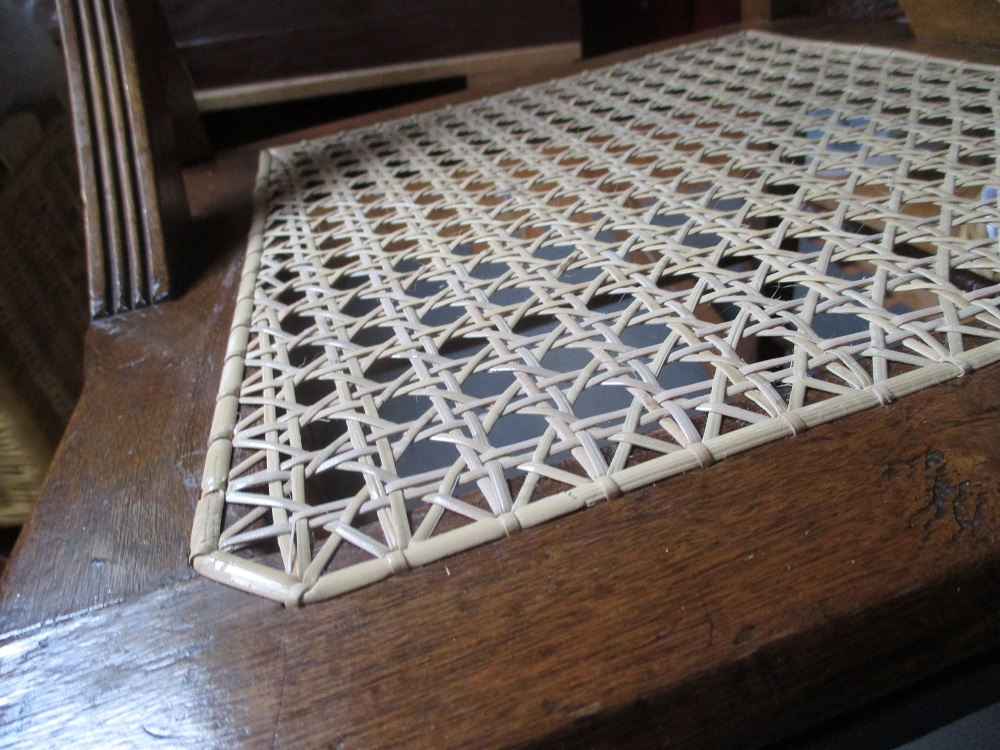
I used a 3.5 mm cane to cover the holes in the frame, lacing it in place with 2 mm cane. During the whole procedure, the cane must be presoaked and then kept moist with a wet cloth as the strands are worked through. This helps to keep it pliable and makes it easier to untangle.
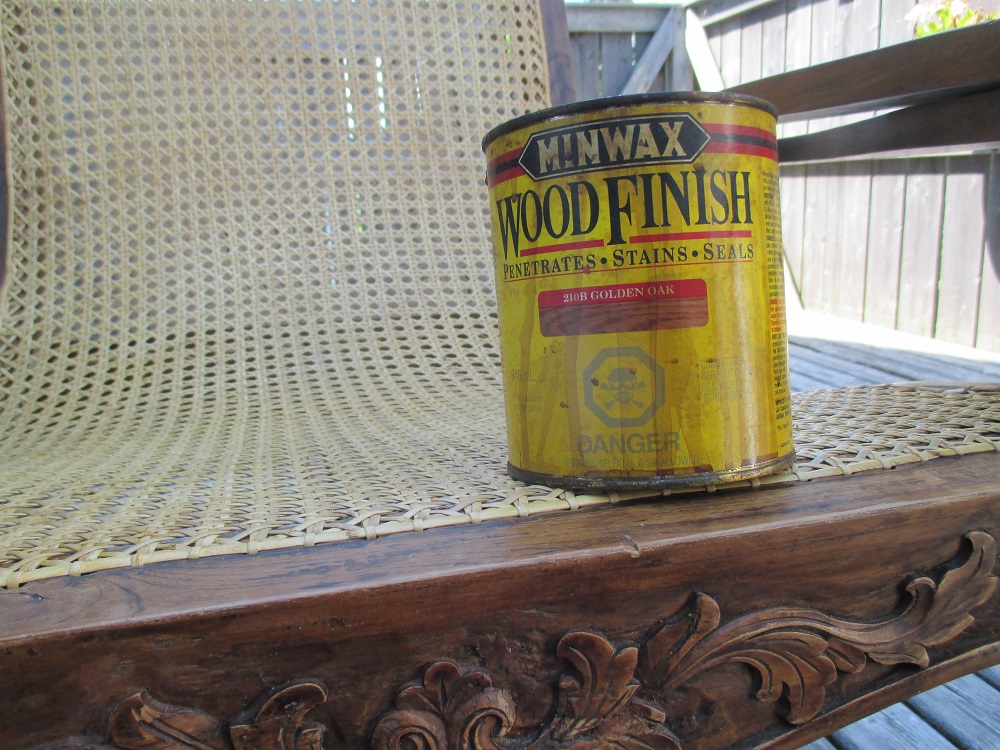
The caned seats were then stained with Mohawk Medium Walnut and coated with Shellac to match the chair backs. Finally, the chairs were reassembled.

Tommy-Two-Stroke helped for many hours.

One of a set of chairs came in for a re-weave, so there was no room for error. I was excited.
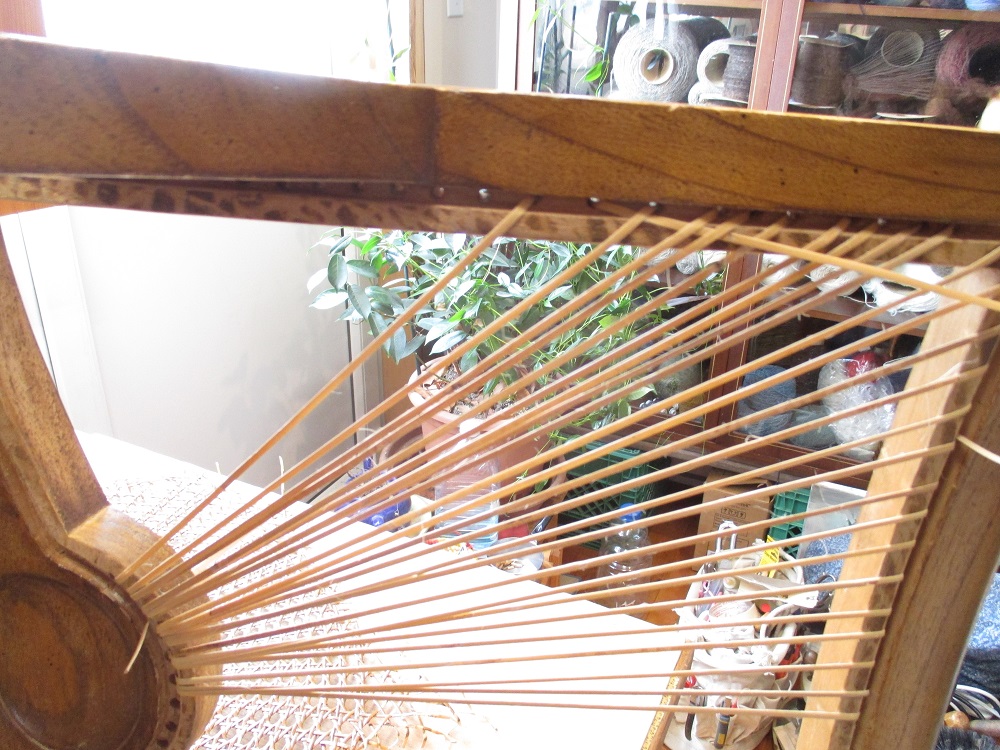
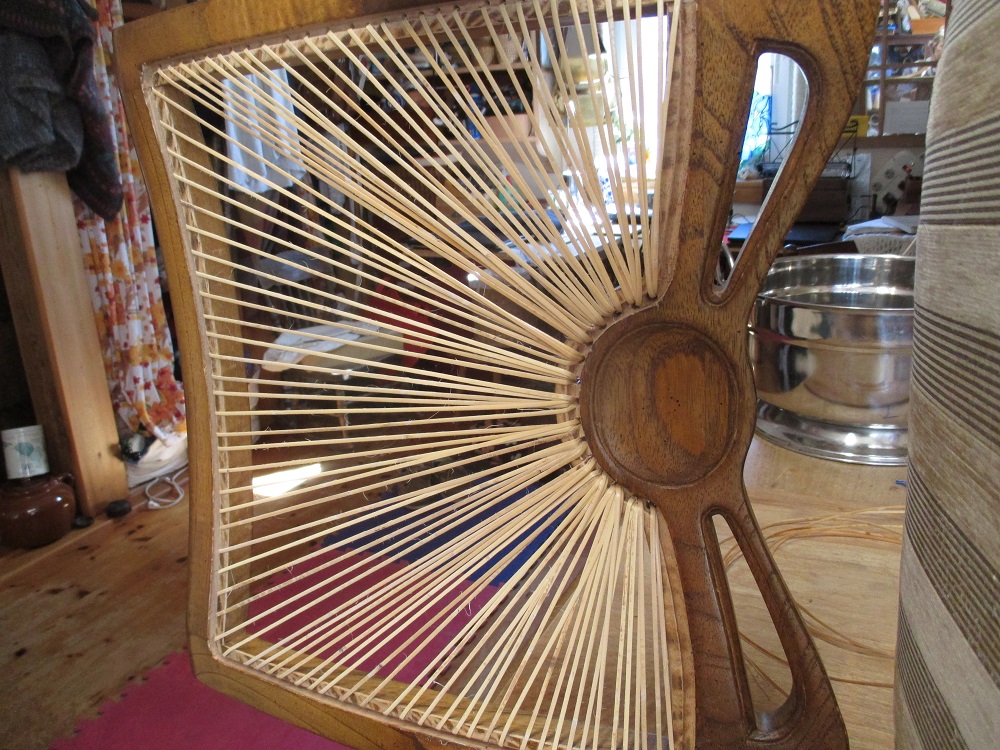

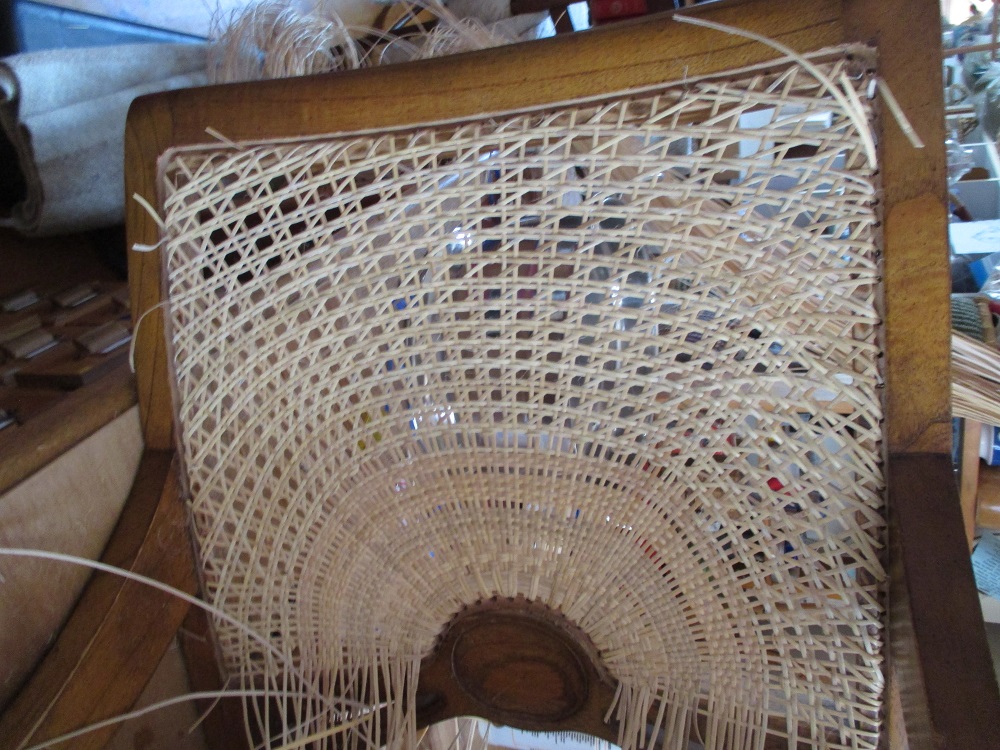
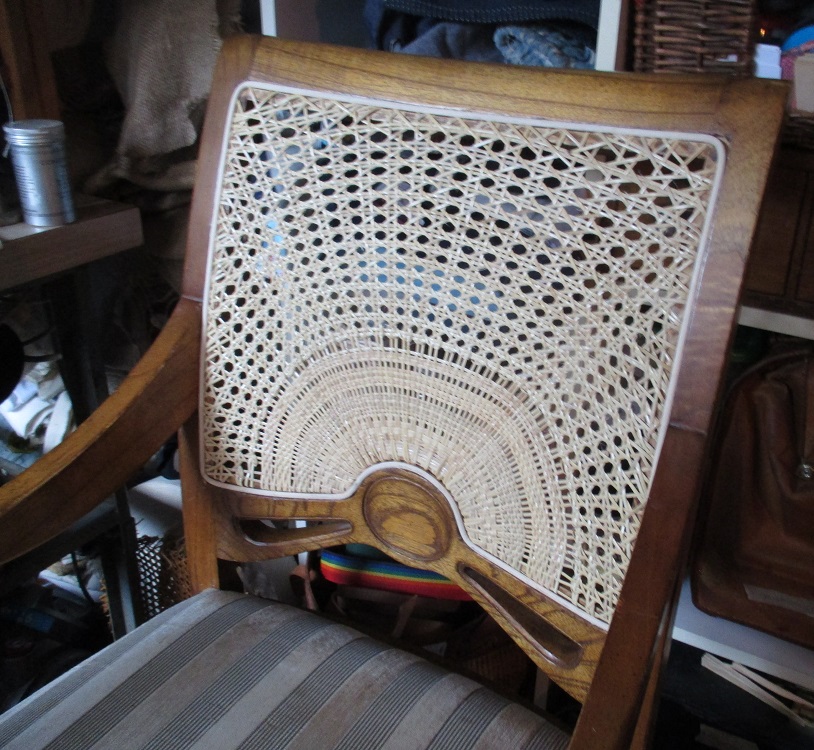
The first layout reminded me of the sun’s rays and then the building of something vaguely Egyptian, a headdress perhaps.
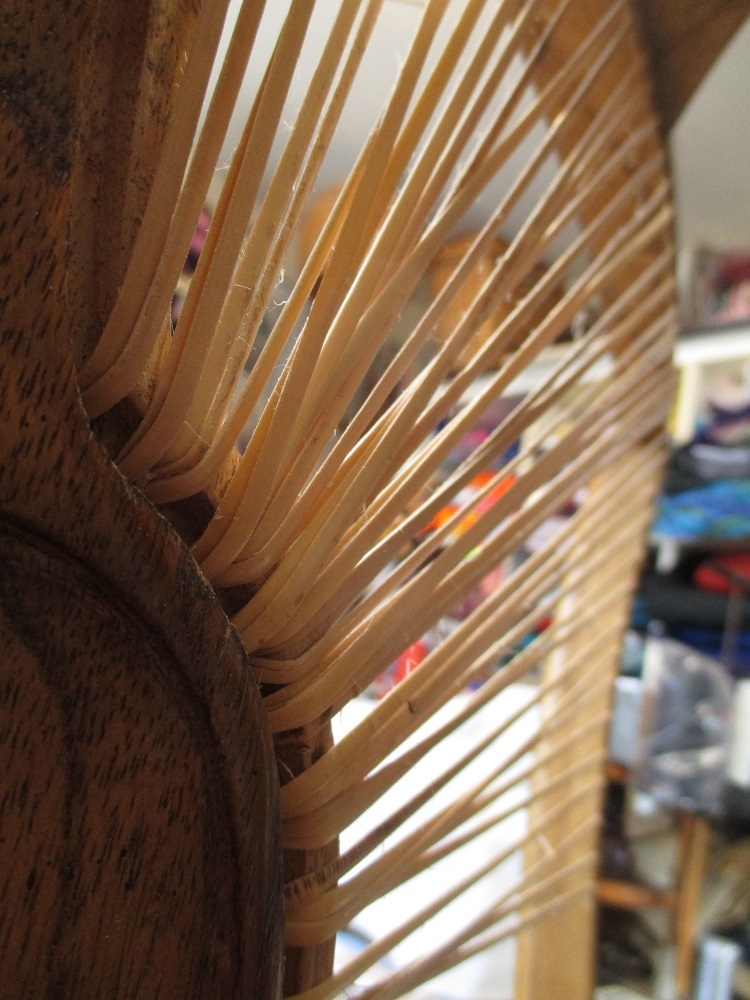
The tight weave then rippled outwards to the upper corners followed by curved waves rebounding off the sides. The cane obviously could not be woven into the tight part so had to be wetted and curved back into the next set of double strands that made up the original sunburst. This process gradually separated them into pairs mimicking the original seat back.
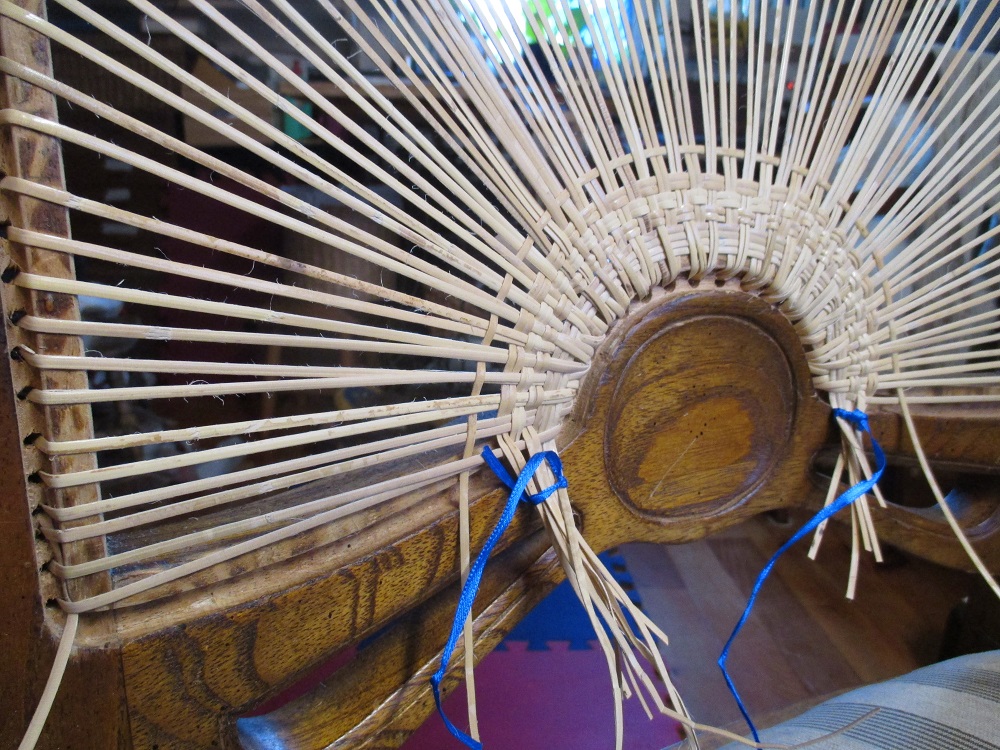
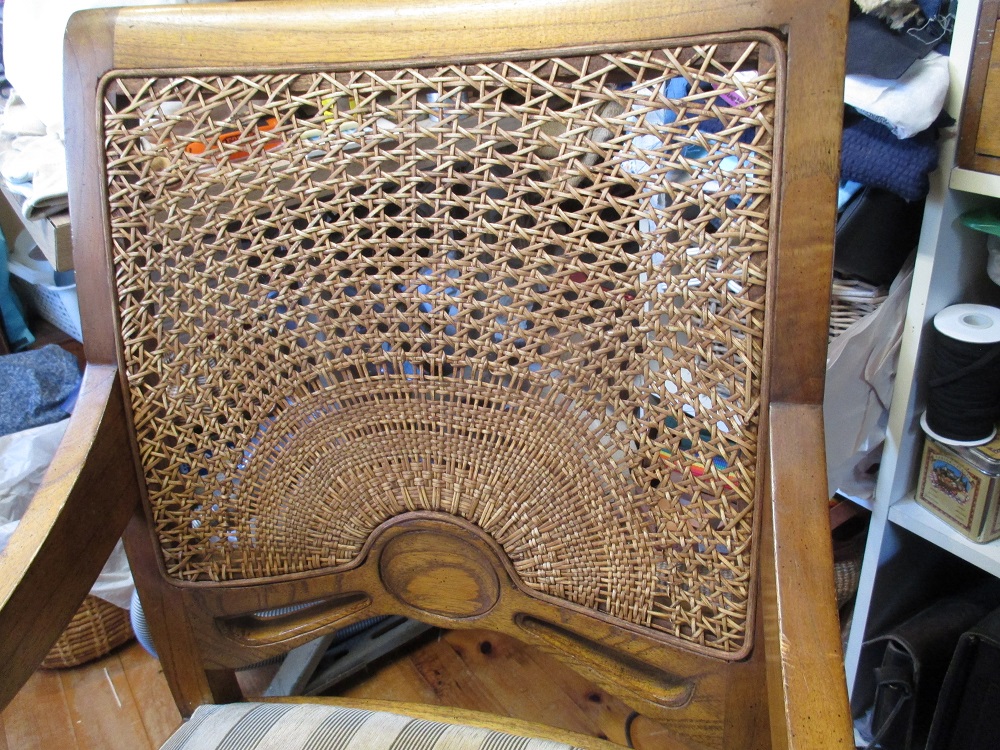
The right wave is complete.
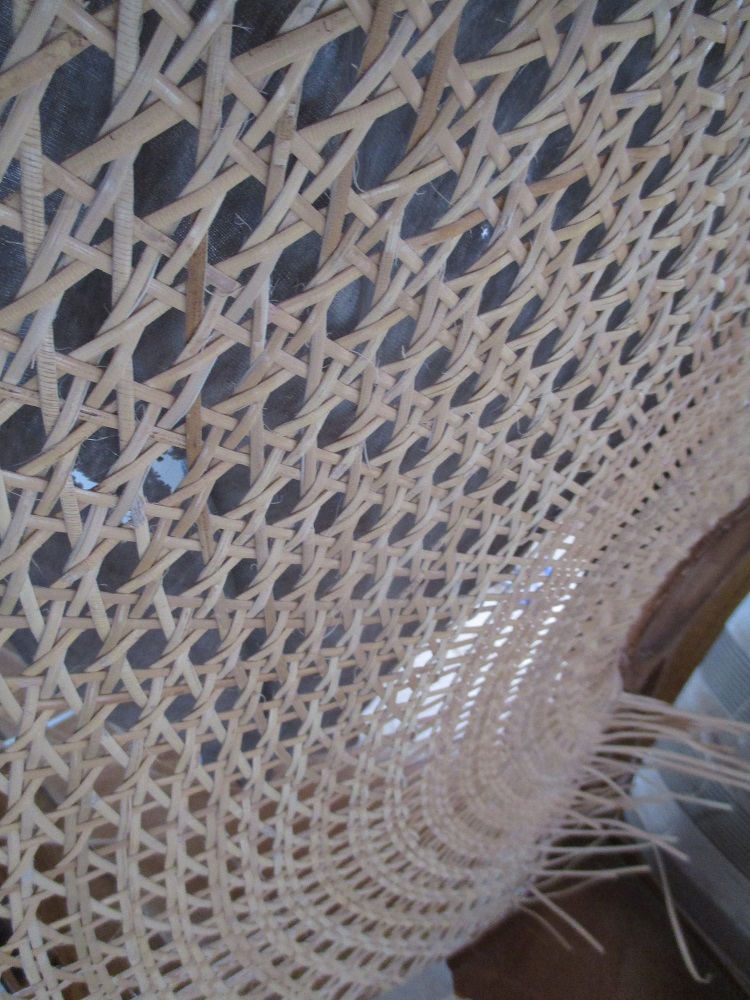

The left wave is complete. Now the finishing begins.
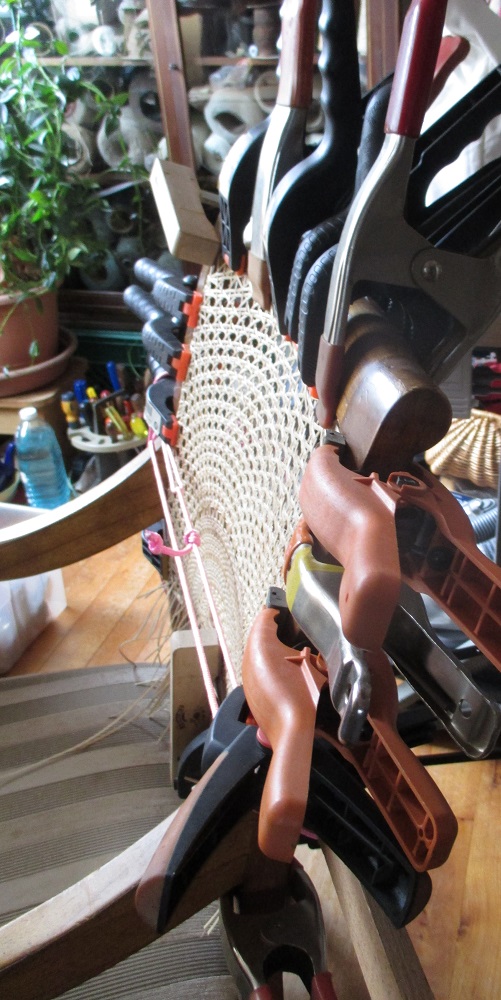
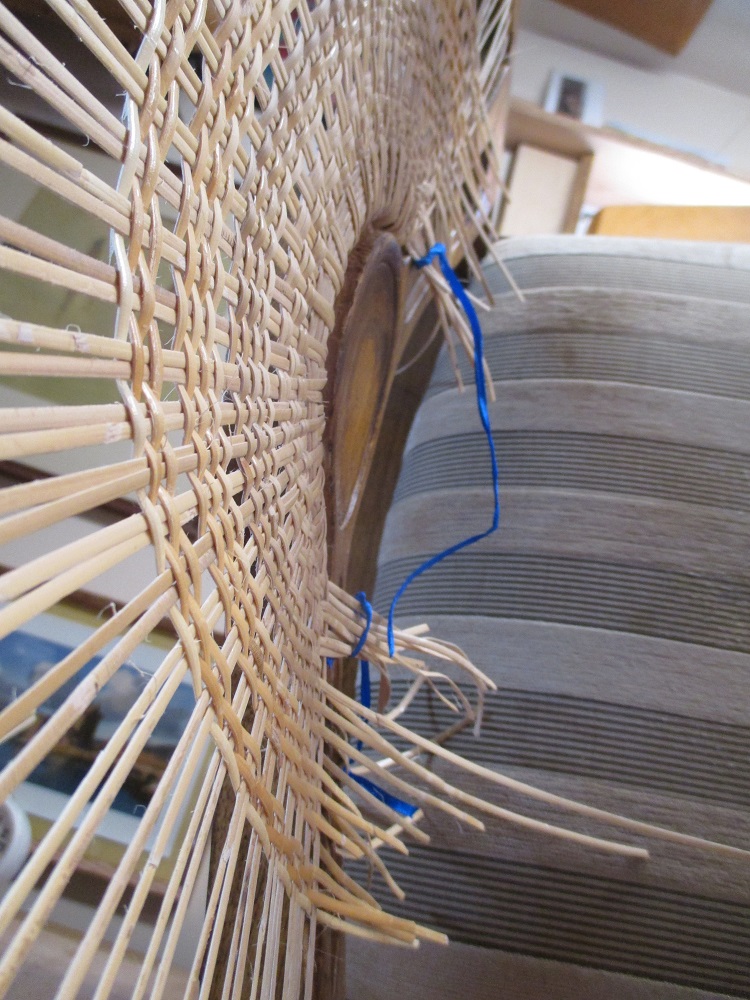
The first spline is glued and clamped into the channel in the back.
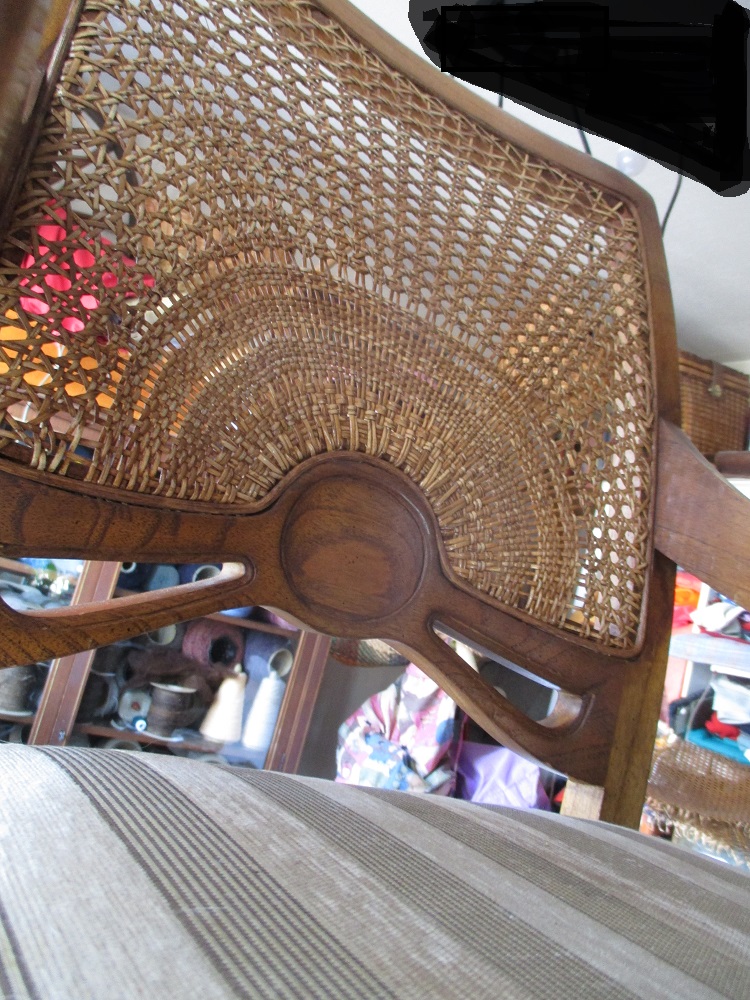
The cane ends in the front are trimmed and the spline is glued and clamped into place. A coat of Mohawk Medium Walnut is applied to both sides. The front is then shellacked and the customer is contacted to arrange a time for collection.
This was a complicated piece but ultimately satisfying.
Thanks for the visit. Please comment, like and follow if you want to see my other projects.
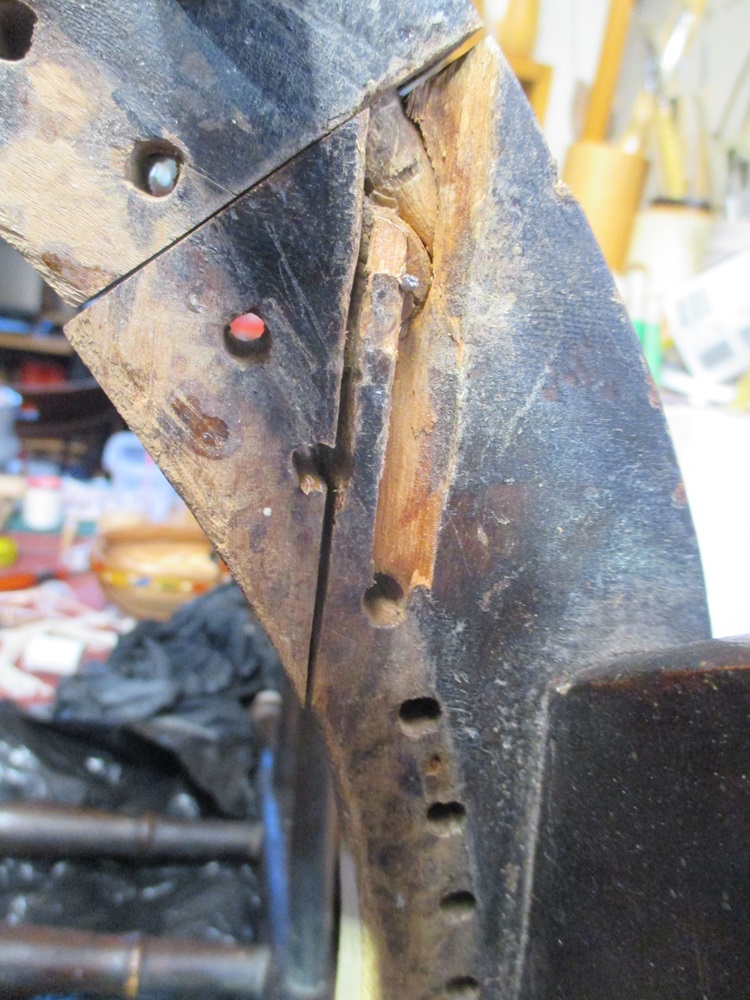
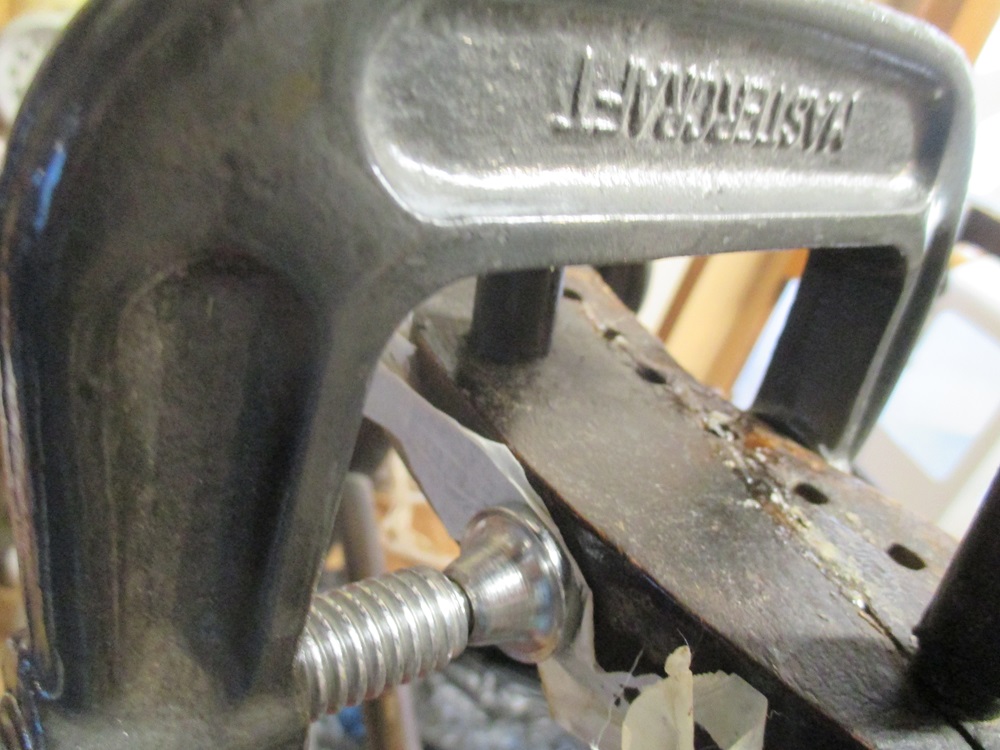
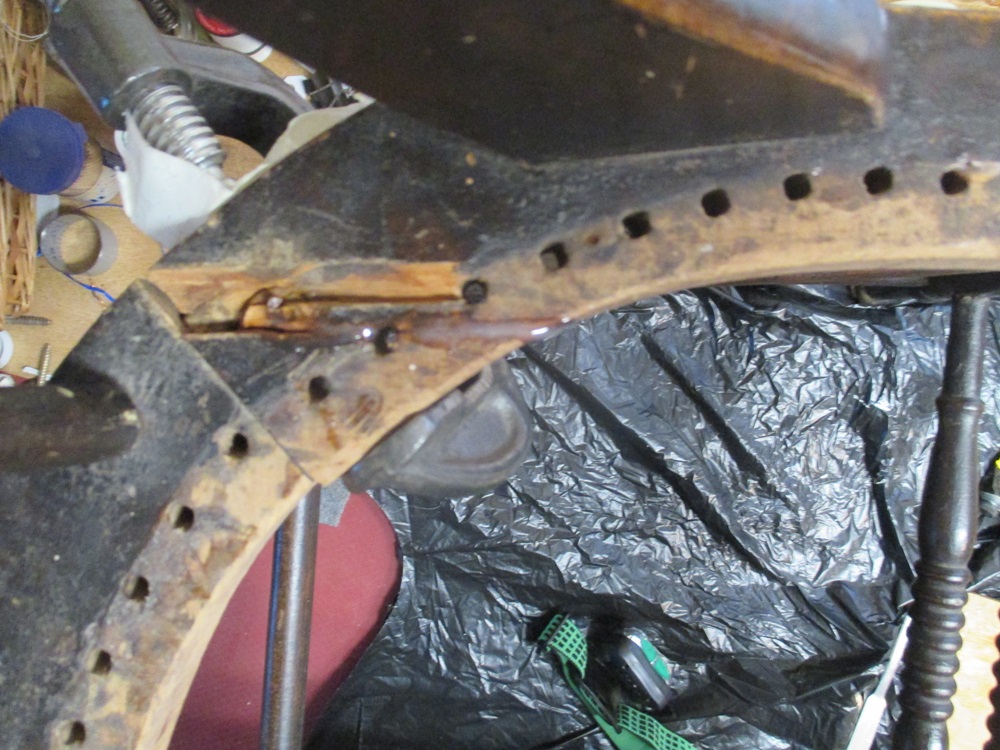
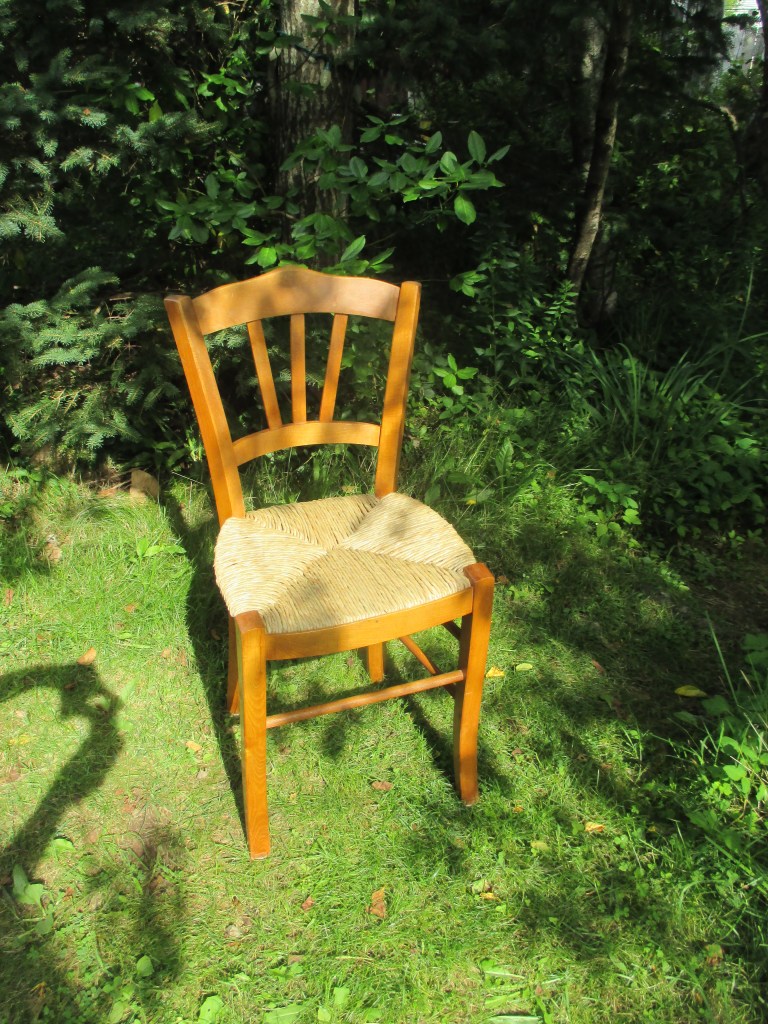
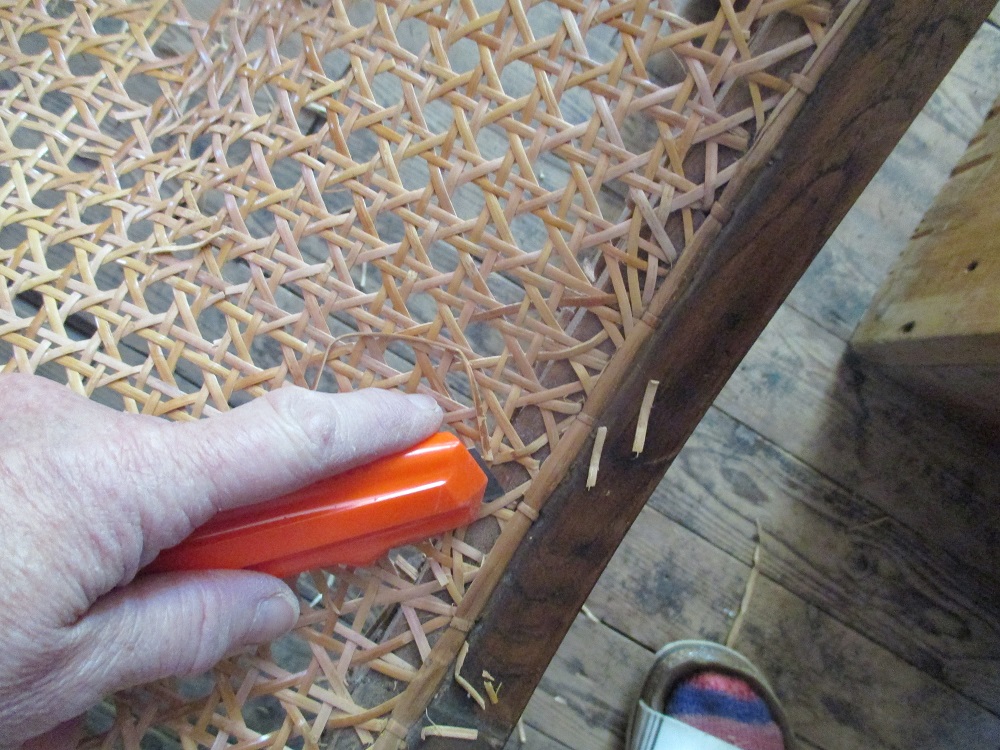
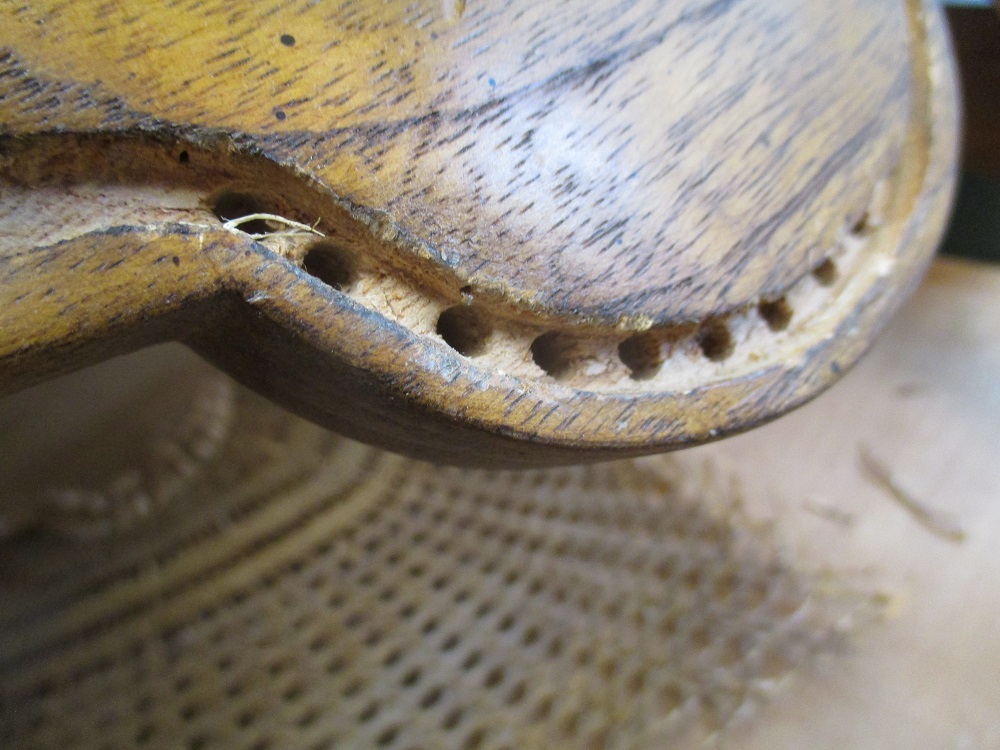
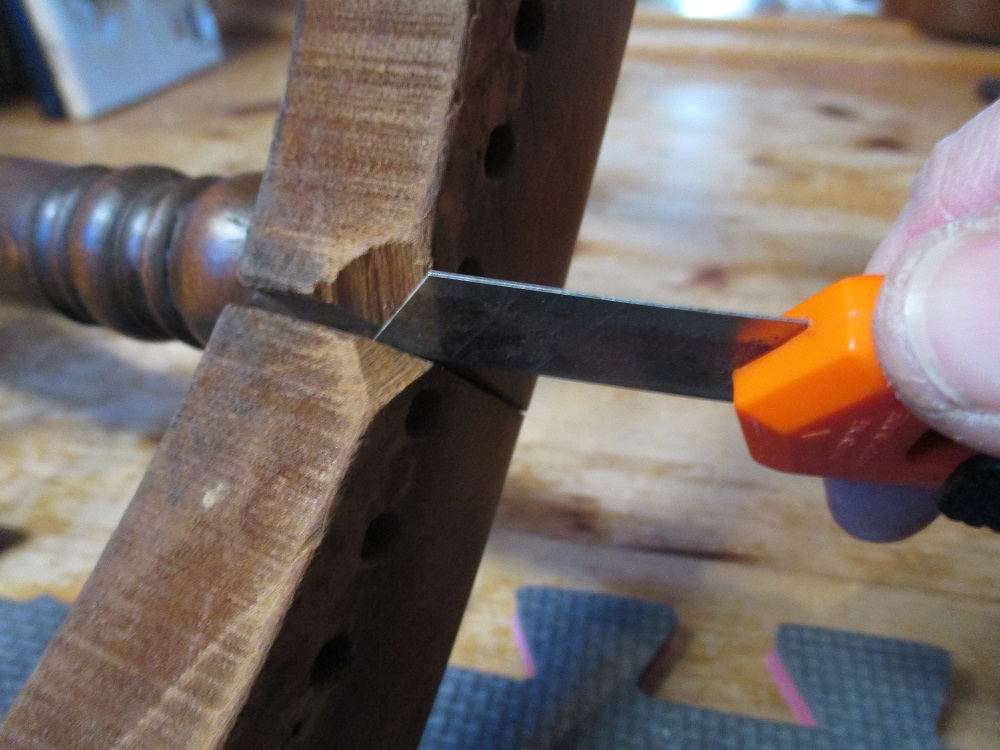
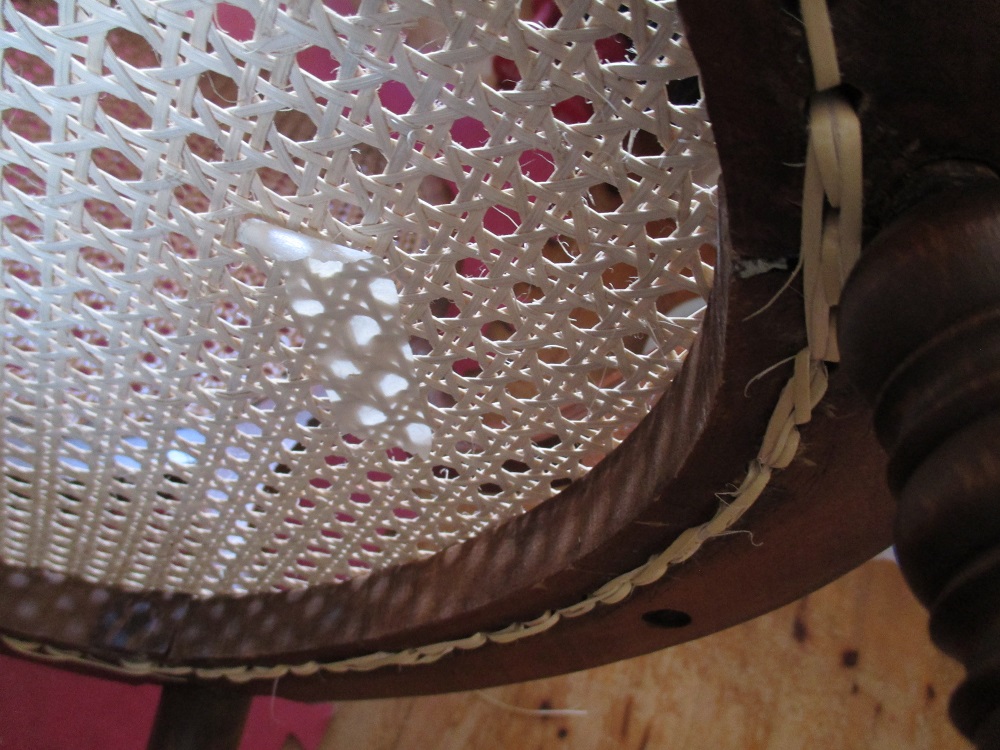
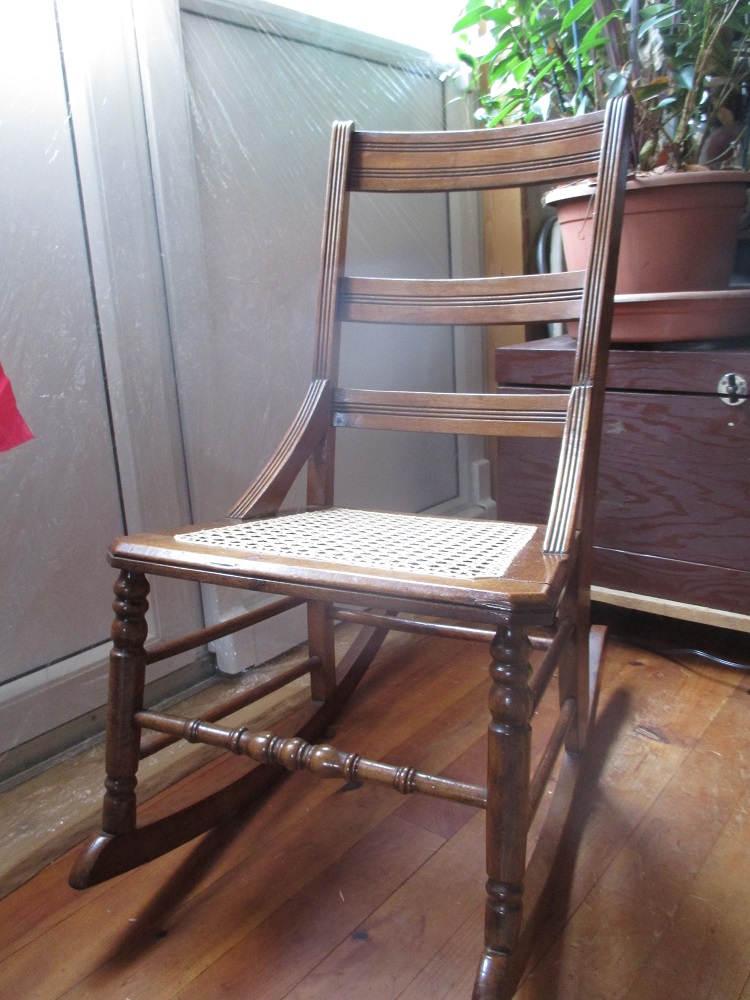
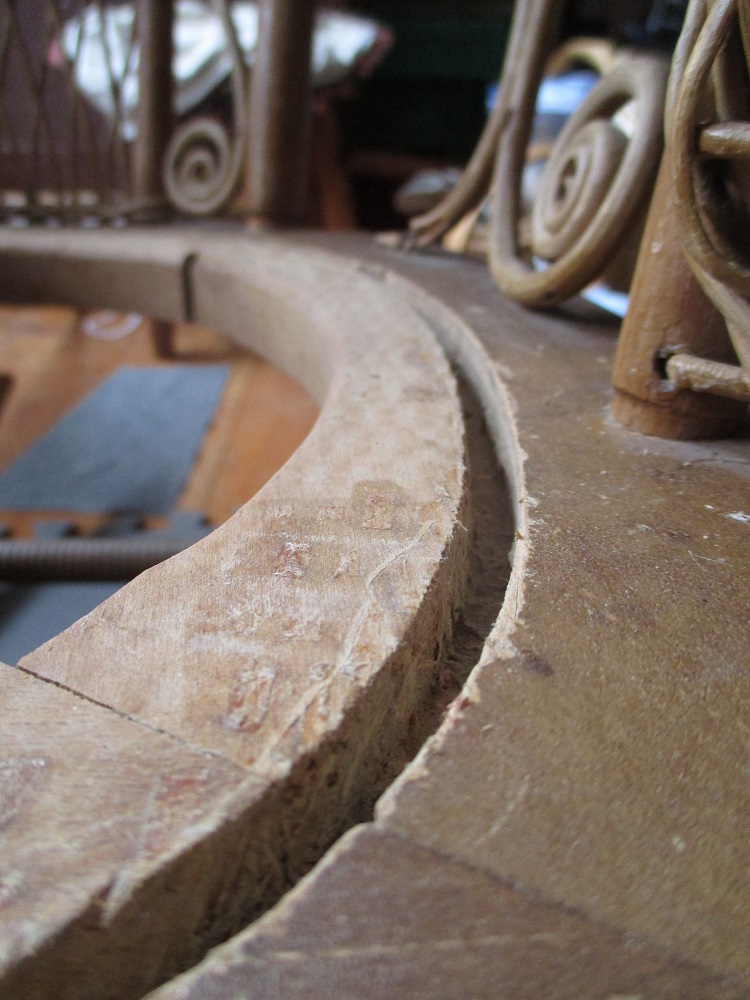
This pretty rocker bought many decades ago at an auction came to the workshop needing a new seat. On removing the old, broken cane I found the front rail of the seat frame needed some work before I could begin. Its dowel joints were loose and the wood between the holes was beginning to split; a common occurrence in woven cane seats. The former required gluing and clamping, the latter, some epoxy putty. While I was at it, I re-glued the front leg where it was loose.
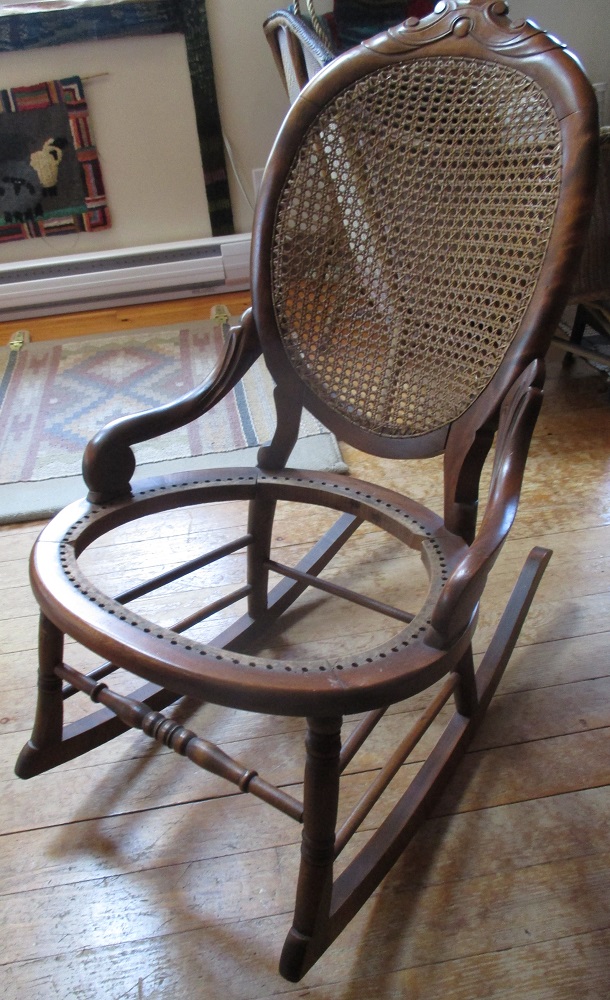

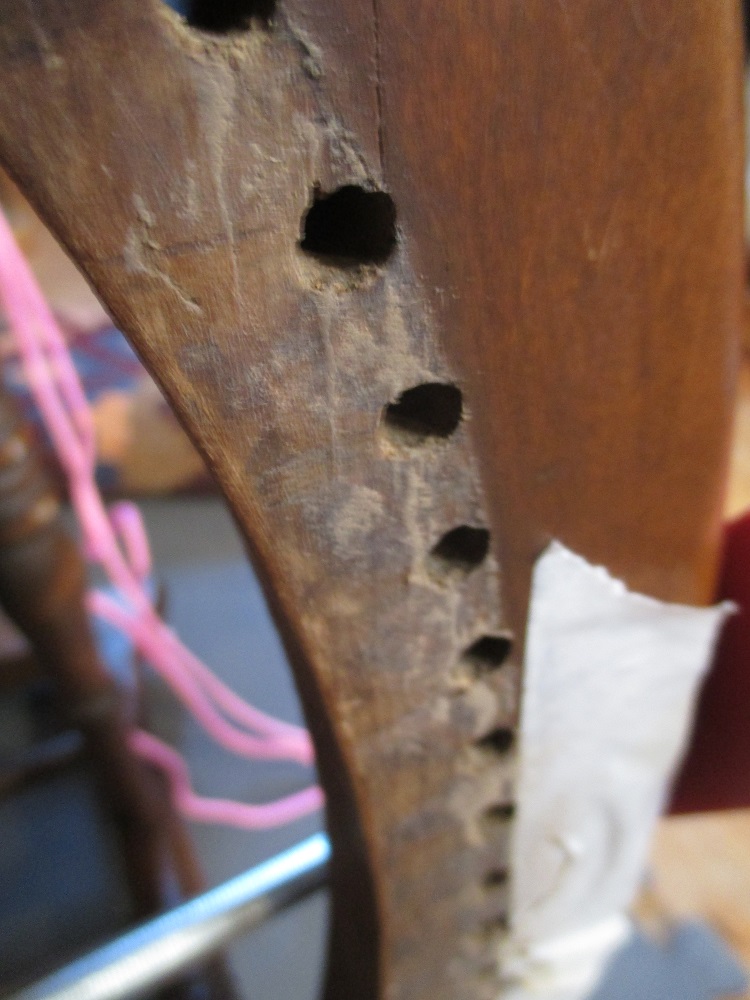
After the glue was dry and the epoxy putty was stained to blend in the sharp inside edge of the seat frame was sanded to reduce the chance of future damage to the cane. Then the weaving could be started. I forgot to mention that before I removed the old seat I marked the centre points of the seat frame from side to side and front to back so that I could line the new cane up properly.
The thing I love about the craft is that there are lots of opportunities to improve and one which I learned from an online video from the Wicker Woman was to tuck the tails under the active strand in order to neaten up the bottom. Here’s my first attempt. I’m pleased with the results although it is definitely more fiddly.
https://www.wickerwoman.com/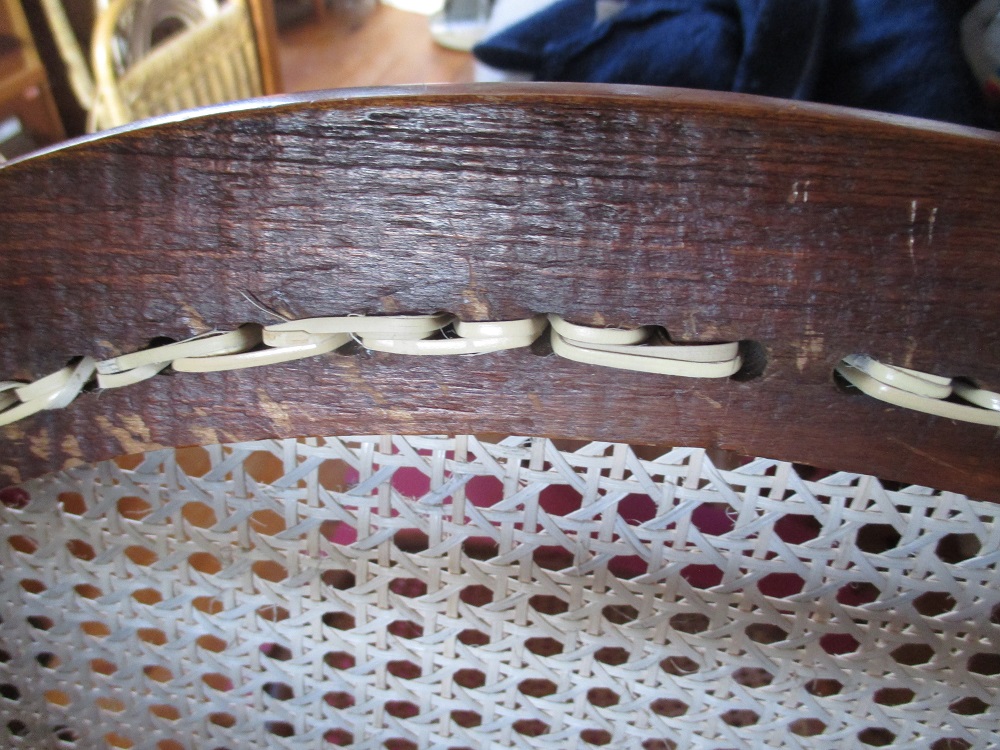

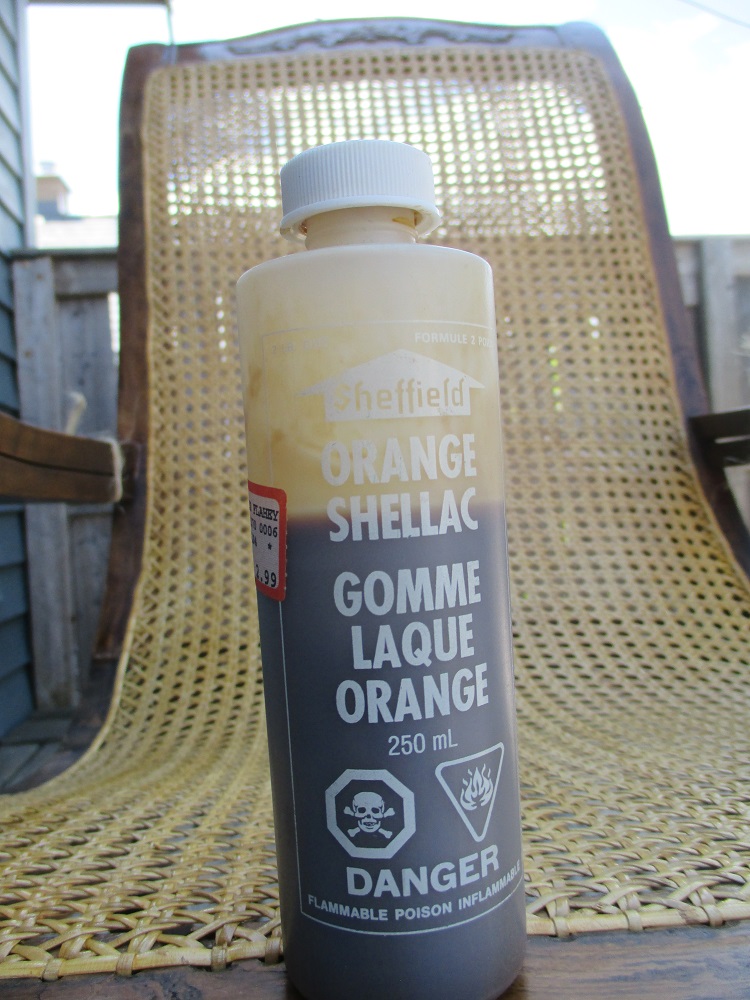
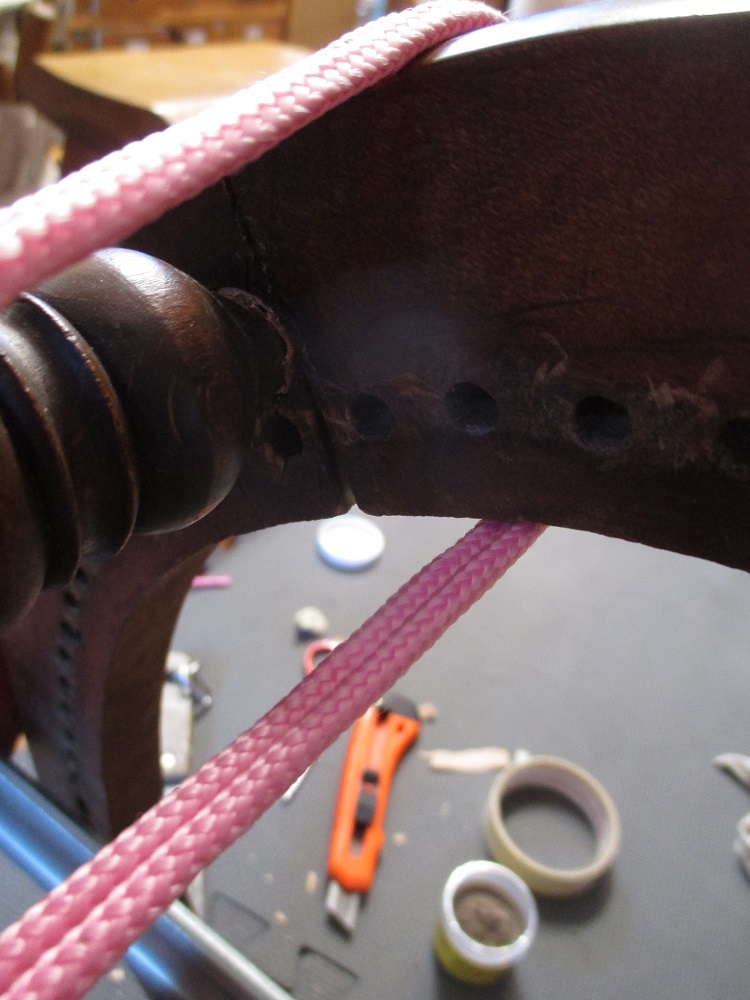
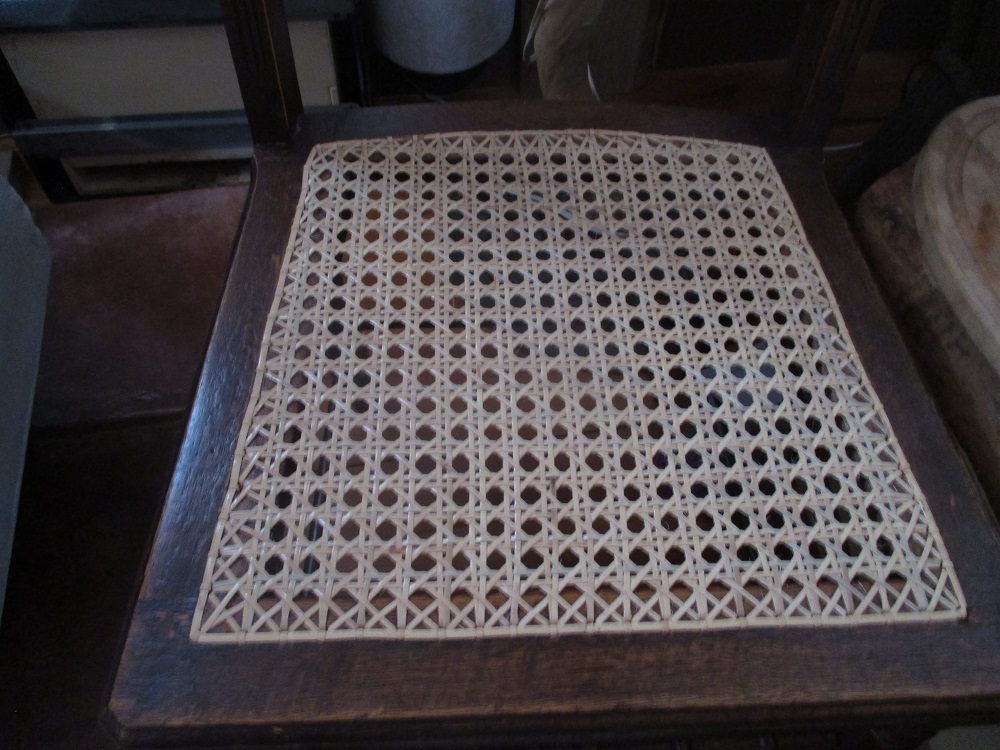
Once the weaving is complete the holes are hidden with a covering cane, which is laced on. Then the bright new cane was stained with Mohawk Medium Walnut and given two coats of orange shellac. I think it turned out nicely. Thanks for visiting and please feel free to leave a comment.


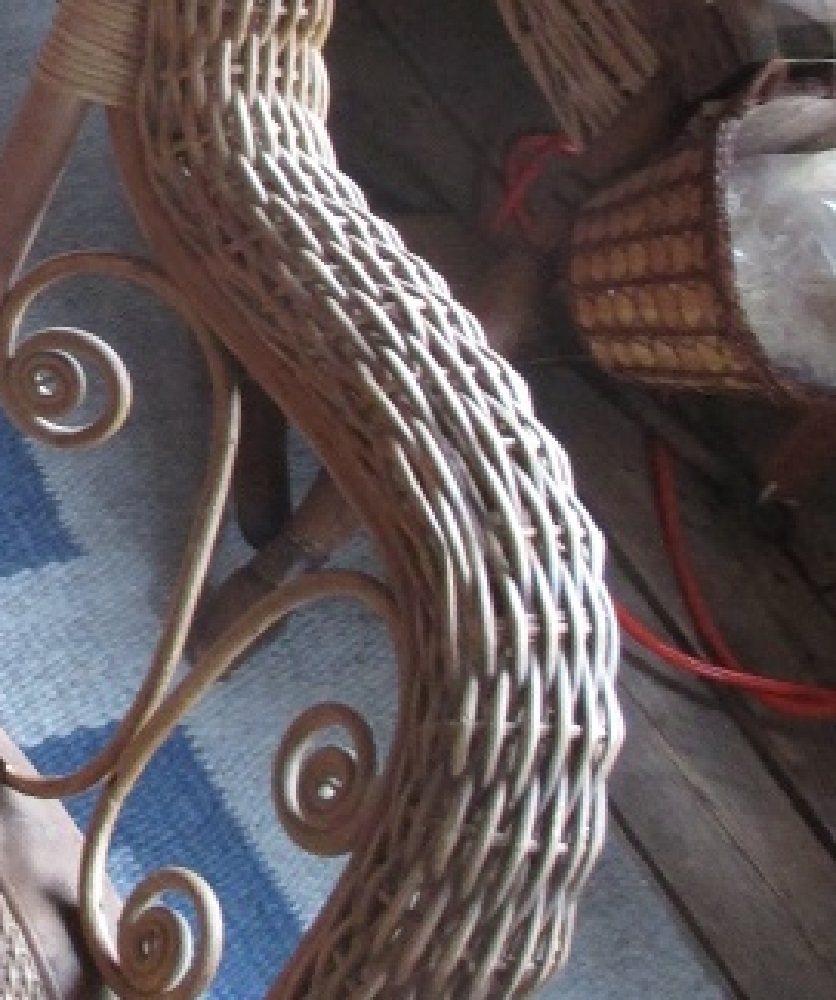
This rocking chair had an interesting double frame system where the caning was supported by one, which was then reattached to the chair frame. At some point in the chair’s history, someone had covered the hole with plywood and upholstered the seat but the owners wanted it restored to its original iteration.


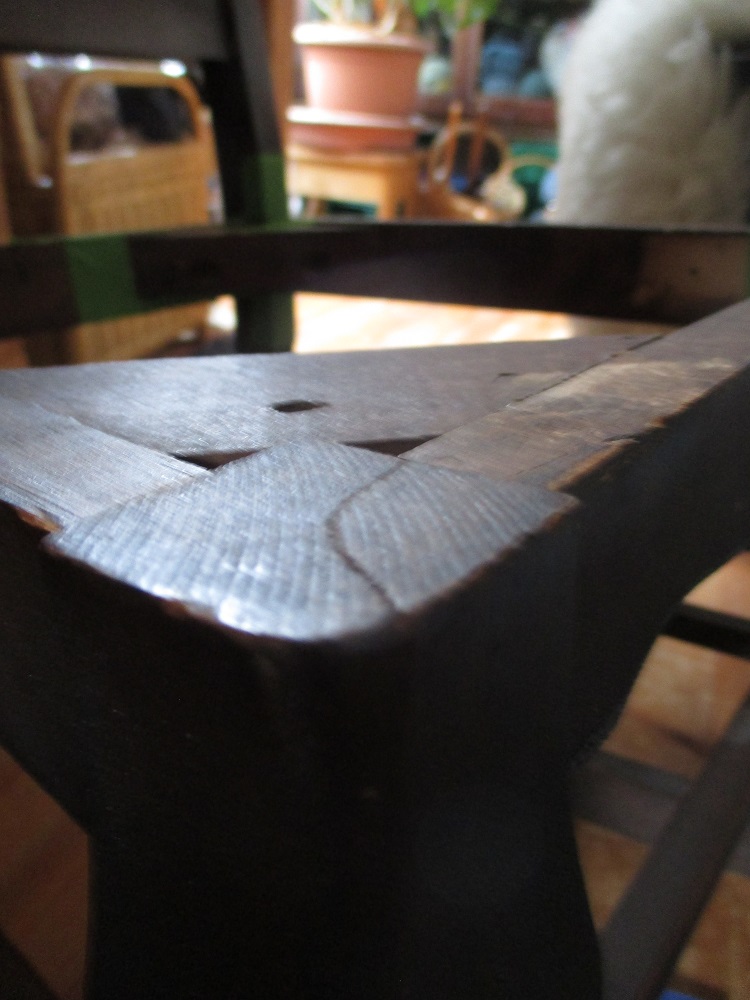
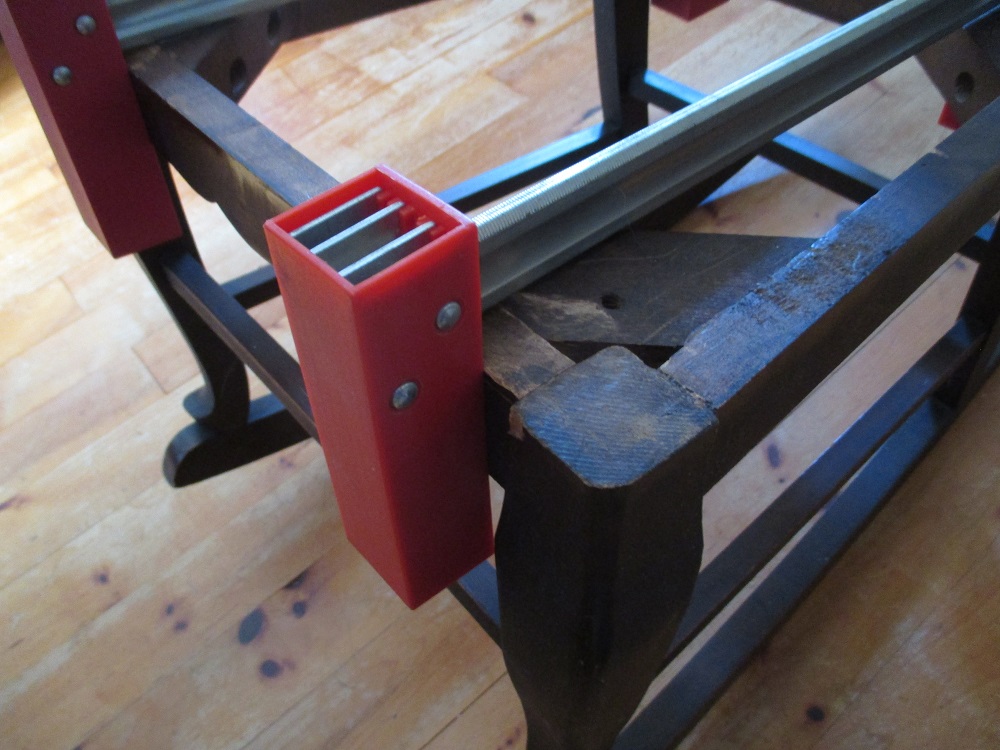
The work began by regluing the joints that had let go. Although only one side needed to be reglued both were clamped to prevent racking.


Meanwhile, the plywood and spline were removed. I used steam for the latter, which expedited the whole process. (I’m sorry I did not photograph this part.) and the new cane was soaked and pressed in.

The original screws fastening the caned frame to the front of the chair frame had split the wood so I used two small, right-angle brackets to refasten the pieces. A coat of wax finished the job. While working on this chair my secondary project was restoring the drum carder, which I began in 2018, and only now got around to finishing. Check back for that post.
This beautifully refinished nursing rocker came into the workshop just after the Victorian Rocker that many of you have been watching the repair updates on. The white paint was stripped off it when its owner was in high school and now he’s retired he is getting around to having what used to be covered with a piece of wood returned to its original cane. It has been the perfect project to have as a counterpoint to the curlicues and restaining as those processes needed long periods between each step as curls or stain dried.

The front corners on this chair were unusual because there were not any holes. So the weaving gave a nice fish-tale image and, when the binding cane was complete, a neat diagonal corner, which I liked.
This is what is more common.
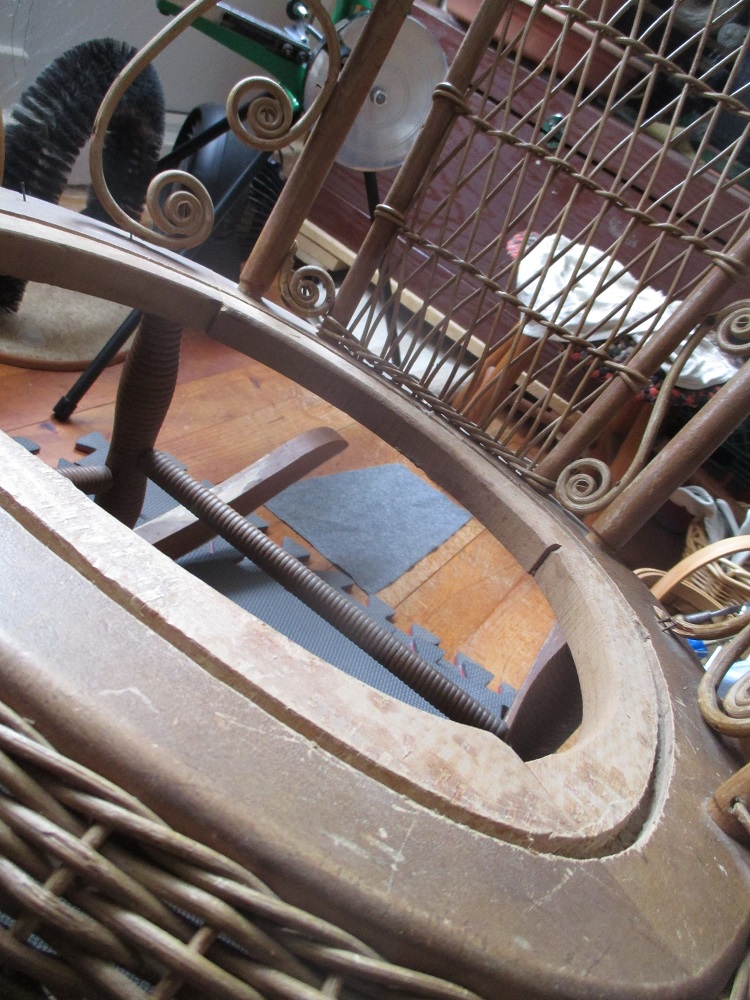
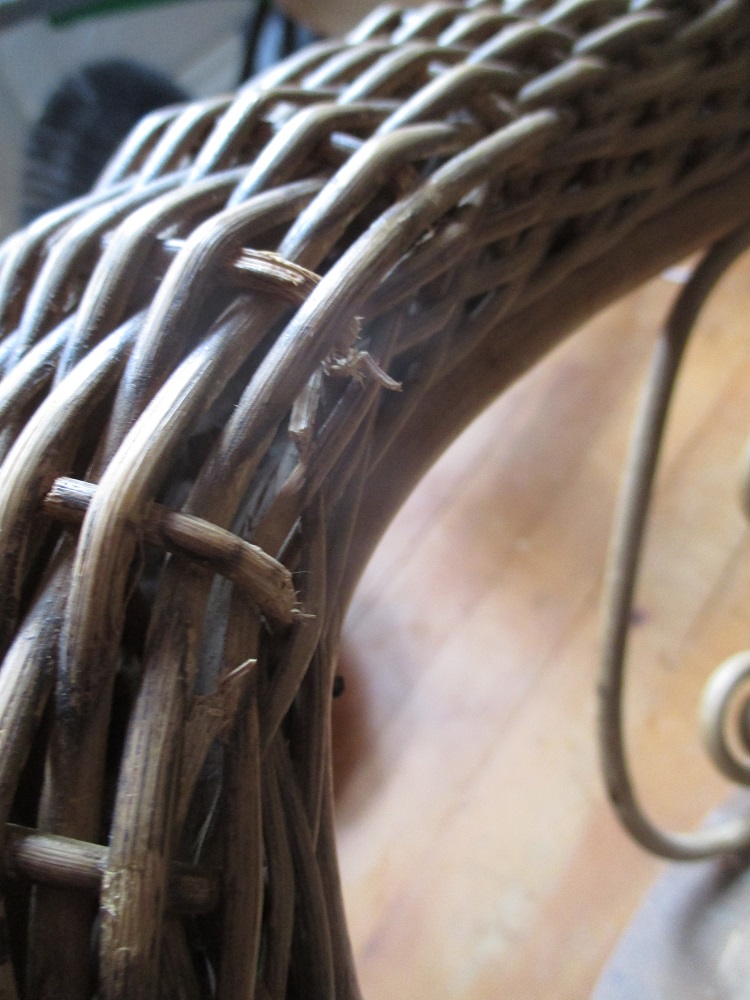
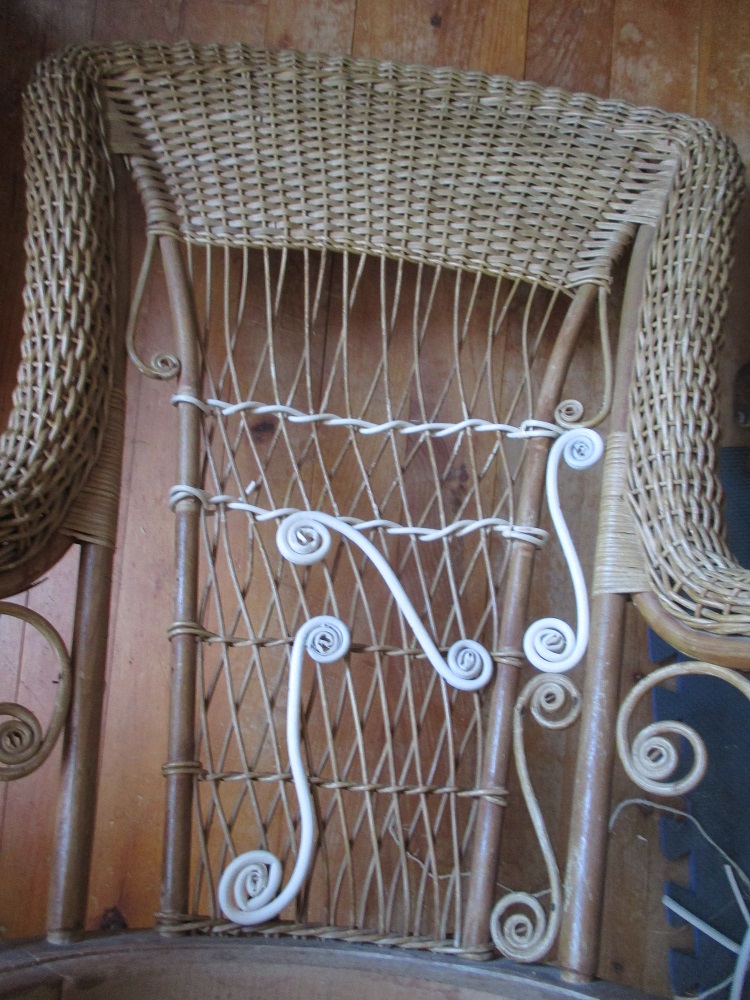
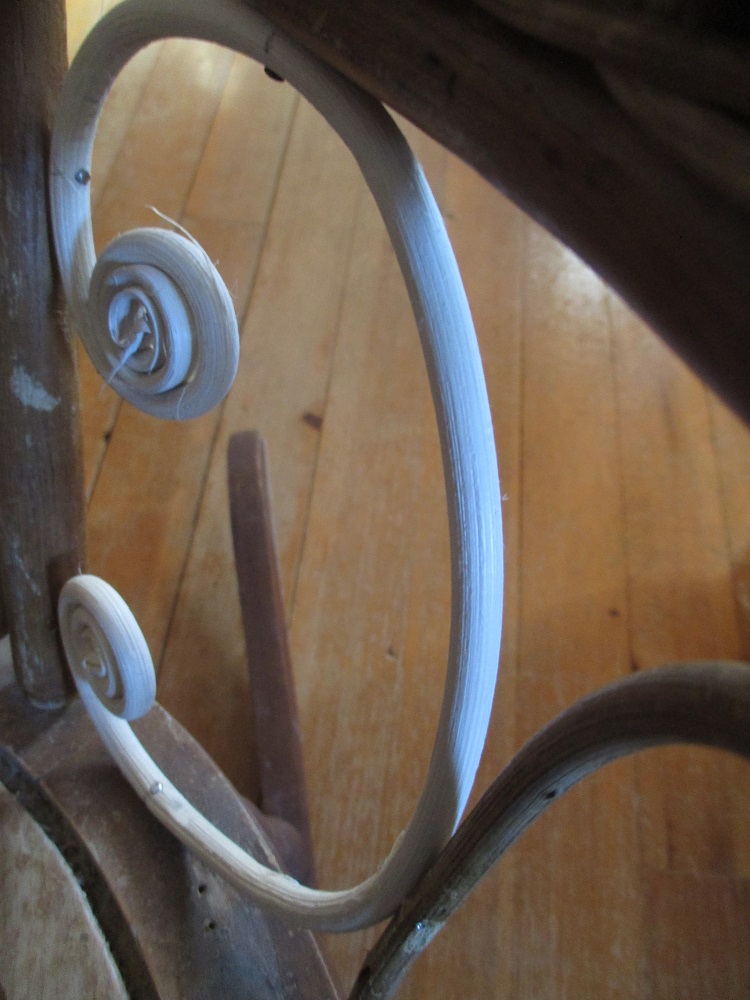
This beauty came to me at the end of last week. She’s a head-scratcher; I wonder how I’m going to replace those broken curlicues? and reweave the cane into the broken arms? A fun challenge.
Work began with the removal of the seat. If you’ve looked at my previous post, you’ll have seen some of the tools John made for my last caning job, well, this one has required more of his ingenuity; this was one heck of a hard weaving to remove. Once that was done I began rebuilding the wicker armrests, which had a few broken spokes.
Meanwhile, the parts arrived and got a double cat scan from Lucy One Stroke and Tommy Two Stroke.

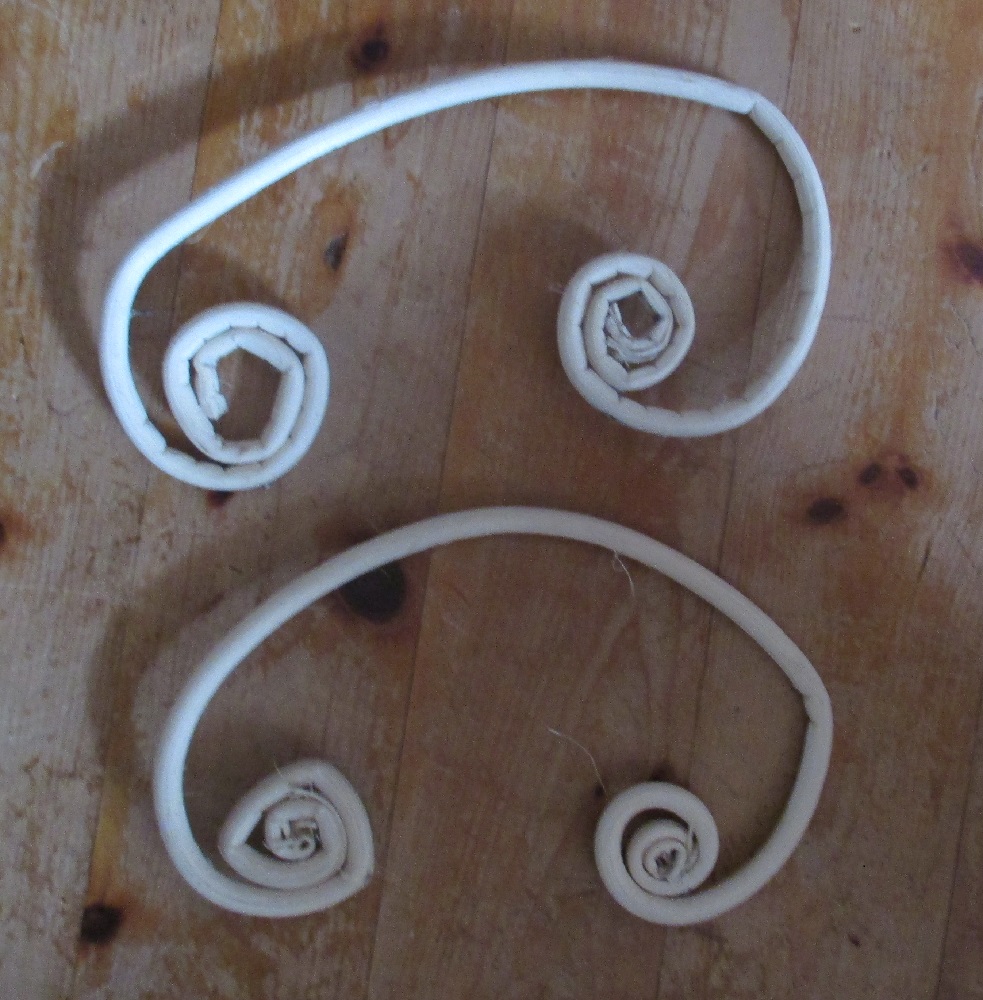
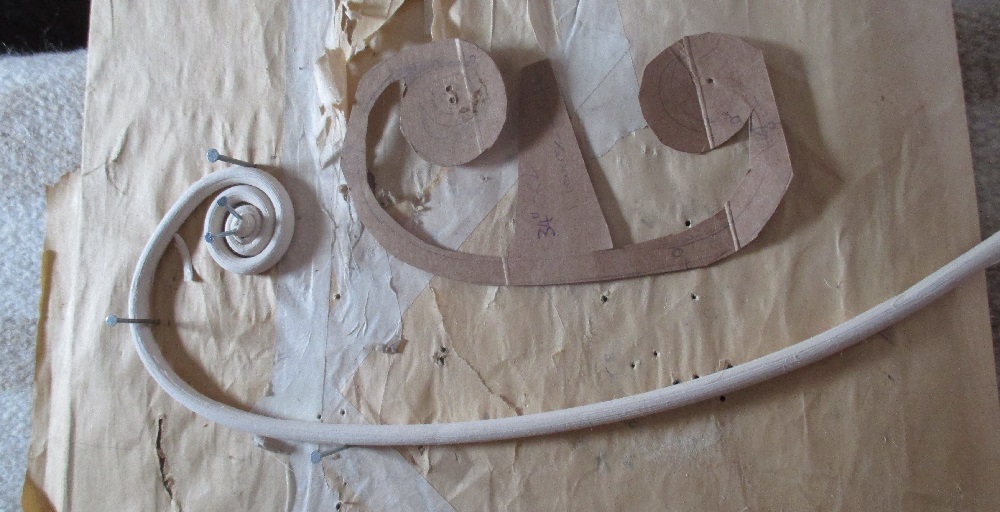
And I started making curlicue patterns.
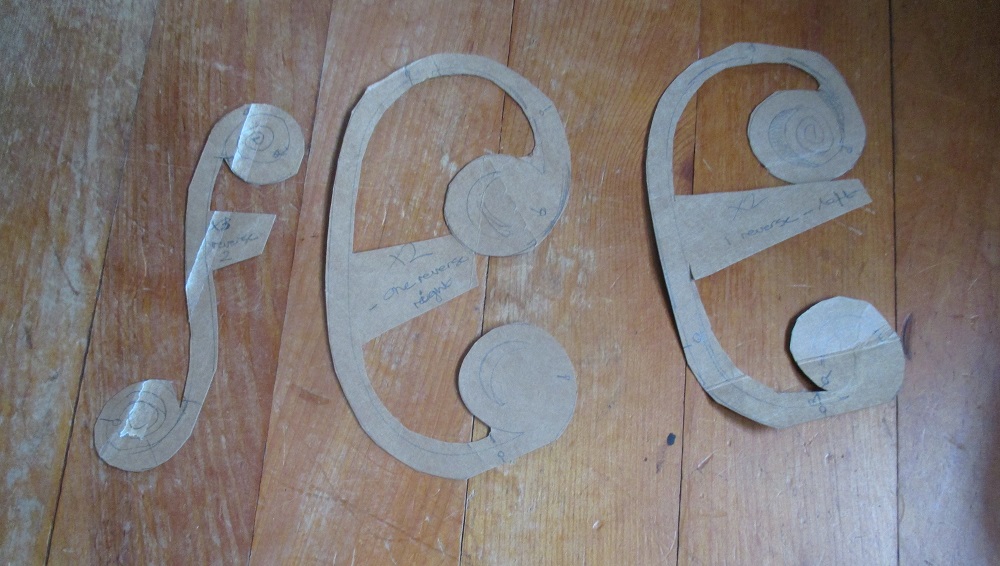
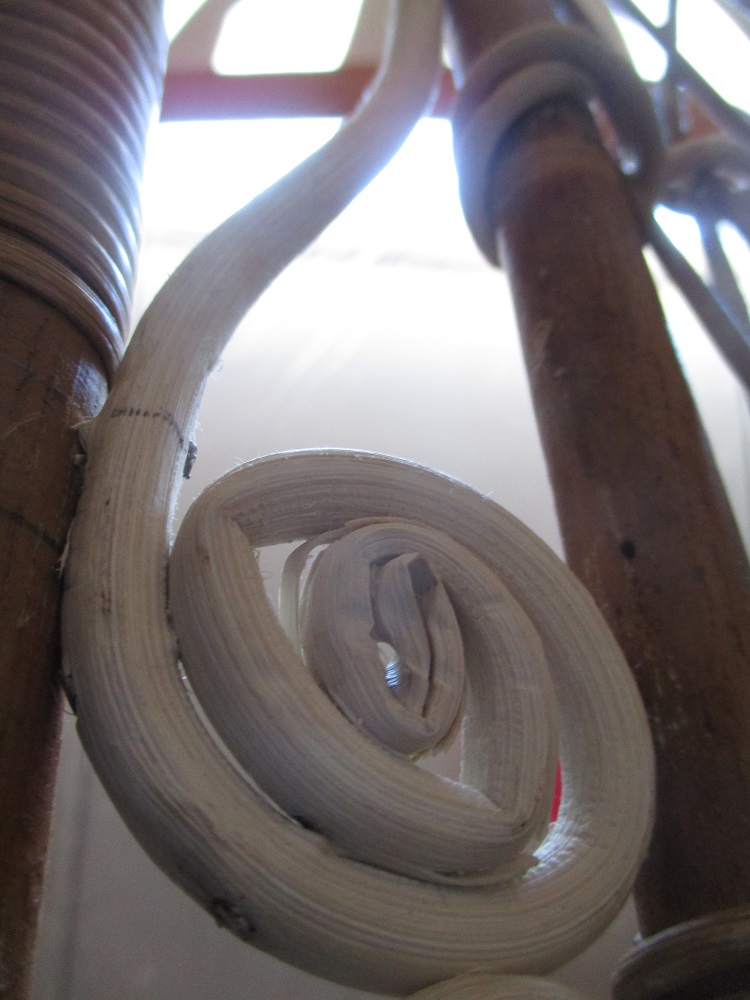
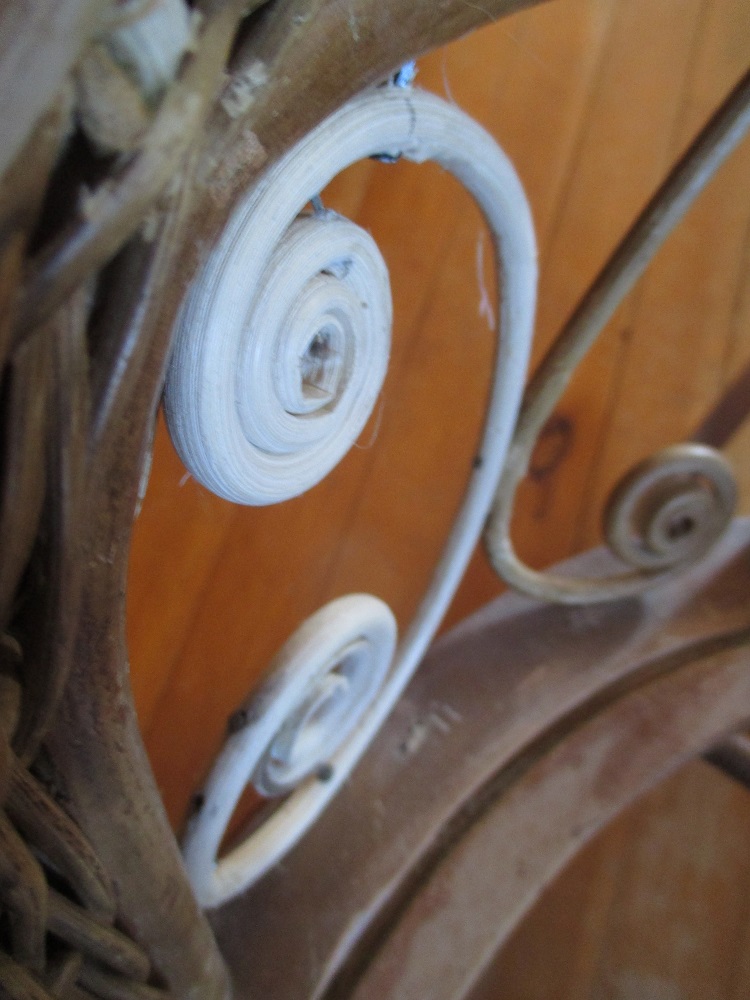
So, curlicues out of #10 reed are hard to make. I’ve had a few goes. Here are the first pair, which I have rejected because I’m not happy with them. Followed by the next attempts, which I am.
Meanwhile …
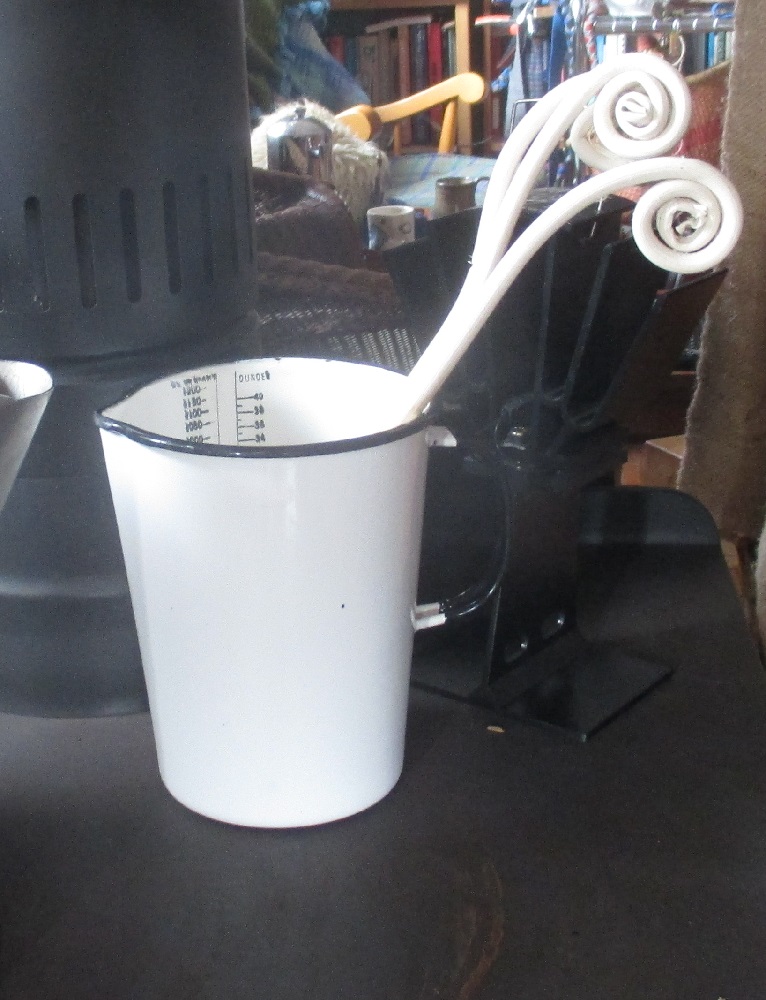
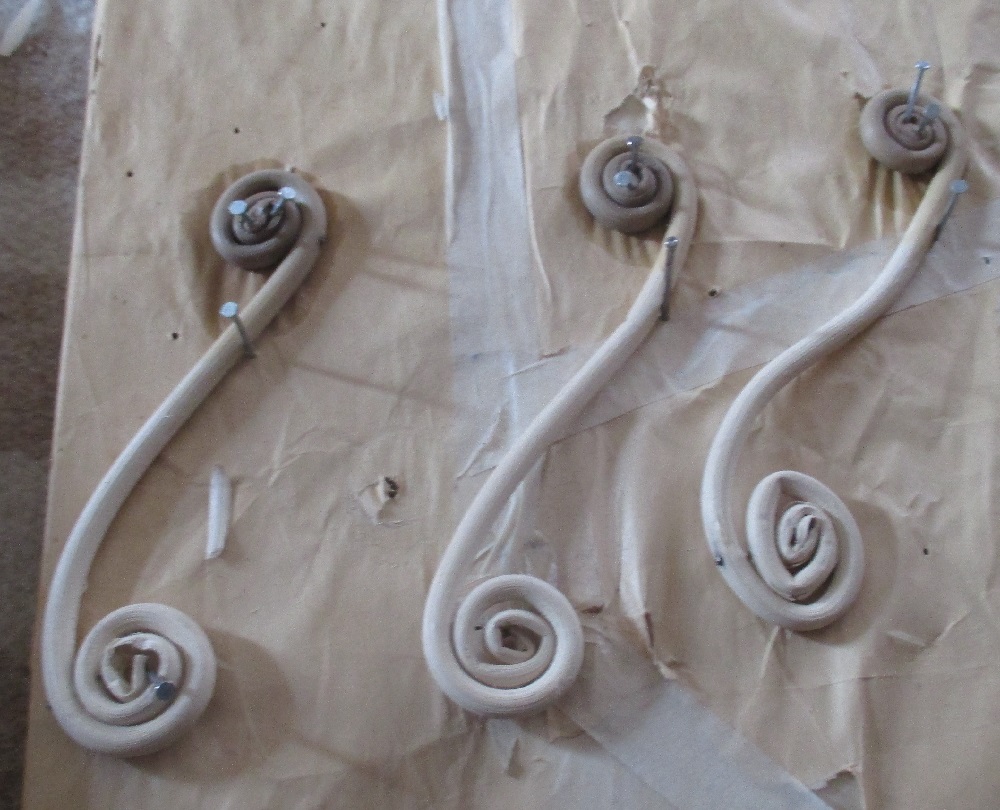
I got the knack of curlicues. The trick is to soak one end of the cane and form it into the curl at a time. So, here is a gallery of curlicues for your enjoyment

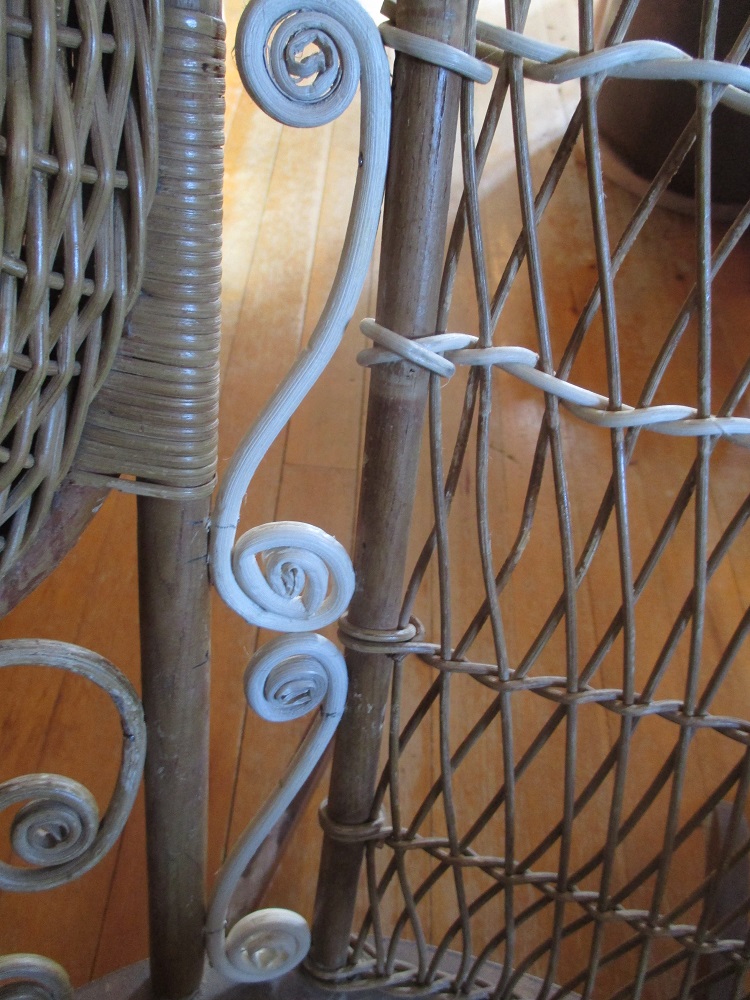
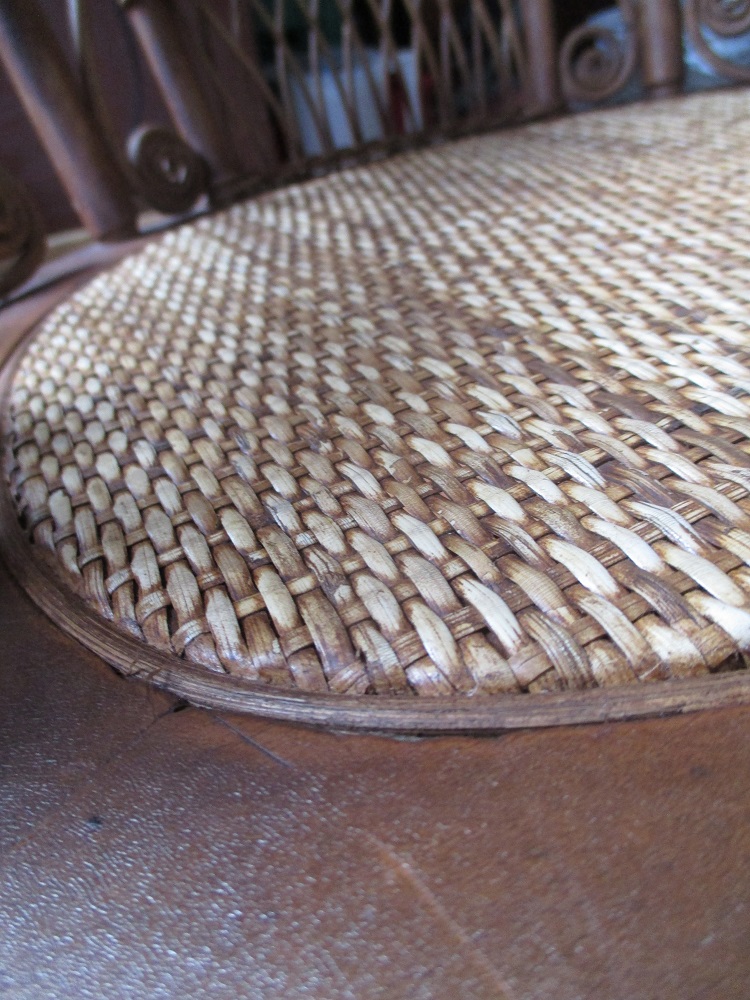
Once all of them were installed, I did an all-over coat of medium walnut stain (Mowhawk).
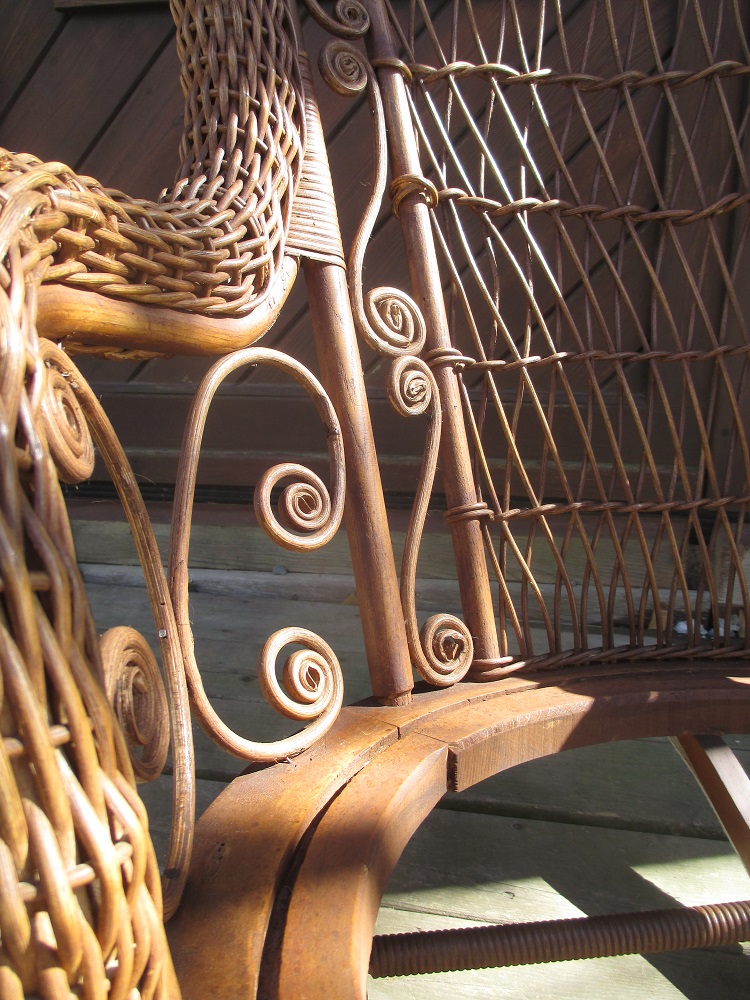
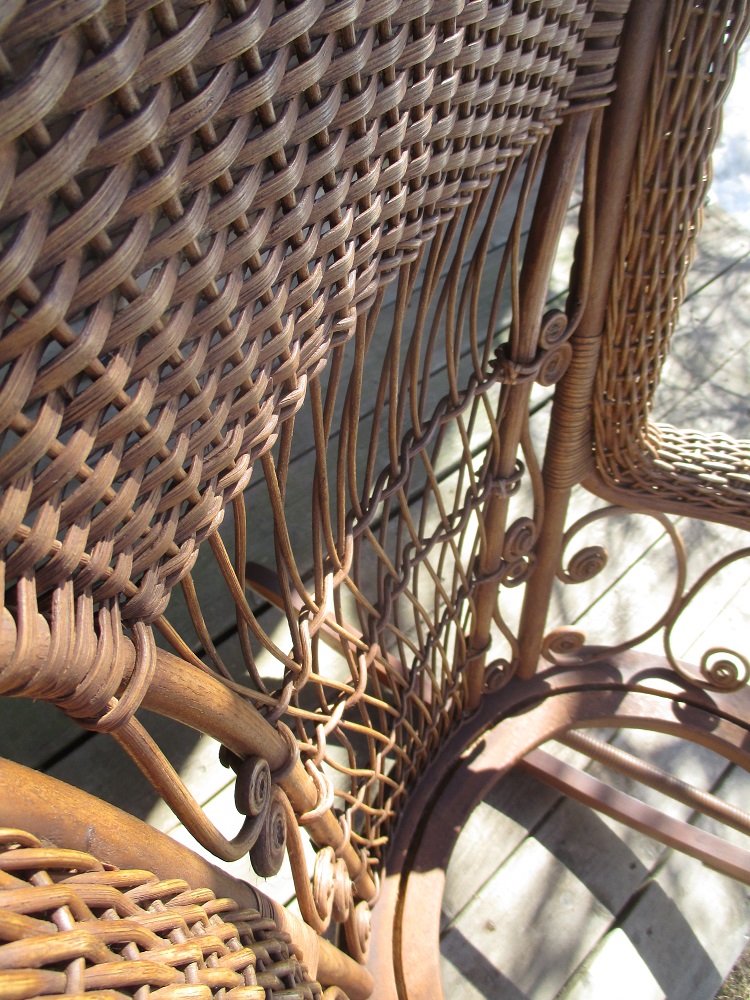
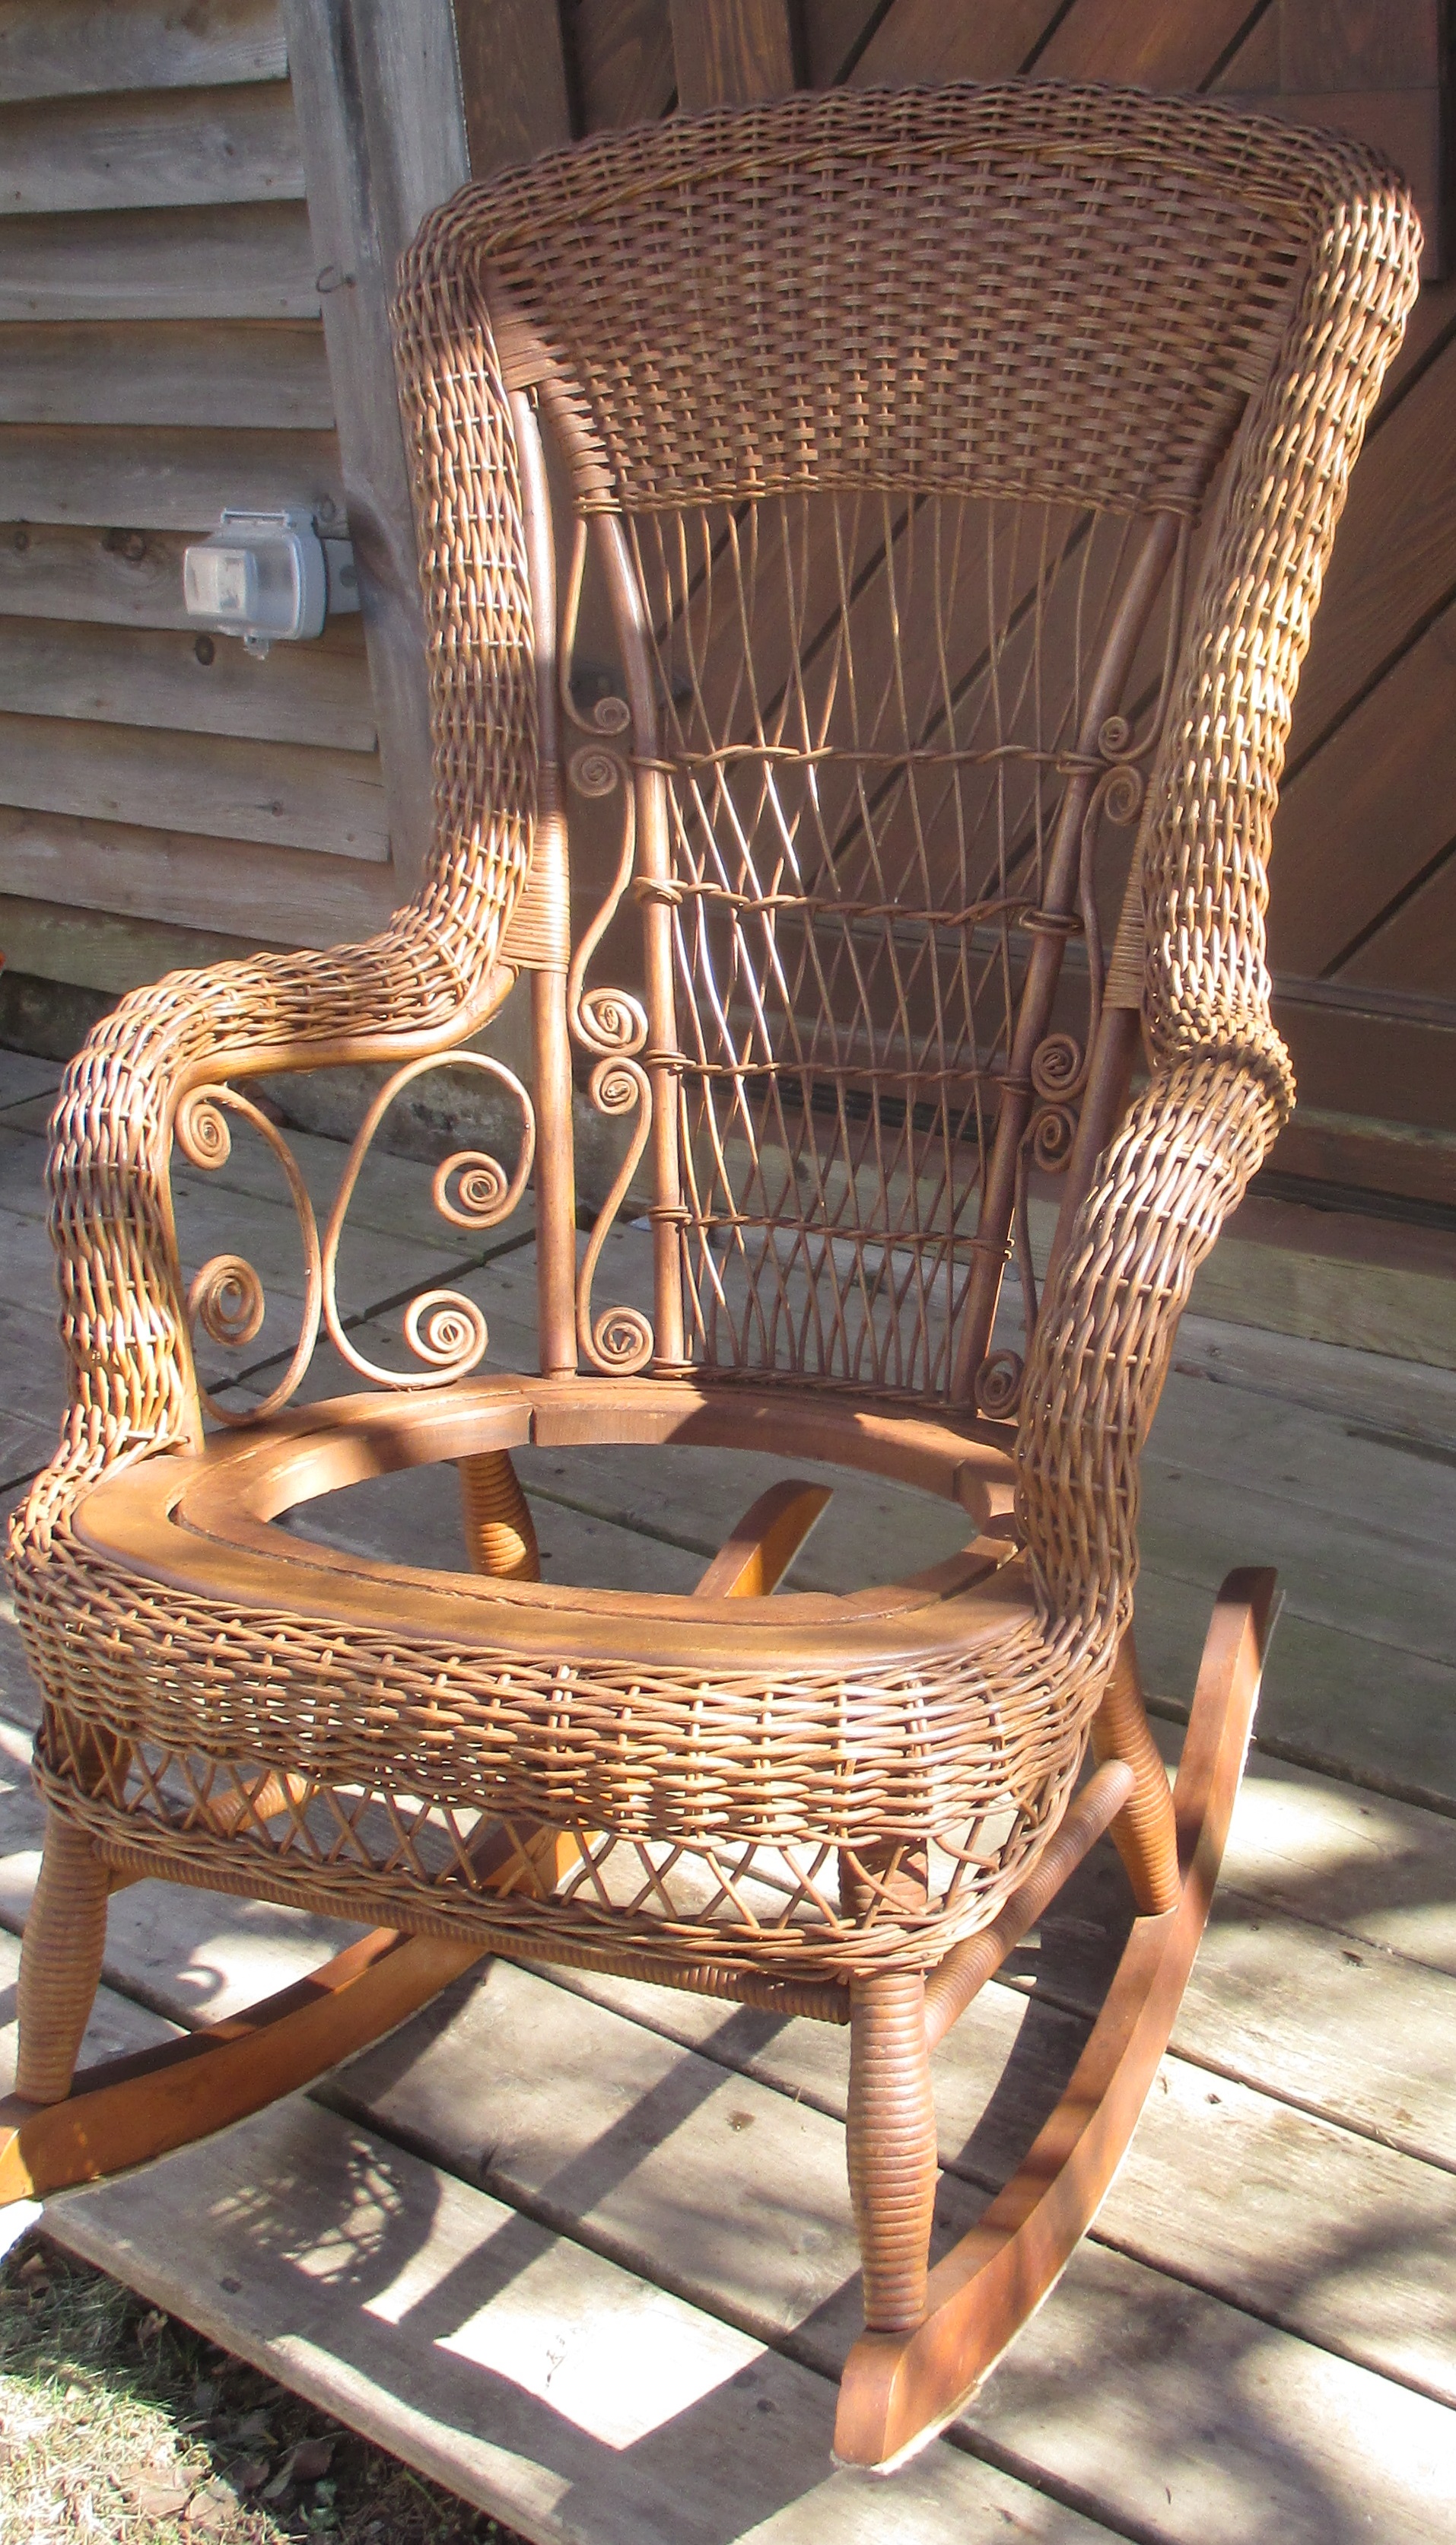
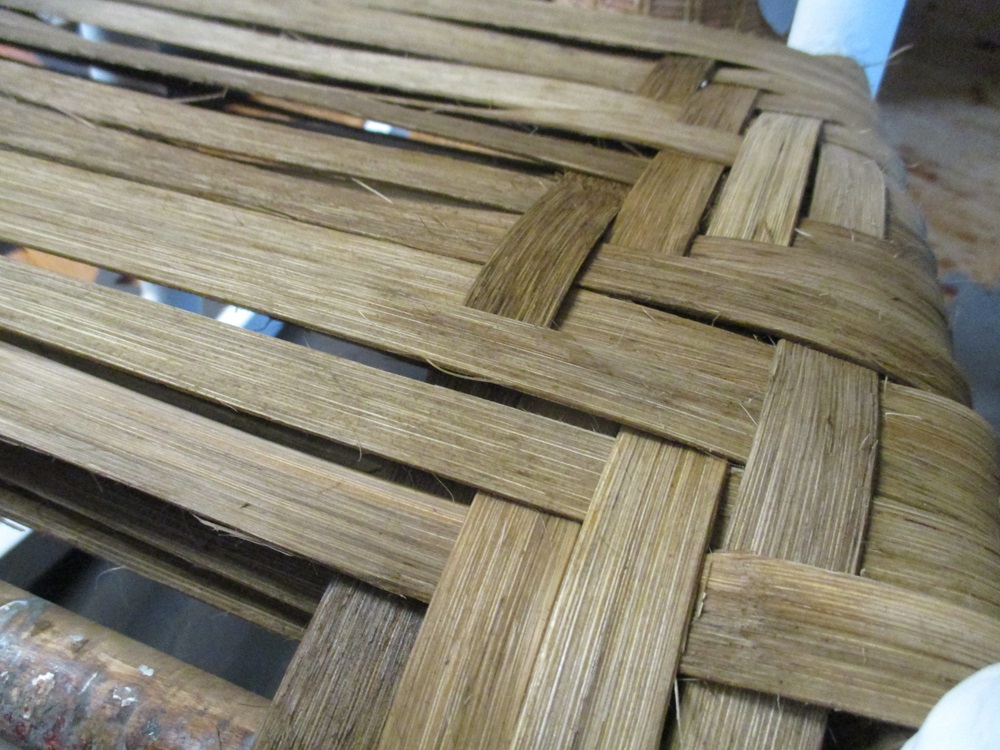
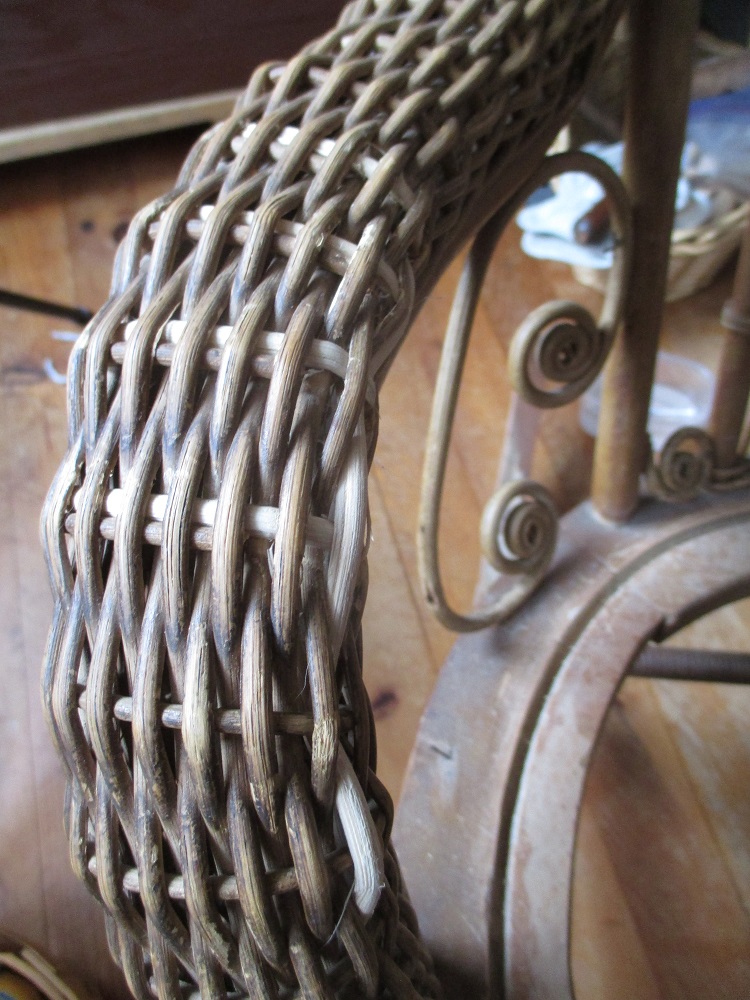
The final task was installing the cane with a medium radio weave, which, when it was dry, I stained and shellacked. I used Mowhawk Medium Walnut stain and orange shellac.
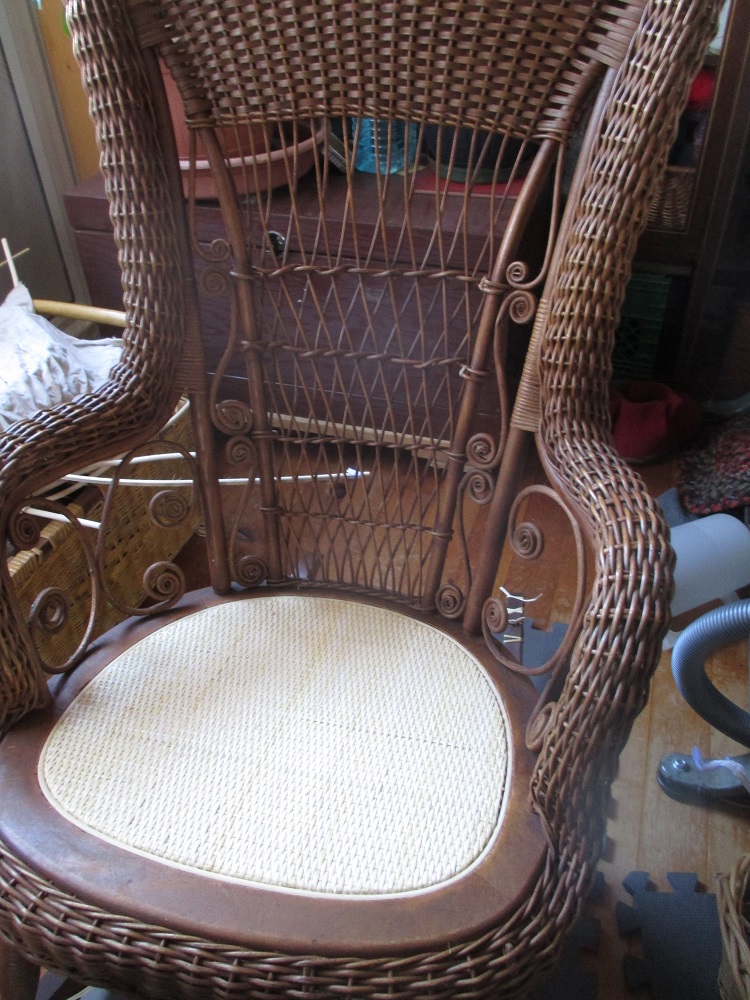
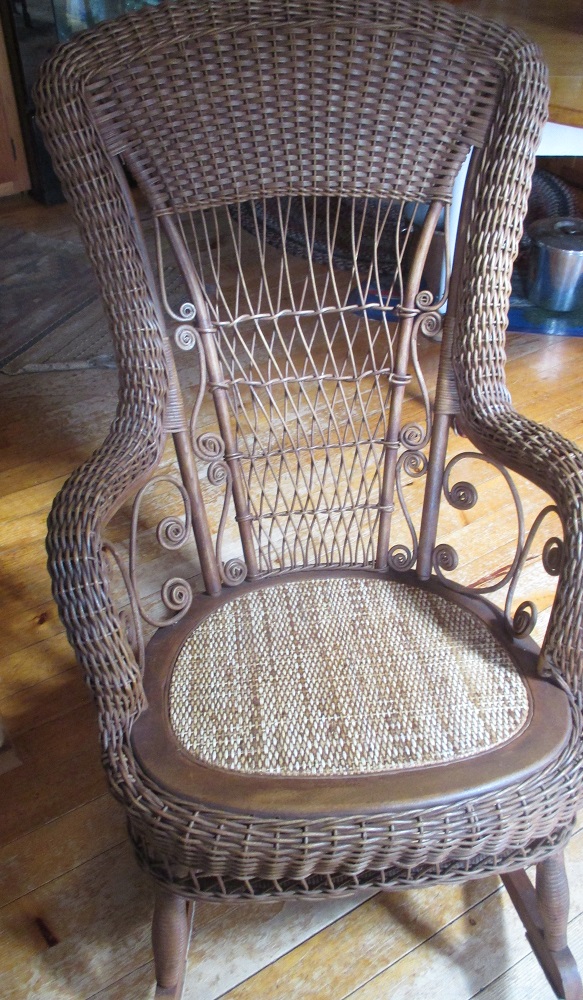
This was a fun one. I thank the owner for the opportunity to bring this beauty back.
