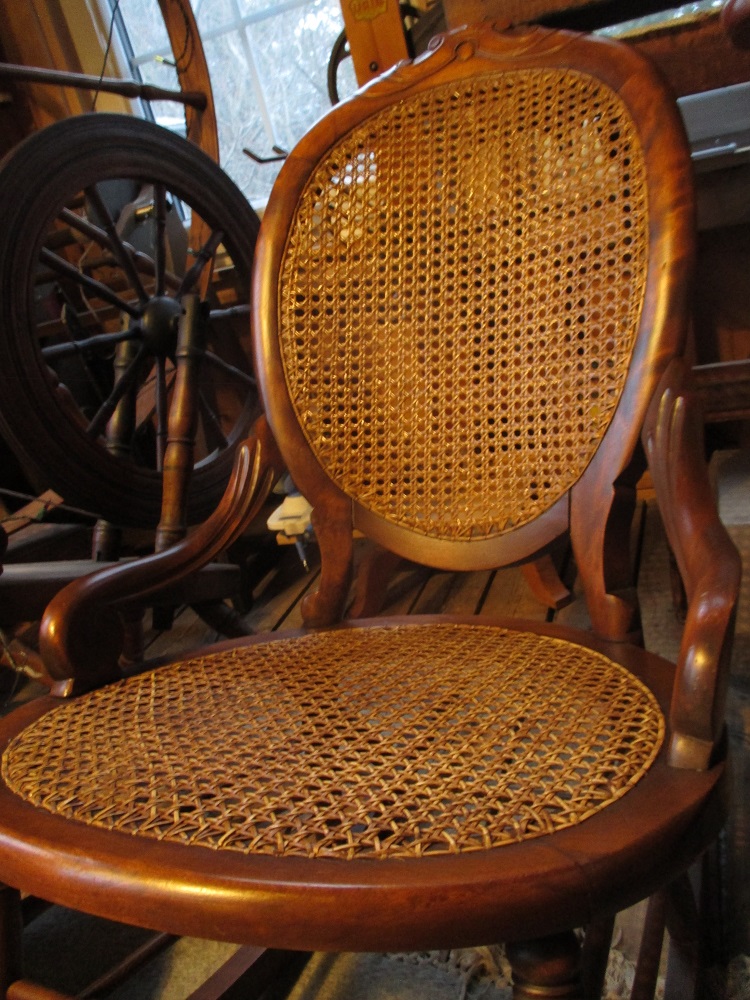
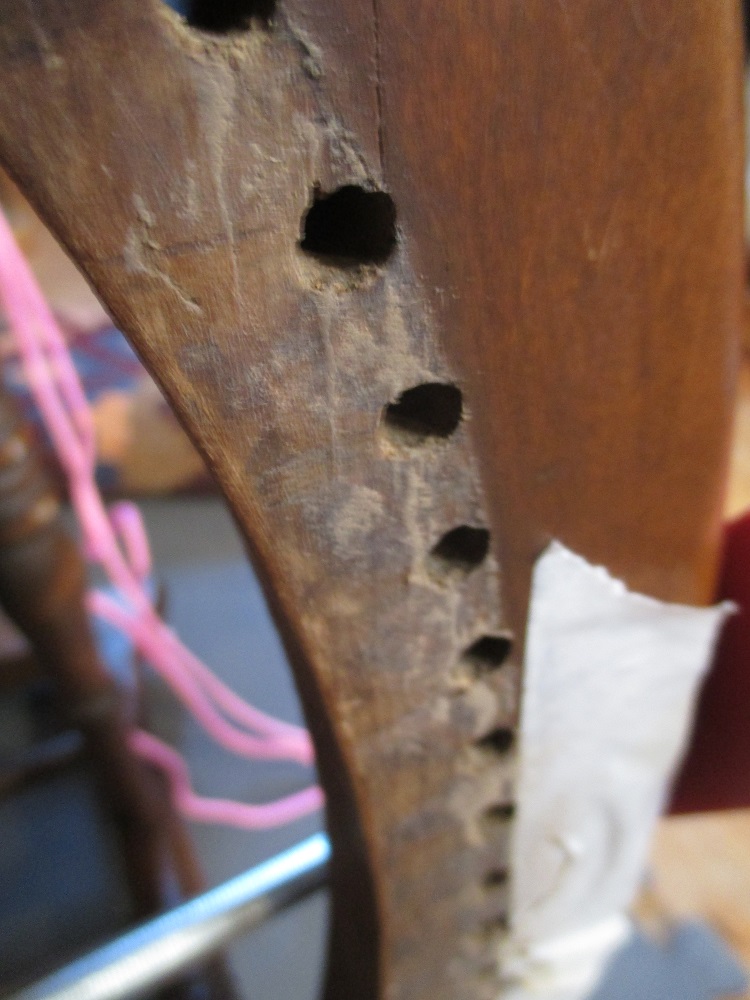
This pretty rocker bought many decades ago at an auction came to the workshop needing a new seat. On removing the old, broken cane I found the front rail of the seat frame needed some work before I could begin. Its dowel joints were loose and the wood between the holes was beginning to split; a common occurrence in woven cane seats. The former required gluing and clamping, the latter, some epoxy putty. While I was at it, I re-glued the front leg where it was loose.
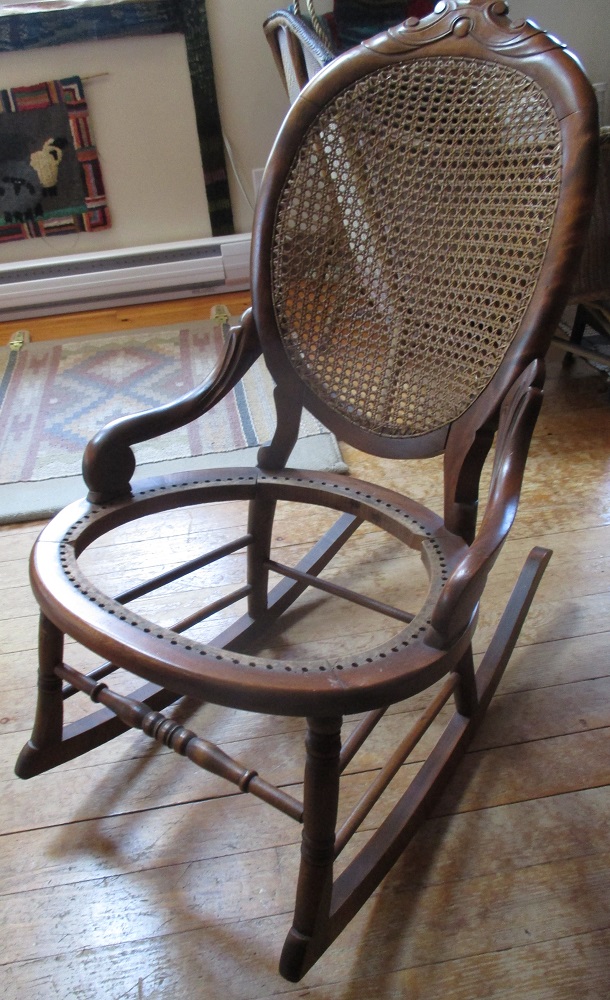
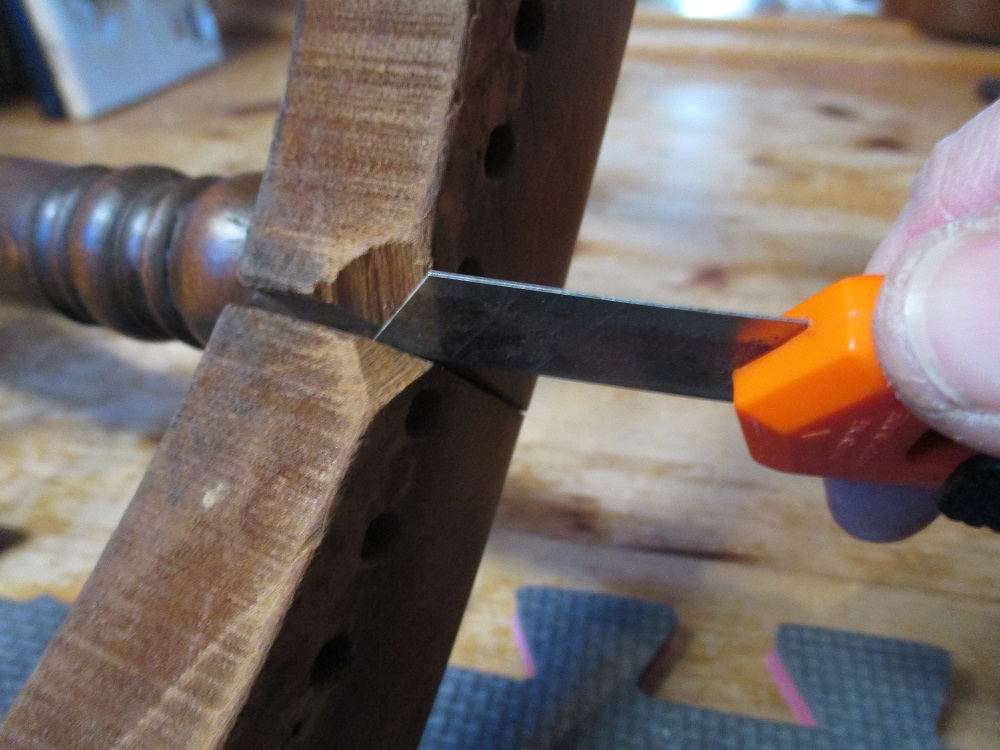

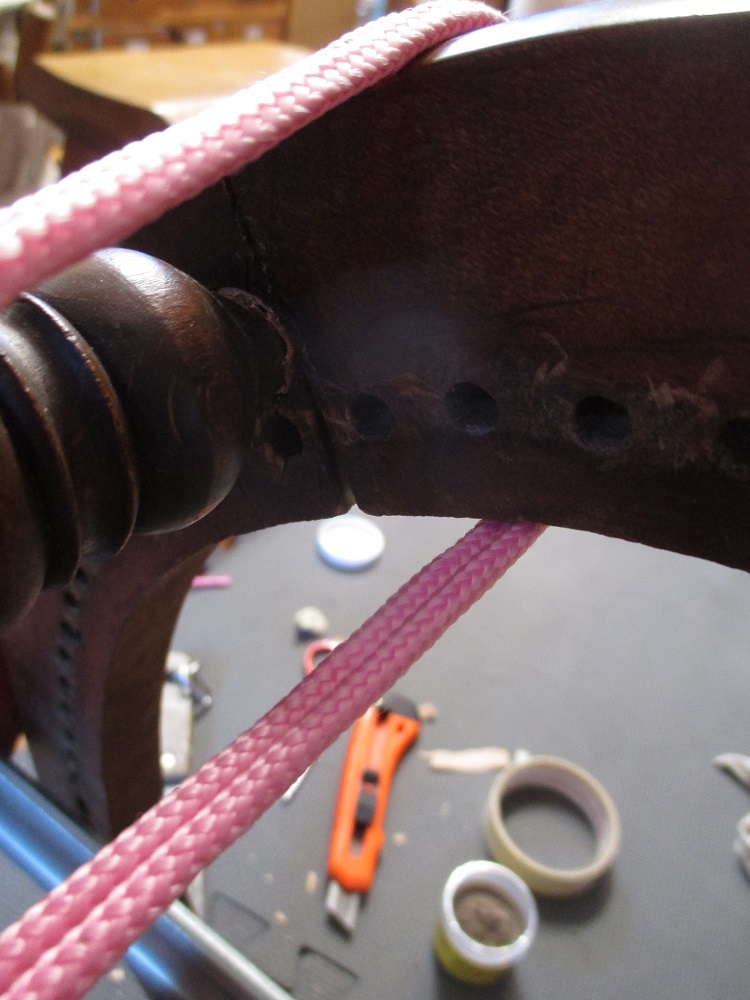
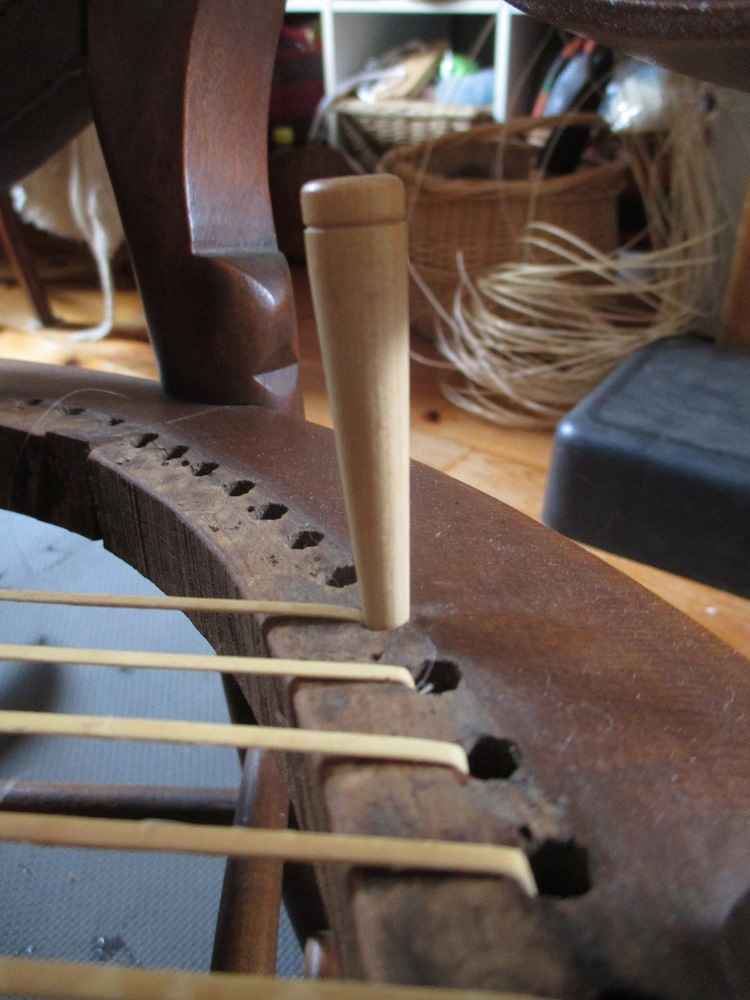
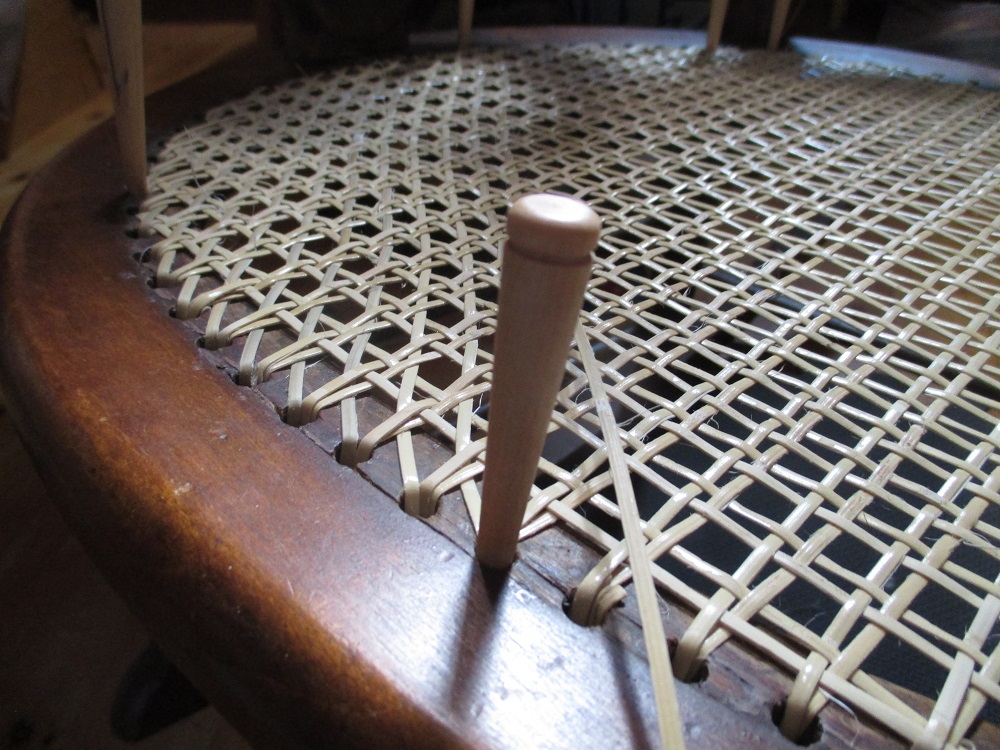
After the glue was dry and the epoxy putty was stained to blend in the sharp inside edge of the seat frame was sanded to reduce the chance of future damage to the cane. Then the weaving could be started. I forgot to mention that before I removed the old seat I marked the centre points of the seat frame from side to side and front to back so that I could line the new cane up properly.
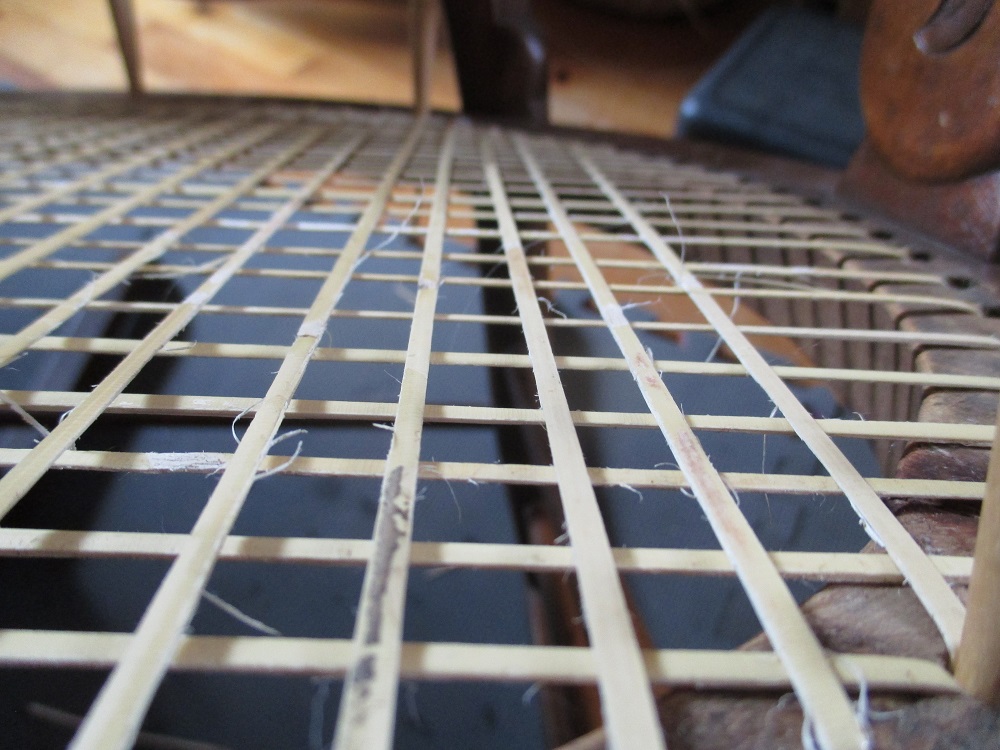
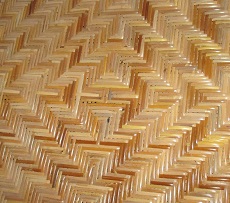
The thing I love about the craft is that there are lots of opportunities to improve and one which I learned from an online video from the Wicker Woman was to tuck the tails under the active strand in order to neaten up the bottom. Here’s my first attempt. I’m pleased with the results although it is definitely more fiddly.
https://www.wickerwoman.com/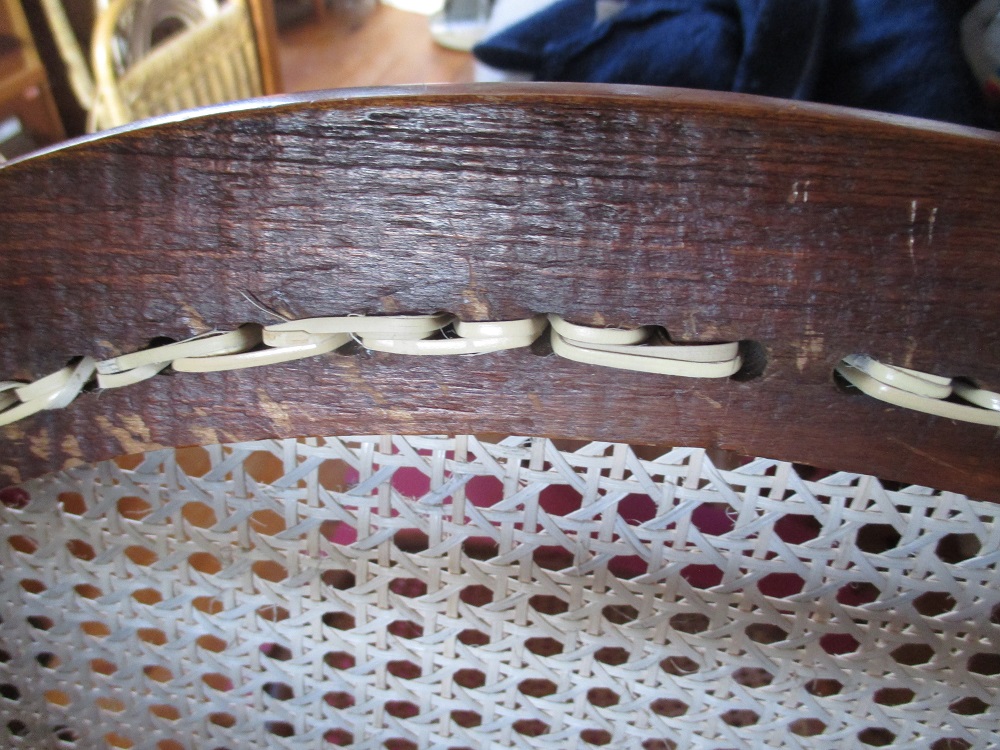
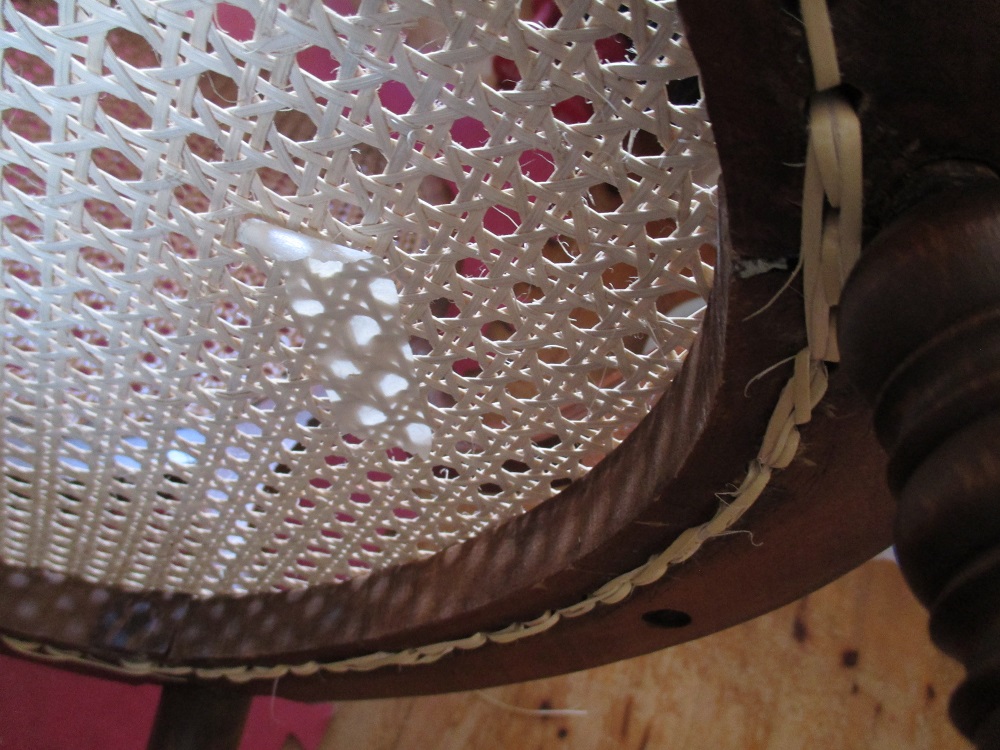

Once the weaving is complete the holes are hidden with a covering cane, which is laced on. Then the bright new cane was stained with Mohawk Medium Walnut and given two coats of orange shellac. I think it turned out nicely. Thanks for visiting and please feel free to leave a comment.